A self-made receipt is a printable document that records a completed payment — the merchant name, payment date, receipt number, every line item with its quantity and unit price, the subtotal, any discount, tax, tip, total paid, amount tendered, and change due — calculated to the cent. To produce one yourself, you enter the merchant details, add each line item with its quantity and unit price, then enter a flat discount, a percentage tax, an optional tip, and the amount the customer handed over. The tool does the arithmetic and renders a preview you can print or save as a standalone HTML file. The whole flow happens locally in your browser, so the merchant details, line items, prices, notes, and payment figures never leave your device. This article walks through the exact fields to fill in, the calculation order the tool uses, and the steps to print or download a finished receipt that matches what was actually paid. Once you understand the order, each receipt takes the same shape regardless of how many items or what tax rate applies, and the preview acts as a final check before you hand the document to anyone else.
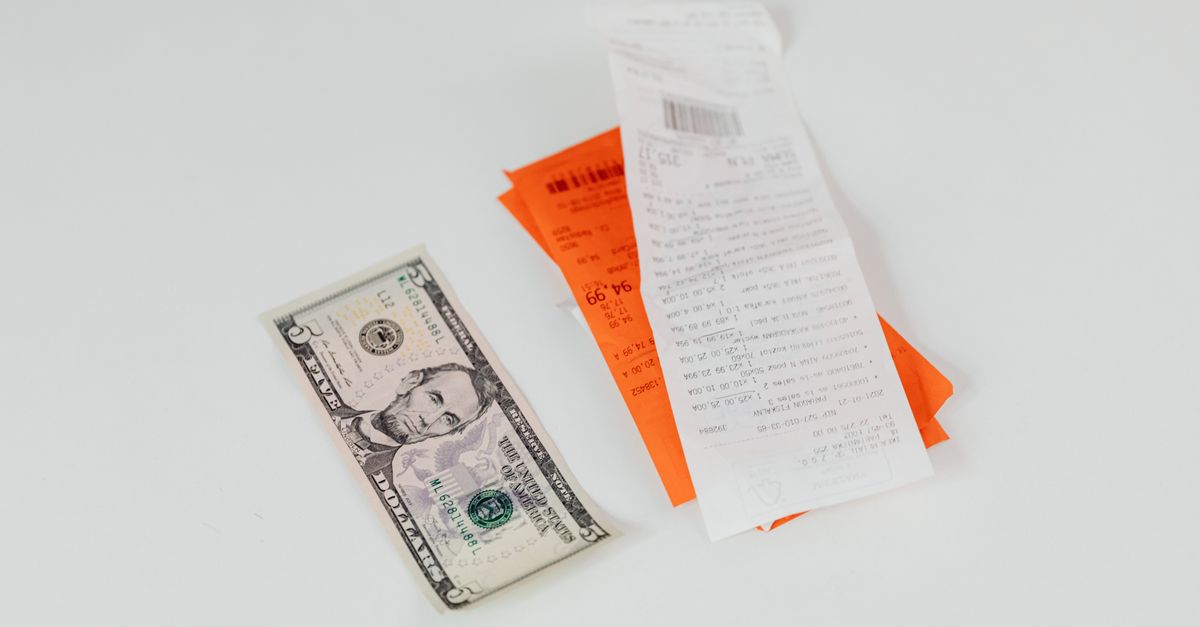
Receipt fields: what belongs on a paid receipt
Before you start entering numbers, it helps to know what a usable receipt actually carries. The point of a receipt is to prove what was paid, when, and to whom — so any field that supports that proof belongs on it, and any field that does not support it should be left off.
The minimum useful fields are:
- Merchant name and any contact detail the customer might need later.
- Payment date and a unique receipt number for filing.
- Line items with a description, a quantity, and a unit price for each product or service.
- Subtotal equal to the sum of every line amount.
- Flat discount subtracted from the subtotal.
- Tax line showing the percentage applied to the discounted subtotal.
- Optional tip added after tax.
- Total paid equal to discounted subtotal plus tax plus tip.
- Amount tendered — what the customer handed over.
- Change due, which is tendered minus total.
A receipt that omits the date, the receipt number, or the line-level detail can still work for a personal record. For warranty claims, tax filing, or expense reimbursement, the line amounts and the totals on your self-made receipt should match what the merchant's official record shows, because the printed document can be edited and is not by itself independent proof against fraud.
How to make your own receipt
The fastest way to make a clean receipt is to fill the fields in the order the calculator uses to derive the totals. Working in this order keeps the line amounts, discount, tax, tip, and change consistent with each other so nothing has to be retyped at the end.
- Open Receipt Maker in your browser and enter the merchant name, the payment date, a unique receipt number, and the display currency.
- Add each paid item as a line: a short description, the quantity bought, and the unit price agreed at sale. Repeat for every product or service.
- Enter the flat discount (if any), the percentage tax rate, the flat tip (if any), and the amount tendered by the customer.
- Generate the receipt and read the preview line by line. Confirm the subtotal, the discounted subtotal, the tax, the tip, the total, and the change all match what was actually paid.
- Use Print receipt to open the browser print dialog for paper or PDF output, or use Download HTML to save a standalone receipt file you can reopen and print later.
The download is a self-contained HTML file built from a Blob, so the saved receipt shows exactly the validated values visible in the preview, plus a compliance disclaimer that reminds the reader the page is editable.
Receipt or invoice: pick the right document
A receipt and an invoice look similar on paper but answer different questions. A receipt confirms that money has already changed hands and shows how the total was reached. An invoice asks for payment and tracks what is still owed. Picking the wrong document can make a record look misleading — for example, an unpaid invoice labelled as a receipt would wrongly imply the customer had already paid.
| Situation | Use a receipt | Use an invoice |
|---|---|---|
| Customer paid in full at sale | Yes — record the completed payment and any change. | No — no balance to collect. |
| Customer will pay later | No — money has not changed hands yet. | Yes — set a due date and outstanding balance. |
| Partial payment against an open balance | No — needs payment allocation and an audit trail. | No — use bookkeeping software instead. |
| Personal record of an expense | Yes — list what was paid and when. | No — an invoice asks for money, not records it. |
| Warranty or reimbursement claim | Yes — line items and totals back up the claim. | No — the merchant's payment record is what counts. |
If you need to request payment instead of record it, switch to Invoice Generator. Receipt Maker deliberately refuses to generate output when the entered paid amount is below the calculated total, so it cannot be used to label an unpaid request as a paid receipt.
The math behind a clean receipt
The tricky part of building a receipt by hand is that binary floating-point arithmetic does not represent every decimal cleanly. A common example is 0.10 plus 0.20, which in floating-point evaluates to 0.30000000000000004 instead of 0.30, leaving a trailing tail that shows up on a printed line total.
Receipt Maker avoids that tail by converting two-decimal monetary inputs into integer minor units before doing any arithmetic. For currencies displayed with two decimal places, one major unit becomes one hundred minor units, so 0.10 and 0.20 become 10 and 20 and add to exactly 30 minor units, which is then formatted back as 0.30 for display. Each unit price accepts no more than two decimal places, each quantity accepts up to three, and a line amount is the validated quantity multiplied by the integer unit price, rounded to the nearest minor unit after the multiplication.
The calculation order is explicit and matches what most cash-register systems display:
- Add every validated line amount to form the subtotal.
- Subtract the flat discount from the subtotal. The discount cannot exceed the subtotal.
- Apply the entered tax percentage to the discounted subtotal and round to the nearest minor unit.
- Add the flat tip.
- The total equals discounted subtotal plus tax plus tip.
- When the amount tendered equals the total, change is zero. When it is higher, change is the difference.
Worked example
Three paid items: 2 units at $4.50, 1 unit at $10.00, and 3 units at $1.20. The line amounts are 9.00, 10.00, and 3.60. The subtotal is 9.00 + 10.00 + 3.60 = 22.60. With a $2.00 discount, the discounted subtotal is 22.60 − 2.00 = 20.60. Tax at 8% is 20.60 × 0.08 = 1.648, rounded to the nearest cent = 1.65. Adding a $3.00 tip gives a total of 20.60 + 1.65 + 3.00 = 25.25. Tendered 30.00 leaves change of 30.00 − 25.25 = 4.75.
Inputs that are blank, negative, non-finite, malformed, or excessive are rejected instead of being silently replaced with zero. A receipt is capped at 100 line items, and totals that exceed the supported amount range are reported rather than truncated. Tax treatment varies by location and transaction, so the rate you enter must match your own situation and the calculation order must match your jurisdiction's rules — the tool contains no tax tables, exemptions, or rounding mandates.
After generation: print, download, and verify
Once the preview looks right, two output options are available. Print receipt opens the browser print dialog through Window.print, where you can print on paper or, if your operating system exposes that option, save the page as a PDF. Download HTML writes a self-contained file built from a Blob, so the saved receipt shows exactly the validated values visible in the preview, with no external dependencies, and can be reopened in any browser later.
Changing any field after generation clears the last generated result so an old receipt cannot be mistaken for output based on new inputs. Make a fresh receipt after every edit and compare it with the original payment evidence before handing it to another person.
For online orders, the merchant often emails a copy of the receipt. If you need to capture a Walmart online order receipt for your records, see how to get a receipt for a Walmart online order; for any other completed transaction, the same browser-based flow covers it.
When a self-made receipt is not enough
A browser-generated receipt is a general-purpose convenience tool, not an accounting system or a compliance service. It does not authenticate the merchant, confirm that a card or cash payment occurred, apply official tax rules, create a tamper-evident signature, generate a fiscal receipt, or archive records. A downloaded or printed page can be edited by anyone who can open a text editor, so it should not be treated as independent proof against fraud.
Keep the authoritative payment-processor record, cash-register journal, bank entry, signed agreement, or other source document required for the transaction. Consult a qualified professional or the relevant authority when a receipt must satisfy legal, tax, warranty, reimbursement, insurance, or regulated recordkeeping requirements.
For partially paid orders, refunds, voids, sequential ledgers, or inventory movement, use bookkeeping software that supports payment allocation and an audit trail. Receipt Maker focuses on one completed payment and does not maintain customer accounts, sequential ledgers, or refunds. If a future payment needs to be requested, switch to Invoice Generator; if the transaction has not happened yet, the right tool is not a receipt at all.
If you're weighing options, How to Make a Receipt for Cash Payment covers this in detail.