Converting CMYK to RGB in Adobe Illustrator lets you preview how print colors will appear on digital screens. CMYK (Cyan, Magenta, Yellow, Black) is the standard color model for professional printing, while RGB (Red, Green, Blue) is used for digital displays like monitors, tablets, and phones. Because these two color spaces are fundamentally different, colors designed in CMYK often look duller or shifted when viewed on a screen. The CMYK To RGB tool solves this problem by instantly converting CMYK percentages into approximate RGB values and hex codes, giving you a quick, uncalibrated preview of how your print colors will appear in a digital environment. This is especially useful for designers who need to share print-ready artwork with clients or colleagues who only have access to digital devices.
While Adobe Illustrator allows you to switch between CMYK and RGB color modes, the conversion process isn’t always intuitive, especially for quick previews. The CMYK To RGB tool simplifies this by letting you input CMYK percentages and immediately see the corresponding RGB channels, hexadecimal value, and a live color swatch. This is particularly helpful when you’re working on projects that require both print and digital outputs, such as business cards, brochures, or packaging designs that will also appear on a website or social media. For example, if you’re designing a logo in CMYK for print but need to show it on a website, this tool helps you anticipate how the colors will translate without manually adjusting settings in Illustrator.
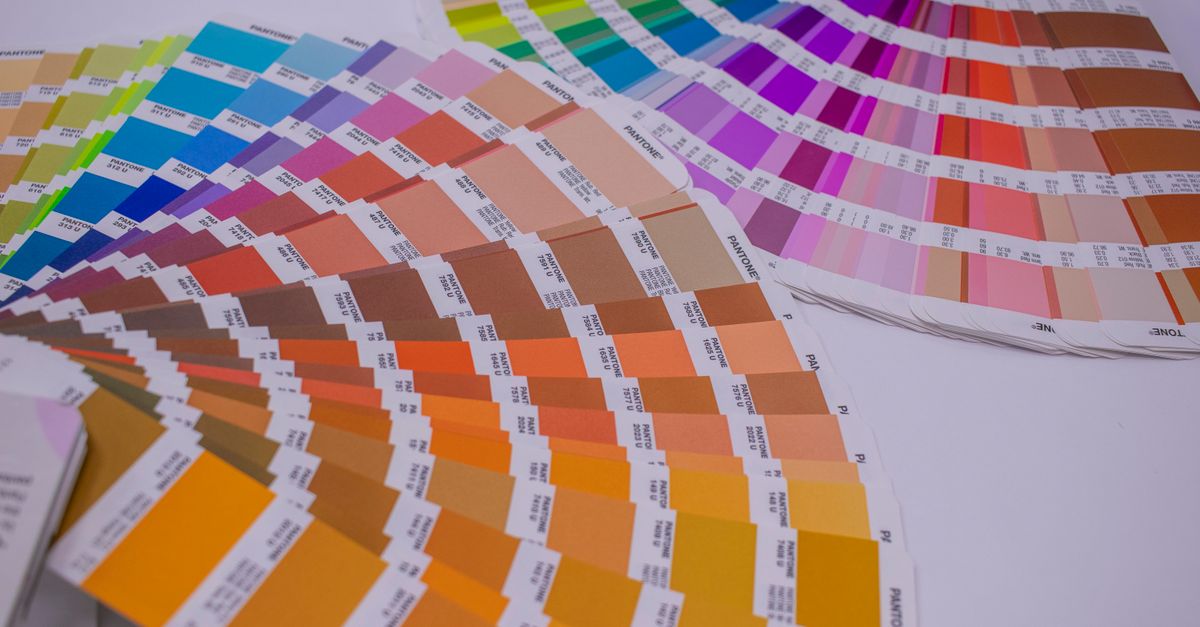
Why CMYK and RGB Look Different on Screen
The difference between CMYK and RGB stems from how each color model creates hues. CMYK is a subtractive color model, meaning it starts with a white background (like paper) and subtracts light by layering ink. The more ink you add, the darker the color becomes. In contrast, RGB is an additive color model that starts with a black background (like a screen) and adds light to create colors. The more light you add, the brighter the color becomes. This fundamental difference explains why a vibrant red in RGB might look muted or orange-ish when converted to CMYK, or why a deep blue in CMYK can appear washed out on a screen.
Another factor is the gamut, or range of colors each model can reproduce. RGB has a wider gamut than CMYK, meaning it can display more vibrant and saturated colors. When you convert from CMYK to RGB, the tool approximates the closest possible match within the RGB gamut, but it can’t recreate colors that fall outside of it. This is why some print colors, especially bright greens or purples, look less intense on screen. For designers, this means that while the CMYK To RGB tool provides a useful preview, it’s not a substitute for professional color calibration or ICC profiles when print accuracy is critical. For more details on when to use each color model, read our guide on whether you should use CMYK or RGB for print projects.
How to Convert CMYK to RGB in Illustrator
Adobe Illustrator includes built-in tools for converting between CMYK and RGB, but the process requires several steps and doesn’t always provide the instant feedback that designers need. Here’s how to do it directly in Illustrator, followed by a faster alternative using the CMYK To RGB tool.
Method 1: Using Adobe Illustrator’s Color Panel
- Open your Illustrator document and select the object or text whose color you want to convert.
- Open the Color Panel by going to Window > Color or pressing F6.
- In the Color Panel, click the dropdown menu in the top-right corner and select CMYK if it isn’t already selected.
- Note the CMYK percentages for your selected color. These values will be used for the conversion.
- Click the same dropdown menu again and switch to RGB. Illustrator will automatically convert the CMYK values to RGB.
- The RGB values will appear in the panel, and you can copy them or use them to create a new color swatch.
- To get the hexadecimal value, double-click the fill color in the Color Panel and switch to the Color Picker. The hex value will be displayed at the bottom.
Method 2: Using the CMYK To RGB Tool for Instant Previews
While Illustrator’s built-in conversion works, it’s not ideal for quick previews or when you need to test multiple colors at once. The CMYK To RGB tool streamlines this process with a simple, browser-based interface. Here’s how to use it:
- Open the CMYK To RGB tool in your browser.
- Enter the CMYK percentages for your color. These values can be found in Illustrator’s Color Panel or from your print specifications. For example, a rich black might be C: 60%, M: 40%, Y: 40%, K: 100%.
- The tool will instantly display the approximate RGB values (e.g., R: 0, G: 30, B: 30) and the corresponding hexadecimal code (e.g., #001E1E).
- A live color swatch will appear, showing how the color looks on your screen.
- Copy the RGB or hex values and use them in Illustrator or any other design software for digital mockups or web previews.
This method is especially useful when you’re collaborating with clients or team members who don’t have access to Illustrator. Instead of sending them a CMYK file and hoping their screen displays it accurately, you can provide the RGB or hex values for a more consistent preview. For example, if you’re designing a business card in CMYK but need to show a digital proof, the tool lets you generate a screen-friendly version in seconds.
When to Use the CMYK To RGB Tool vs. Illustrator’s Conversion
Both the CMYK To RGB tool and Illustrator’s built-in conversion serve the same purpose, but they’re suited to different workflows. The table below compares their strengths and ideal use cases:
| Feature | CMYK To RGB Tool | Illustrator’s Conversion |
|---|---|---|
| Speed | Instant results with no document setup required. | Requires opening the Color Panel and switching modes. |
| Ease of Use | Simple interface for quick previews, no Illustrator knowledge needed. | Requires familiarity with Illustrator’s panels and color settings. |
| Batch Processing | Not designed for bulk conversions; best for single colors. | Can convert multiple objects at once by selecting them. |
| Accuracy | Provides an uncalibrated preview; not ICC-profile aware. | Uses Illustrator’s color engine, which can be calibrated with ICC profiles. |
| Accessibility | Works in any browser, no software installation required. | Requires Adobe Illustrator, which is a paid application. |
| Output Options | Displays RGB, hex, and a live swatch. | Displays RGB values and allows swatch creation within Illustrator. |
Use the CMYK To RGB tool when you need a fast, no-fuss preview of how a print color will look on screen. It’s ideal for designers who want to share digital proofs with clients, test color schemes before committing to print, or quickly generate hex codes for web use. For example, if you’re designing a poster in CMYK but need to create a social media graphic with matching colors, the tool lets you convert the CMYK values to RGB and hex in moments.
On the other hand, Illustrator’s built-in conversion is better suited for workflows that require print accuracy or involve multiple objects. If you’re working on a project that will be printed professionally, you’ll want to use Illustrator’s color settings and ICC profiles to ensure the colors match your intended output. For instance, when preparing a magazine layout for print, you’d use Illustrator’s CMYK mode and rely on the printer’s color profile for the most accurate results. For more on preparing designs for print, check out our guide on how to convert RGB to CMYK for print in your browser.
Common Pitfalls When Converting CMYK to RGB
Converting CMYK to RGB is straightforward, but there are a few common mistakes that can lead to inaccurate or misleading results. Being aware of these pitfalls will help you use the CMYK To RGB tool more effectively and avoid color mismatches in your projects.
Assuming the Preview Is Print-Accurate
The most important thing to remember is that the RGB preview generated by the tool is an approximation, not a guarantee of how the color will print. Screens vary widely in how they display colors, and even the best-calibrated monitors can’t perfectly replicate the look of ink on paper. For example, a bright cyan in CMYK might look slightly teal or greenish on your screen, depending on your monitor’s settings. If print accuracy is critical, always request a physical proof from your printer before finalizing your design. For projects where color consistency is non-negotiable, such as branding materials or product packaging, use an ICC-profile-aware application like Adobe Illustrator or Photoshop to manage your color conversions.
Ignoring Monitor Calibration
Your monitor’s calibration plays a huge role in how RGB colors appear. If your screen is too bright, too warm, or too cool, the RGB preview from the tool won’t match what others see. For example, a monitor with a blue tint might make warm CMYK colors like reds and oranges appear cooler than they actually are. To get the most accurate preview, calibrate your monitor using a hardware calibrator or built-in software tools. On Windows, you can use the Display Color Calibration tool, and on macOS, you can use the Display Calibrator Assistant. Even a basic calibration will help you see colors more accurately and make better decisions when converting CMYK to RGB.
Overlooking Gamut Warnings
Some CMYK colors fall outside the RGB gamut, meaning they can’t be accurately represented on a digital screen. When this happens, the CMYK To RGB tool will still provide an RGB approximation, but the color may look noticeably different from the original CMYK. For example, a deep, saturated purple in CMYK might appear more muted or shifted toward blue in RGB. Illustrator will often show a gamut warning (a small triangle with an exclamation mark) when a color can’t be accurately converted. If you see this warning, be prepared for the color to look different on screen. In some cases, you may need to adjust the CMYK values slightly to achieve a closer match in RGB.
Using the Wrong Color Mode for Export
When exporting files from Illustrator, it’s easy to accidentally save them in the wrong color mode. For example, if you design a logo in CMYK but export it as an RGB PNG for a website, the colors may shift unexpectedly. Always double-check the color mode before exporting. In Illustrator, you can see the current color mode in the document title bar or by going to File > Document Color Mode. If you’re exporting for digital use, switch to RGB mode first. If you’re exporting for print, keep the document in CMYK mode. For more tips on exporting artwork correctly, read Adobe’s official guide on how to save artwork in Illustrator.
Forgetting to Test on Multiple Devices
Even if your monitor is calibrated, other people’s screens may display colors differently. A color that looks perfect on your laptop might appear oversaturated on a phone or washed out on a projector. When sharing digital proofs, always test them on multiple devices to ensure the colors are consistent. If you’re working with a team or client, ask them to view the file on their own devices and provide feedback. This is especially important for projects like websites or mobile apps, where users will view the content on a wide range of screens. The Color Contrast Checker can also help you ensure that text remains readable across different devices and lighting conditions.
Practical Examples of CMYK to RGB Conversion
To illustrate how the CMYK To RGB tool works in real-world scenarios, let’s walk through a few practical examples. These examples will show you how to use the tool to solve common design challenges, from creating digital proofs to matching colors across print and digital media.
Example 1: Creating a Digital Proof for a Print Brochure
Imagine you’re designing a tri-fold brochure for a client in CMYK. The client wants to see a digital proof before approving the print run, but they don’t have Illustrator or a calibrated monitor. Here’s how you can use the CMYK To RGB tool to provide an accurate preview:
- Open your brochure design in Illustrator and note the CMYK values for the key colors. For example, the client’s brand color might be C: 100%, M: 60%, Y: 0%, K: 0% (a bright red).
- Open the CMYK To RGB tool in your browser and enter the CMYK percentages.
- The tool displays the approximate RGB values (R: 204, G: 51, B: 51) and the hex code (#CC3333).
- Copy the hex code and use it to create a digital mockup of the brochure in a tool like Canva or Photoshop. This mockup will give the client a realistic preview of how the colors will look on screen.
- Share the mockup with the client and explain that the colors may appear slightly different in print due to the limitations of RGB screens.
This approach ensures that the client has a clear expectation of the final product while saving you time on manual conversions.
Example 2: Matching Print and Digital Colors for a Logo
Suppose you’re designing a logo that will appear on both business cards (print) and a website (digital). The client wants the colors to match as closely as possible across both mediums. Here’s how to use the tool to achieve this:
- Design the logo in Illustrator using CMYK colors. For example, the primary color might be C: 80%, M: 30%, Y: 0%, K: 0% (a deep blue).
- Use the CMYK To RGB tool to convert the CMYK values to RGB. The tool displays R: 0, G: 102, B: 179 and the hex code #0066B3.
- In Illustrator, create a new RGB document and paste the logo. Use the hex code #0066B3 for the digital version of the logo.
- Export the logo as an RGB PNG for the website and as a CMYK PDF for the business cards.
- Test the digital version on multiple devices to ensure the color remains consistent.
By using the tool to generate the RGB and hex values, you ensure that the logo’s colors are as close as possible across print and digital media. For more tips on creating consistent colors, explore our guide on how to find the complementary color in Illustrator fast.
Example 3: Troubleshooting Color Shifts in a Print Project
You’ve just received a printed sample of a poster you designed, and the colors look nothing like what you saw on your screen. The client is unhappy, and you need to figure out what went wrong. Here’s how the CMYK To RGB tool can help you diagnose the issue:
- Open the original Illustrator file and note the CMYK values for the problematic colors. For example, a green might be C: 50%, M: 0%, Y: 100%, K: 0%.
- Use the tool to convert these CMYK values to RGB. The tool displays R: 128, G: 204, B: 0 and the hex code #80CC00.
- Compare the RGB preview to what you saw on your screen during the design process. If the RGB preview looks significantly different from your screen, your monitor may be poorly calibrated.
- Check the printed sample under different lighting conditions. Printed colors can appear differently under fluorescent, incandescent, or natural light.
- If the printed colors are still off, ask the printer for their ICC profile and apply it to your Illustrator document. This will give you a more accurate preview of how the colors will print.
- For future projects, always request a physical proof from the printer before finalizing the design.
This process helps you identify whether the issue lies with your monitor, the printer’s settings, or the color conversion itself. For more on troubleshooting color issues, read our guide on how to convert RGB to CMYK in Canva for print-ready designs.
If you're weighing options, Convert CMYK to RGB in Photoshop for Accurate Screen Previews covers this in detail.