To calculate the amount of tile needed for a shower, you must find the total area of each rectangular surface by multiplying its length by its width. Because this calculator processes one rectangular surface per run, you must repeat the calculation for each wall and floor section, dividing each individual surface area by the area of a single tile and rounding the result up to the nearest whole tile. Shower installations typically consist of multiple distinct rectangular planes, including three vertical walls and a horizontal floor pan. Because these surfaces exist in different planes, each one must be measured independently using consistent linear units before any multiplication occurs. The core geometry relies on the fundamental area formula where rectangular area equals length multiplied by width, a concept detailed by OpenStax Contemporary Mathematics on Measuring Area. When dealing with mixed units—such as measuring a shower wall in feet and a decorative tile in inches—it is critical to convert all dimensions into a compatible standard unit, such as meters or inches, before calculating the final areas. Failing to standardize units prior to multiplication leads to severe mathematical errors. Once the individual surface areas are divided by the area of a single tile, the resulting theoretical tile count must always be rounded up to the nearest whole number because tiles are purchased as discrete, physical pieces.
Measuring the Multiple Dimensions of a Shower
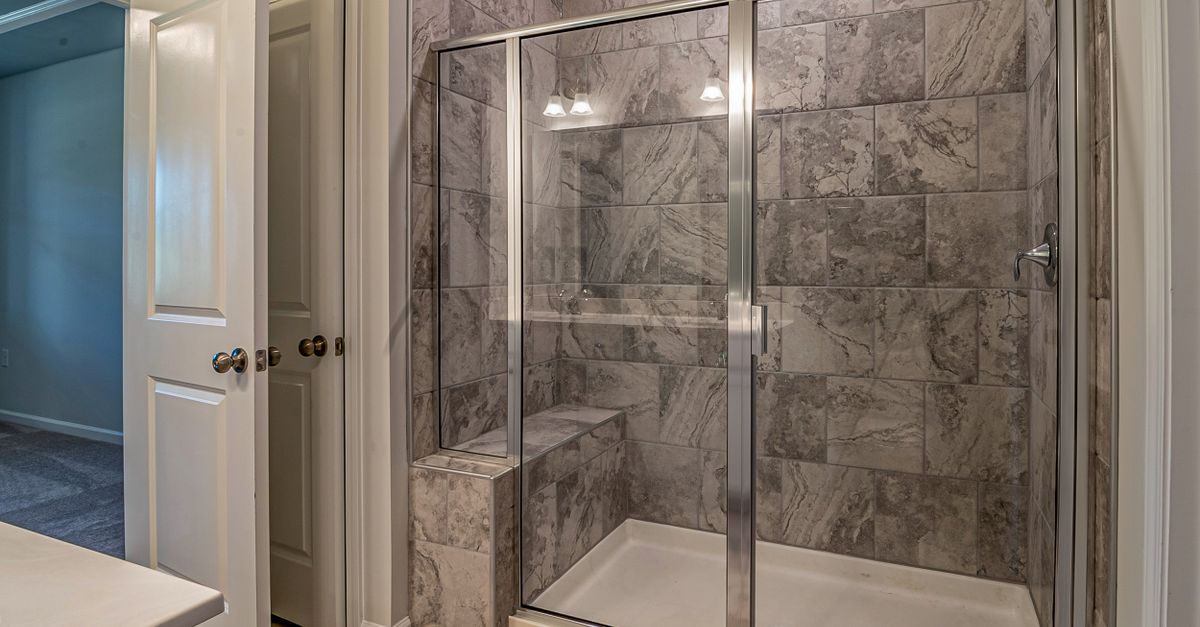
A standard shower is not a single flat room; it is a three-dimensional enclosure comprised of several distinct surfaces. To get an accurate estimate, you cannot simply measure the floor and guess the wall requirements. You must break the shower down into its individual rectangular components: the back wall, the left wall, the right wall, and the floor pan. If you plan to tile the ceiling or add a tiled bench, these must also be treated as separate rectangles.
To ensure mathematical consistency, the Tile Calculator converts all measurements into meters before performing area calculations. This eliminates the risk of mixing linear and square conversion factors. According to the National Institute of Standards and Technology (NIST), these conversions rely on exact physical relationships. The table below outlines the exact conversion factors used to translate common units into meters before calculating surface and tile areas.
| Unit Name | Abbreviation | Exact Value in Meters |
|---|---|---|
| Inch | in | 0.0254 m |
| International Foot | ft | 0.3048 m |
| Centimeter | cm | 0.01 m |
| Meter | m | 1.0 m |
How to Calculate Shower Tile Step by Step
Follow these steps to measure and estimate the tile requirements for your shower project using our online tool:
- Measure the length and width of one rectangular shower surface (such as the back wall) using a tape measure. Record these dimensions in your preferred unit (feet, inches, centimeters, or meters).
- Open the Tile Calculator and enter the surface length and width into the designated input fields, ensuring you select the correct unit for each measurement.
- Measure the actual length and width of a single tile. Enter these dimensions into the tile fields and select the matching unit.
- Set your desired extra allowance percentage (between 0% and 50%) to account for cuts, waste, and layout adjustments.
- Optionally, enter the number of tiles contained in a single box if you want to calculate the total number of cartons required.
- Click calculate to view the base pieces, purchase pieces, total theoretical area, and total box count, then repeat this process for each remaining wall and floor section of the shower.
Applying Waste Allowances and Layout Patterns
When tiling a shower, you will inevitably need to cut tiles to fit along corners, edges, and plumbing fixtures. This means you cannot buy only the exact theoretical number of tiles required to cover the area. You must add an extra allowance to ensure you do not run out of materials mid-project.
While a 10% allowance is a common starting point for straightforward, grid-like layouts, different installation patterns require different margins. For instance, diagonal, herringbone, or highly intricate mosaic patterns often result in more cut waste along the borders. Additionally, room irregularities, tile fragility, potential installation breakage, and the need to keep spare tiles for future repairs all influence the final percentage you should select.
Let us look at a worked example to see how the mathematical rounding and allowances behave under the hood. Suppose you are tiling a small accent wall that measures 60 inches wide by 35 inches high, and you are using square tiles that measure exactly 6 inches by 6 inches.
First, calculate the surface area: 60 inches × 35 inches = 2,100 square inches
Next, calculate the area of a single tile: 6 inches × 6 inches = 36 square inches
Now, divide the surface area by the tile area to find the theoretical tile ratio: 2,100 / 36 = 58.33 tiles
Without any extra allowance, the ceiling of this ratio is used because you cannot purchase a fraction of a tile. Thus, the base piece count is 59 tiles.
If you apply a 10% extra allowance for cutting waste, the calculator applies this percentage directly to the unrounded theoretical ratio: 58.333 × 1.10 = 64.166 tiles
Finally, the calculator rounds this result upward to the next whole integer: Ceiling(64.166) = 65 purchase tiles
By rounding up once at the very end of the calculation, the tool prevents compounding rounding errors and ensures you have enough physical pieces to complete the job.
Important Exclusions and Installation Realities
It is vital to understand that this calculator functions as a highly precise area estimator rather than a dynamic layout engine. It treats both your shower surfaces and your individual tiles as perfect rectangles. In a real-world bathroom, several factors will affect your final purchase that cannot be captured by a pure area calculation.
For example, this tool does not automatically subtract areas for shower niches, windows, doors, or drains. If you have a large glass door opening, you must manually exclude that area from your wall measurements. Conversely, if you are tiling a recessed niche, you will need to calculate the back and sides of that niche as separate small rectangles and add them to your total. For more tips on managing vertical surface areas, you can read about How to Calculate Tile Backsplash Square Footage, which covers similar wall-measurement strategies.
Furthermore, grout joints affect the physical layout. While grout lines slightly increase the overall coverage of each tile, installers generally advise against subtracting grout width from your tile measurements. Treating the tiles as their nominal, grout-free size provides a safe, conservative buffer. Always consult with your professional installer or tile supplier to verify carton coverage, dye lot consistency, and return policies before making a final, irreversible purchase.