An audio equalizer is used correctly when the chosen tone control matches what the math actually does, the processed signal never clips in the saved file, and the output stays a WAV the listener can compare against the source. A three-band peaking equalizer built on the W3C Audio EQ Cookbook applies three cascaded biquad filters with Q=1 and centers at 100 Hz, 1,000 Hz, and 10,000 Hz, with the treble center reduced below Nyquist on low-rate files. Each slider controls one integer gain from -12 dB to +12 dB, and zero on all three is a genuinely flat path that the tool verifies by copying samples without running a nonzero filter. "Correct" use therefore has three parts: pick inputs the browser can actually decode, set values that can be justified by ear on speakers that matter, and trust the reported raw peak, output peak, and safety scale instead of guessing whether clipping happened.
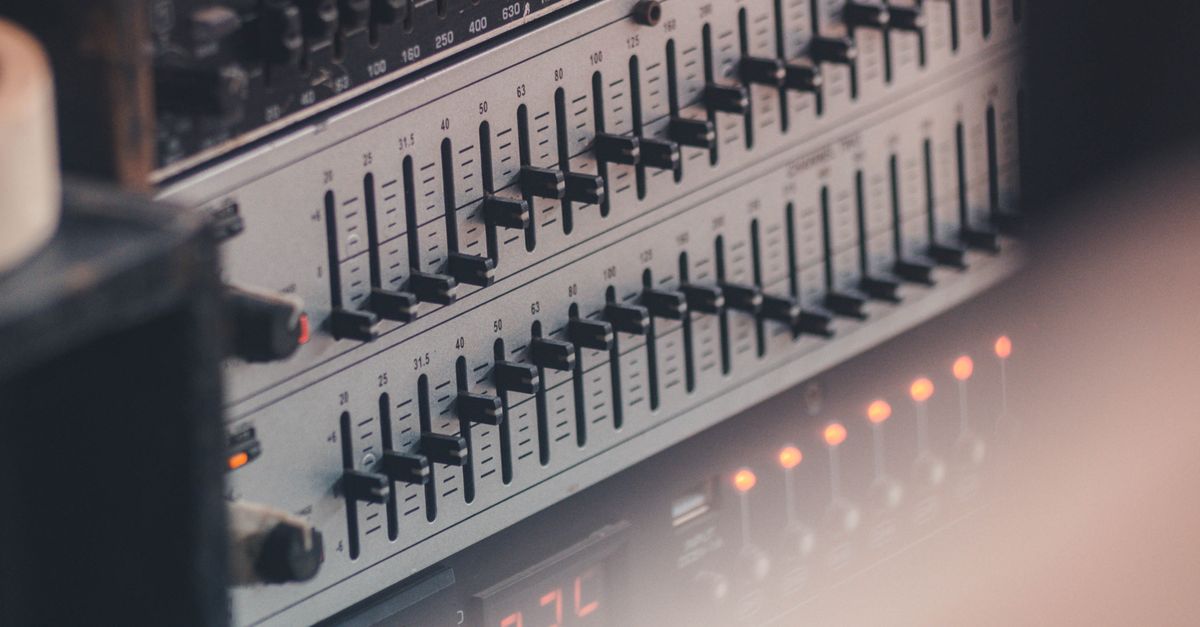
What "Correct" Use of a Three-Band EQ Actually Means
The contract on this kind of tool is intentionally narrow. It is not a graphic 10-band system, not a linear-phase mastering processor, and not an automatic room-correction engine. A peaking filter shapes energy only in a region around its center, not every frequency below or above a hard boundary. With Q=1 the curves are broad by design, and that breadth is a disclosed product choice, not something the page infers from the file. Positive values boost energy in that band; negative values cut it. Stacking large boosts across all three bands can drive samples above digital full scale even when the input never clipped, which is why a correct workflow watches the raw peak after EQ and applies the safety scale only when it is actually needed.
Because the underlying math is fixed, a correct workflow can be checked against numbers rather than against taste. The verification contract is numeric: tests cover eight external decibel-to-amplitude values from -12 through +12 dB, coefficient identity at 0 dB, an unchanged flat channel, a boosted impulse, uniform 0.99 peak safety, invalid gains, mismatched channels, and safe filenames. The same coefficient, filtering, peak, and filename functions are used in production, and the final WAV is read by automated tests rather than accepted on a visible success message alone. That kind of discipline is what separates "I moved a slider" from "I used an equalizer correctly."
Input Limits and Decoding Rules to Respect First
Correct use starts before any slider is touched. The page decodes one bounded local file with Web Audio, rejects anything that breaks the budgets, and refuses to silently truncate the tail of an oversized file. Decoding also depends on what the current browser and operating system can read: MP3, WAV, M4A, AAC, Ogg, WebM, or FLAC are listed, but a familiar extension is not a guarantee because containers can hold codecs a browser cannot read. A decode failure produces an error and no stale download link, which is itself part of the contract.
The accepted budget is concrete and numeric:
| Limit | Accepted range |
|---|---|
| Input file size | Up to 50 MiB |
| Decoded duration | 5 minutes or less |
| Channel count | 1 to 8 channels |
| Sample rate | 8,000 Hz to 192,000 Hz |
| Total channel samples | 30,000,000 or fewer |
If a file exceeds any of these limits the page rejects it before filtering begins. Web Audio may resample while decoding, so the reported sample rate is the rate that survived decoding, not the rate printed in the original container. Each accepted channel keeps the same number of sample frames and is filtered independently with identical settings, so a multi-channel file is not collapsed to mono behind the scenes.
How to Apply Bass, Mid, and Treble Gains Without Ruining the Audio
Open the Audio Equalizer page, follow the steps below, and treat the reported numbers as part of the result rather than decoration.
- Pick a file the browser can actually decode. Stay under 50 MiB, keep decoded duration under five minutes, confirm the file plays in another tab, and prefer a lossless WAV or FLAC source so the WAV you export later is the cleanest artifact in the chain.
- Decide what needs to change before touching a slider. Listen to the original on the speakers or headphones that matter, write the problem down in plain language (boomy low end, muddy midrange, dull cymbals), and pick the single band that maps to that problem rather than guessing all three at once.
- Set Bass, Mid, and Treble to whole values from -12 through +12 dB. Bass is centered at 100 Hz, Mid at 1,000 Hz, and Treble at 10,000 Hz when the decoded sample rate allows it. On a low sample rate the treble center drops to 45 percent of that rate so the biquad stays below Nyquist instead of asking an invalid filter to operate outside the available spectrum. A practical starting point is a single +2 dB or -2 dB move on the chosen band, leaving the other two at zero.
- Apply the equalizer locally, then read the raw peak, output peak, safety scale, sample rate, and frame count reported on the page. The safety scale is computed as 0.99 divided by raw peak when raw peak exceeds 0.99; otherwise it is exactly 1.000 and no rescaling happens. Worked example: if raw peak after EQ is 1.15, the safety scale becomes 0.99 / 1.15 ≈ 0.8609 and the output peak becomes 0.99. This is a clipping safety net, not loudness normalization: it does not target LUFS, RMS, replay gain, or any streaming platform target.
- Preview the result at a similar perceived level to the source. A/B against the original on the same monitors and at matched volume, and resist the temptation to judge only from the louder processed file. If the change helped the original problem, keep it. If it only got louder, the safety scale absorbed headroom the change did not earn, and the EQ move should be reduced or replaced with a cut.
- Download the complete PCM16 WAV. The header records the actual channel count, decoded sample rate, byte rate, block alignment, bit depth, and full data length. For a deeper walkthrough of the same three-band choices, see How to Equalize Audio: A Practical Three-Band Walkthrough.
Mistakes That Break EQ Correctness
A few patterns come up again and again when EQ use goes wrong. Each item below is the kind of mistake that turns the tool from a tone control into a noise generator.
- Stacking every band on the plus side. Cascaded boosts can drive samples above digital full scale even when the source never clipped. The safety scale catches the result before it is encoded, but it also reduces overall level, which is a sign that the EQ moves were louder than the recording could support.
- Treating a peaking filter like a shelf. A Q=1 peaking curve shapes a region around the center, not everything below or above. Expecting Bass at +6 dB to push every frequency under 100 Hz in the same direction is a misuse of the band, not a defect of the tool.
- Judging by the louder file. The processed file often feels better only because it is louder. Match perceived level against the source before deciding the EQ helped, otherwise the safety scale can mask a change that actually did nothing musical.
- Assuming the extension guarantees a decode. MP3, WAV, M4A, AAC, Ogg, WebM, and FLAC are listed, but a container can hold a codec the current browser cannot read. Confirm the file plays in another tab before EQing it; otherwise a decode failure produces an error and no download.
- Expecting the output to keep original tags or bitrate. The download is a new uncompressed PCM16 WAV. Original MP3 or AAC bitrate, compression mode, tags, artwork, chapters, loop markers, and container metadata are not preserved. Loudness information, replay gain, and LUFS targets are also not computed.
For a longer list of failure modes with concrete fixes, see Common Audio Equalizer Mistakes and How to Avoid Them.
Verify the Output Before You Treat It as Final
Correctness does not stop at the download button. Three quick checks turn a guess into evidence. First, read the page-reported numbers: the raw peak is the largest magnitude measured before any safety scale and can exceed 0.99 when combined boosts pushed the signal above full scale, the output peak equals 0.99 when a safety scale ran and equals the raw peak when it did not, and the safety scale should be exactly 1.000 when no clipping risk existed. Second, open the WAV in another player and confirm the header fields match what the page reported. Third, listen to the result at a matched level against the original and decide whether the change solved the original problem or just made the file louder.
The numbers the page reports are not a substitute for listening, but they are a substitute for guessing. If any reported number looks wrong, do not trust the result. Re-open Audio Equalizer, reload the page to clear stale Blob URLs, and confirm the source file still decodes in a separate tab. For a fuller checklist on what to look at after the WAV is on disk, see Check the Result After Using an Audio Equalizer. When the result is clean, the WAV is a deterministic PCM16 file with a header that follows Microsoft's WAVEFORMATEX field layout, ready for further edits, archival, or another pass through the equalizer.
One last rule that ties the whole workflow together: use a full audio editor when precise center frequencies, adjustable Q, spectrum analysis, automation, linear-phase processing, loudness metering, dithering controls, codec selection, or metadata preservation are required. The three-band tool is built to do one job correctly, and the contract above is the standard it is verified against.