To generate an audio waveform you pick one browser-decodable file, set a width between 320 and 1,600 pixels and a height between 120 and 600 pixels, choose a background color and a waveform color, and let the page build a deterministic SVG peak envelope entirely in the current tab. The first run is a three-move workflow: choose, configure, generate. Web Audio decodes the file locally — MP3, WAV, M4A, AAC, Ogg, WebM, or FLAC are only accepted when your current browser and operating system actually support that real codec. An extension or MIME label cannot guarantee decoding, so a file that works in one browser may be rejected in another. Anything outside the stated compressed and decoded budgets is rejected as a whole, which means the preview you see is the same string that downloads. The result is a static SVG overview, not a spectrogram, not a calibrated loudness meter, and not a frequency chart. Below is a plain walkthrough of what to gather, what to set, what the page reports back, and where to look once your first waveform lands on disk.
Gather These Inputs Before You Open the Tool
Avoiding mid-run rejections is easier than redoing work, so confirm the file before you click anything. The Audio Waveform Generator accepts one audio file per run and applies both a compressed-file budget and a decoded-sample budget at the same time. A small compressed file can expand into a much larger floating-point array once Web Audio decodes every channel, which is why the limits are listed twice in different units.
| Input check | Allowed range |
|---|---|
| Compressed file size | Up to 50 MiB |
| Decoded duration | Up to 5 minutes |
| Channel count | 1 through 8 channels |
| Sample rate | 8,000 through 192,000 Hz |
| Channel samples | Up to 30,000,000 in total |
Web Audio decides whether decoding actually succeeds — an extension or a MIME label never does. Unsupported, corrupt, empty, or disguised files return an error instead of producing a partial picture. If you know your file was recorded at an unusual rate, exported from non-standard software, or renamed from a container the browser cannot decode natively, expect the first attempt to fail and keep a backup file ready.
What the Waveform Actually Shows
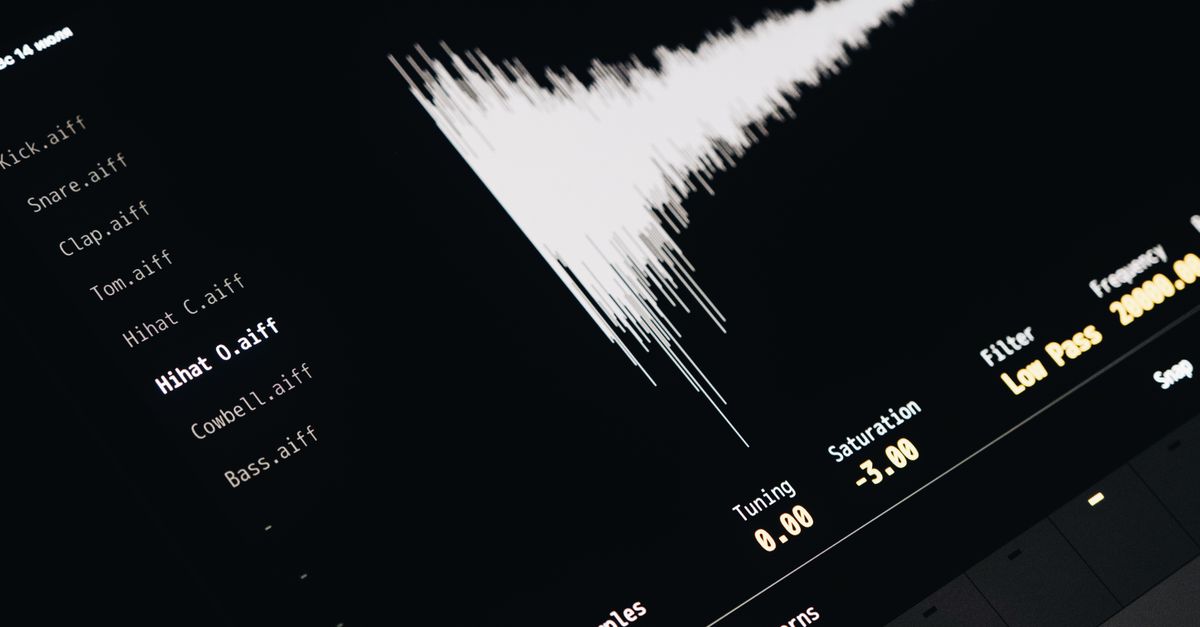
The picture you get is a deliberately simple time-domain peak envelope. Every decoded sample frame is placed into a bucket whose width comes from the requested image width and the total frame count, and for each bucket the tool finds the minimum and maximum finite sample across every decoded channel. Defensive out-of-range values are clamped to -1 through 1, and one vertical SVG line is drawn from the bucket's maximum to its minimum. Full-scale positive or negative samples extend to 45 percent of the requested height above or below the vertical center, leaving a five-percent margin at the top and bottom. The columns are evenly centered across the requested width.
The visualization is honest about what it does not compute. Use the table below to keep first-time expectations aligned with the actual output.
| Aspect | What the output covers | What the output does not cover |
|---|---|---|
| Time axis | Time runs left to right, one bucket per column | No markers for beats, notes, or section boundaries |
| Vertical axis | Sample amplitude range per bucket, full scale mapped to ±45% of height | No frequency, no pitch, no spectrum |
| Loudness | Peak envelope only | Not a calibrated loudness meter (LUFS, dB SPL, etc.) |
| Channels | Combined min/max across all channels per bucket | No separate left/right lanes |
| Diagnostics | Defensive clamping of non-finite values | Not for diagnosing clipping, phase, hearing, or mastering compliance |
Generate Your First Audio Waveform Step by Step
With a supported file ready and the limits confirmed, the run itself is short. The steps below mirror the page's verified operating flow.
- Pick one audio file from your device. The page checks the compressed size, the decoded duration, the channel count, the sample rate, and the 30-million-channel-sample budget before doing anything else. A rejected file produces an error rather than a partial image.
- Set the SVG width (320–1,600 pixels) and height (120–600 pixels) using the numeric controls, then choose the background color and the waveform color from the browser's six-digit hexadecimal color pickers. Colors are validated from those controls rather than read from the filename or any embedded metadata.
- Generate the local peak envelope. The page divides every decoded frame into contiguous integer-index buckets, takes the finite clamped minimum and maximum across all channels for each bucket, and draws one vertical SVG line per bucket between those two values.
- Read the frames and peak-column counts the page reports. Those numbers tell you how many decoded samples the tool saw and how many peak columns it actually drew, which is rarely the same as the raw pixel width once the audio is short.
- Open the expandable inspector to inspect the exact generated SVG text, then download that identical string. The download is text-based SVG, not PNG, JPEG, video, or audio, and selecting a new file, changing an option, generating again, or leaving the page revokes the obsolete object URL so an older image cannot appear to represent new inputs.
Read the Counts the Page Reports
Two numbers matter most after a successful run: the total decoded frames and the peak-column count. The peak-column count is the smaller of the requested image width, 1,000, and the decoded frame count. A short clip therefore never invents more independent measurements than it contains, and a long clip stays inside a bounded SVG and processing budget. Bucket boundaries use integer frame indices derived from each bucket number and the total frame count, with the first bucket starting at frame zero and the last bucket reaching the final decoded frame. No accepted frames are omitted between adjacent ranges.
As a single worked example, suppose you request an 800-pixel-wide image and the file decodes to 480,000 frames. The peak-column count is min(800, 1,000, 480,000) = 800. Each of the 800 columns therefore spans 480,000 ÷ 800 = 600 frames. That single calculation tells you the horizontal resolution of the waveform before you look at it.
Handle Stereo and Multichannel Files Correctly
Stereo and multichannel audio are shown as one combined peak overview rather than two separate lanes. A bucket can take its minimum from one channel and its maximum from another, which means the image does not preserve channel identity visually, does not display separate left and right waveforms, and does not average channels into a new audio signal. The original audio is never rewritten. If you need separate left and right waveforms, use an audio editor that exposes each channel as its own track and feed each track through the Audio Waveform Generator on its own.
For a quick visual check on a stereo interview or a stereo music clip, the combined view is usually enough to confirm both sides are populated. For any workflow that depends on per-channel differences — phase relationships, dialogue isolation, M/S processing — treat the combined waveform as a starting overview only and move to a multitrack editor before drawing conclusions.
Where to Go After Your First Successful Run
Once the SVG is on disk, a few practical follow-ups make the first run more useful. The download is text-based SVG with a fixed pixel size and a matching viewBox, so the picture stays sharp at any display size you drop it into; extremely large print or detailed editing workflows may still want different stroke widths or a higher-resolution source. The inspector on the page always shows the exact string the download button writes, which makes it easy to confirm you are working with the right generation before sharing the file. If you want to compare two different color or dimension settings, run the workflow again with the new options — each generation revokes the obsolete object URL, so an old preview cannot accidentally represent the new inputs. For broader decisions about whether a peak waveform is the right artifact for your project, see how to decide whether you need to generate a waveform for the use cases the time-domain peak envelope does not address.
Keep in mind that two recordings can show similar peaks while sounding very different, because perceived loudness depends on duration, frequency balance, dynamics, and playback conditions. Treat the picture as a faithful time-domain overview and nothing more — and revisit the inputs (file, dimensions, colors) the moment the result looks off, rather than chasing the symptom inside the SVG itself.
Related reading: Make Sure You Generate an Audio Waveform Correctly.