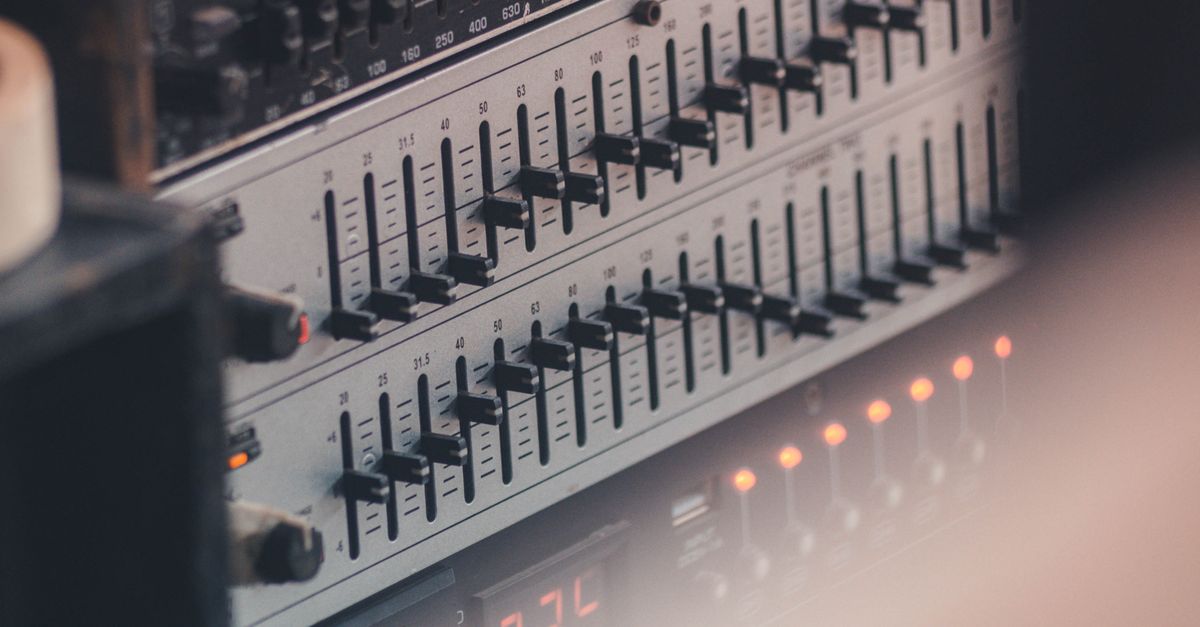
An audio equalizer adjusts the relative energy of low, mid, and high frequencies in a recording so you can shape how it sounds on your speakers or headphones. A first session reduces to three actions: pick a file, set Bass, Mid, and Treble, then download the result. The Audio Equalizer tool runs the entire job inside the current browser tab, applies three fixed-frequency peaking filters with Q=1, and writes a fresh uncompressed PCM16 WAV you can keep. Bass centers on 100 Hz, Mid on 1,000 Hz, and Treble on 10,000 Hz when the decoded sample rate allows it (the treble center drops to 45% of the sample rate on low-rate sources so the filter stays below Nyquist). The page keeps your audio bytes on your device and reports every relevant number — raw peak, output peak, safety scale, sample rate, and frame count — so you can see what your settings actually did before you commit.
What This Audio Equalizer Does Before You Press Apply
The tool is a compact three-band processor, not a 10-band graphic EQ or a linear-phase mastering chain. It applies three peaking biquad filters, the same family of equations published in the W3C Audio EQ Cookbook, to the decoded audio in the order Bass, then Mid, then Treble. Each filter uses a fixed Q of 1, which gives a broad adjustment rather than a narrow notch or surgical bell. Whole-number decibel gains from −12 to +12 are accepted, and a setting of 0 dB on every band is a genuine flat path: when all three gains are zero, the page copies the decoded samples through without running any nonzero filter section at all.
Positive values boost the energy in a band around its center, and negative values cut it. Because each section is a peaking filter rather than a shelf or high/low cut, it affects a region around its center frequency rather than every frequency below or above a hard boundary. Bass centers on 100 Hz, Mid on 1,000 Hz, and Treble on 10,000 Hz whenever the decoded sample rate permits it. On a low sample rate, the Treble center is automatically reduced to 45 percent of that sample rate so the filter stays below the Nyquist limit instead of asking an invalid digital filter to operate outside the available spectrum.
The result is a fresh PCM16 WAV file with the same channel layout and frame count as the decoded input. It is not a preservation job: the original codec, bitrate, tags, artwork, chapters, loop markers, and container metadata are not carried over. For a deeper explanation of how Bass, Mid, and Treble behave around their fixed centers, see the three-band Bass, Mid, and Treble walkthrough.
Run Your First EQ Session in the Browser
This is the shortest path from a freshly opened tab to a downloaded equalized file. Everything below happens locally; the page never uploads your audio bytes, decoded samples, EQ settings, or filename.
- Choose one browser-decodable audio file within the 50 MiB and five-minute decoded limits. Web Audio decodes the selected MP3, WAV, M4A, AAC, Ogg, WebM, or FLAC when the current browser and operating system support the actual codec inside the container — a familiar extension is not a guarantee, and a decode failure shows an error rather than a stale download.
- Set Bass, Mid, and Treble to whole values from −12 through +12 dB, then apply the equalizer locally. The page converts each integer decibel gain into the coefficient parameter defined by the W3C Audio EQ Cookbook, normalizes every coefficient by a0, and runs the resulting second-order recursive filter over each decoded channel.
- Check the raw peak, output peak, safety scale, sample rate, and frame count; preview and download the PCM16 WAV. Listen on the speakers or headphones that matter to you, compare against the original at a similar perceived level, and use the reported numbers as checks — not as proof that the result sounds great.
Processing remains in the current browser tab, and a decode failure never presents a stale download. The page will reject an over-limit file before filtering rather than silently truncating the end, so a rejection is a signal to trim the file or pick a shorter one.
Read the Peak Numbers and Safety Scale
After the EQ runs, the page reports five numbers that tell you what your settings actually did: raw peak, output peak, safety scale, sample rate, and frame count. Cascaded boosts can create samples above digital full scale even when the input did not clip, which is why the tool measures the absolute peak across every processed sample and every channel before WAV encoding. If that raw peak exceeds 0.99, one uniform scale factor reduces the entire processed result so the largest magnitude becomes 0.99. The interface reports the exact scale so you can see whether your settings triggered any reduction at all.
The relationship is a single division. If your raw peak is 1.10, the safety scale becomes 0.99 / 1.10 ≈ 0.9000 and the output peak sits at 0.99. Whenever the raw peak stays at or below 0.99, no scaling is applied, the safety scale reads 1, and the output peak reads the same as the raw peak. Scaling is not loudness normalization — it does not target LUFS, RMS, replay gain, or any streaming-platform specification, and it can reduce the overall level when combined boosts push the raw peak above 0.99. It exists so the PCM encoder does not have to chop individual peaks on its own, which would introduce distortion that no flat EQ would fix later.
| Number | What it tells you | When to pay attention |
|---|---|---|
| Raw peak | Absolute peak across all processed samples and channels before any scaling | Anything above 0.99 means your cascaded gains pushed past full scale |
| Output peak | Absolute peak after uniform scaling, capped at 0.99 when scaling kicks in | Use it to confirm the final WAV is below clipping |
| Safety scale | The single uniform multiplier applied to all processed channels | A value below 1 means the overall level was reduced to keep peaks clean |
| Sample rate | The rate Web Audio actually decoded at, which may differ from the source container rate | Low values force the Treble center to 45% of the rate |
| Frame count | Number of sample frames per channel in the result | Matches the decoded input and the length of the output WAV |
Input and Output Limits to Check First
The page enforces limits before filtering so an unexpectedly large decoded file cannot hang the tab. Knowing them up front helps you decide whether to trim a file first or to proceed as is.
| Limit | Value |
|---|---|
| Input file size | Up to 50 MiB |
| Decoded duration | 5 minutes or shorter |
| Channel count | 1 through 8 |
| Sample rate | 8,000 Hz through 192,000 Hz |
| Channel samples total | ≤ 30,000,000 across all channels |
| Accepted codecs (in supported browsers) | MP3, WAV, M4A, AAC, Ogg, WebM, FLAC |
| Output format | PCM16 WAV, signed 16-bit little-endian, interleaved by frame, new file |
Files that exceed any limit are rejected before filtering and never silently truncated. Each channel keeps the same number of sample frames, and every accepted channel is filtered independently with identical settings. The WAV header records the actual channel count, sample rate, byte rate, block alignment, bit depth, and complete data length — fields defined by the Microsoft WAVEFORMATEX reference rather than echoing the source container.
When a Three-Band EQ Is Enough and When It Isn't
A first-time session with three fixed bands and Q=1 is well suited to broad tonal shaping: dialing back a boomy low end, lifting a dull vocal region, or taming harsh highs. It is also a sensible starting point when you want to learn how an EQ feels before committing to a more detailed workflow. The tool itself makes this trade-off explicit — it is a compact three-band equalizer, not a graphic 10-band system, a linear-phase mastering processor, or an automatic room correction system, and one fixed setting will not improve every recording. Strong boosts may emphasize noise, sibilance, rumble, or existing distortion, and a single cut is often safer than stacking several boosts.
Reach for a full audio editor when you need precise center frequencies, an adjustable Q, spectrum analysis, automation curves, linear-phase processing, loudness metering, dithering controls, codec selection, or metadata preservation. Those are reasonable next steps once you have used a simple three-band tool enough to know what you want from a more capable one. If you are still deciding whether an EQ is the right tool at all for the problem you have, the decision guide on whether you need an audio equalizer walks through the trade-offs.
Common First-Time Mistakes to Sidestep
- Stacking several positive boosts at once. Cascaded boosts push the raw peak up fastest, which then triggers the safety scale and reduces the overall level. A single cut is often safer than several boosts.
- Judging the result only because it sounds louder. The safety scale reduces level precisely to avoid distortion, so a louder file is not automatically a better one. Match perceived level against the original before deciding.
- Assuming the original codec and tags survive the download. They do not — the output is a fresh PCM16 WAV with no compression mode, bitrate, artwork, tags, chapters, or loop markers from the source container.
- Trusting the file extension over the codec. A familiar extension is not a guarantee that the browser can read the container's actual codec, and a decode failure produces an error rather than a stale download.
- Skipping the preview and the reported numbers. The raw peak, output peak, safety scale, sample rate, and frame count are the contract the page gives you; treat them as the check on what your settings did before you commit to the WAV.