An audio equalizer is a tool that adjusts the balance of frequency bands in a recording, and it is the right choice when you can name one specific tonal problem — too much rumble, harsh sibilance, a muddy midrange — and want to address that band without altering the rest of the signal. Three-band peaking equalizers like the Audio Equalizer tool center their controls at 100 Hz (Bass), 1,000 Hz (Mid), and 10,000 Hz (Treble) with a fixed Q of 1 and a gain range of -12 through +12 dB per band. The signal is filtered locally in your browser tab, peaks are measured across all channels, and the result is written as an uncompressed PCM16 WAV with a uniform safety scale applied if cascaded boosts would otherwise clip. This kind of equalizer is genuinely useful for quick tonal shaping, previewing decisions, or producing a final file for a non-critical use case. It is not a substitute for spectrum analysis, automatic room correction, loudness normalization, or a linear-phase mastering processor, and treating it as one of those will produce disappointing results.
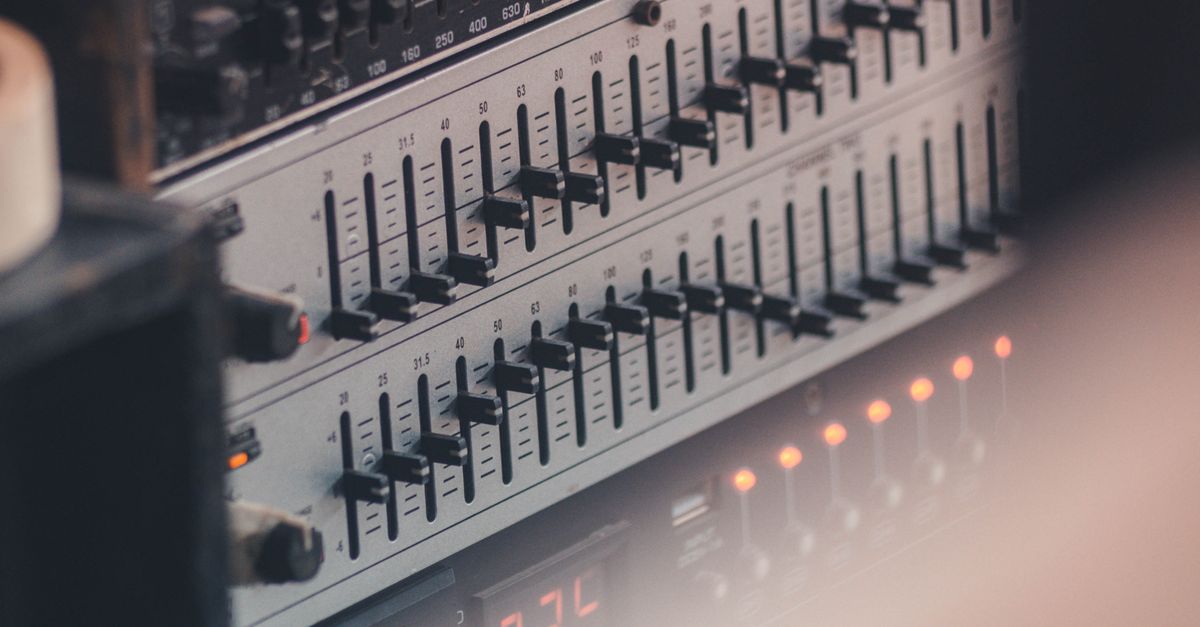
Signs That an Audio Equalizer Is the Right Tool
A peaking equalizer earns its place when the recording has a specific tonal problem that maps to one of the three adjustable bands. If you can describe the issue as "the kick drum is too boomy," "vocals sound boxy," or "cymbals are dull," then EQ is a sensible first response.
The Bass band, centered at 100 Hz, addresses low-end buildup from proximity effect, HVAC rumble, and overly resonant low-frequency content. A small cut there often cleans up a muddy mix faster than any other single change. The Mid band, centered at 1 kHz, sits in the range where vocal clarity, instrument presence, and boxiness live; a modest cut can pull a voice forward in a dense arrangement. The Treble band, centered at 10 kHz, governs air, sibilance, and the sense of detail on cymbals, strings, and breath noise. On low sample rates the treble center is reduced to 45 percent of the sample rate to stay below the Nyquist limit — for a 22,050 Hz decoded file the treble control shifts to about 9,922 Hz, which keeps the filter mathematically valid rather than asking an invalid digital filter to operate outside the available spectrum.
A peaking equalizer also works when you want to preview what a particular tonal choice will sound like before committing to it in a full editor. You can apply a value, listen, then re-apply with a different number and decide whether to keep it. That feedback loop is hard to replicate by reasoning about frequencies in the abstract, and it is exactly the use case the Audio Equalizer is built around.
Signs That You Don't Need an Equalizer
Several problems look like EQ problems but are actually something else, and reaching for an equalizer in those cases wastes time and often makes the result worse. The full catalog of ways a three-band EQ can mislead you is covered in a companion guide on common audio equalizer mistakes and how to avoid them, but the high-level pattern is the same: identify what kind of problem you have before you decide which tool fixes it.
If the recording is simply too quiet or too loud relative to the rest of your project, the right tool is a volume control with a linear gain stage, not a three-band EQ. Changing band gains does not change overall loudness in a controlled way; it only shifts energy between frequency regions, which can leave perceived loudness nearly identical while making the tonal balance worse.
If the problem is dynamic range — the loud parts are loud and the quiet parts are quiet — equalization will not help. You need dynamics processing such as compression or limiting, and a peaking EQ stacked on top will only exaggerate the imbalance. If the problem is room acoustics — boomy low end from a corner placement, harsh reflections from bare walls — the fix is speaker placement, room treatment, or headphone monitoring, not EQ. Trying to compensate for a 10 dB room resonance with a 10 dB cut at 100 Hz usually produces an uneven frequency response somewhere else.
If the issue is codec artifacts, dropouts, hiss, or distortion that is not tonal — broadband noise that does not cluster in one band — equalization will make it more obvious rather than less. A cut in one band can sometimes reveal the noise floor in the bands you did not touch, which makes the result feel less clean. In all of these situations, EQ is the wrong tool and the right move is to identify what kind of problem you actually have first.
Apply the Equalizer Step by Step
Once you have decided that a tonal problem fits one of the three bands, the workflow itself is short. Each step is a discrete action that you can verify before moving on.
- Open the Audio Equalizer page and choose one browser-decodable audio file. The input is capped at 50 MiB and the decoded audio must be five minutes or shorter, have one through eight channels, a sample rate from 8,000 through 192,000 Hz, and no more than 30 million channel samples. The browser decodes the file through the Web Audio AudioBuffer when the codec is supported, and a decode failure produces an error rather than a stale download.
- Set Bass, Mid, and Treble to whole values from -12 through +12 dB. Whole numbers are the only inputs the tool accepts; partial values are not, and out-of-range values are rejected before filtering begins.
- Apply the equalizer locally. The browser runs three cascaded peaking biquads from the W3C Audio EQ Cookbook in Bass, Mid, then Treble order with Q=1, and produces a processed buffer in the current tab. None of this leaves your browser.
- Check the reported numbers — raw peak, output peak, safety scale, sample rate, and frame count. These tell you whether the cascaded boosts pushed any sample above digital full scale and whether the safety scale reduced the output to keep the largest magnitude at or below 0.99.
- Preview the processed audio in the page, then download the complete result as a PCM16 WAV. The download is a new uncompressed file; the original codec, bitrate, tags, artwork, chapters, and loop markers are not preserved.
What the Numbers on Screen Actually Mean
The page surfaces five numbers after filtering, and each one answers a specific question about what happened to the audio.
The raw peak is the largest absolute sample value across all processed channels before any safety adjustment. If it is below 0.99, the safety scale is exactly 1 and the output peak equals the raw peak. If it is above 0.99, the tool divides every sample in every channel by the raw peak and multiplies by 0.99, so the output peak becomes 0.99 and the safety scale is 0.99 divided by the raw peak. As a single worked example, a raw peak of 1.10 produces a safety scale of about 0.9 and an output peak of 0.99. This is a clipping guard, not loudness normalization — it does not target LUFS, RMS, replay gain, or any streaming-platform specification.
The reported sample rate is the decoded rate, not the original container rate. Web Audio may resample while decoding, so the WAV header records the rate the data actually has, not the rate printed on the source file. The frame count is the number of sample frames per channel after decoding and filtering; all accepted channels keep the same number of frames and are filtered independently with identical settings. The center frequencies are reported too — Bass at 100 Hz, Mid at 1,000 Hz, and Treble at 10,000 Hz unless the sample rate forced a reduced treble center.
To convert the decibel values you set into the linear amplitude the biquad uses, the W3C Audio EQ Cookbook defines A equals 10 raised to the power of gainDB divided by 40. A single worked example at +6 dB: the amplitude factor is 10^(6/40) = 10^0.15 ≈ 1.4125, which is the multiplier that enters the b0, b2, a0, and a2 coefficients of the peaking biquad. At +12 dB the factor is 10^(12/40) = 10^0.3 ≈ 1.9953, almost exactly a doubling of amplitude. At -12 dB the factor is 10^(-12/40) = 10^-0.3 ≈ 0.5012, a little over half. The tool's published verification covers eight decibel-to-amplitude values across this same range, so the math you do by hand will match the coefficients the page computes.
How This Three-Band EQ Compares to a Full Audio Editor
A compact three-band peaking EQ and a full multitrack audio editor solve different problems, and recognizing the boundary keeps you from asking either tool for what it cannot deliver. The table below summarizes the capabilities on each side, and the surrounding notes explain when each option is the right one.
| Capability | Audio Equalizer (browser) | Full audio editor |
|---|---|---|
| Bands and Q control | Three fixed centers, Q=1, no per-band Q adjustment | Many bands, adjustable Q, often linear-phase options |
| Center frequencies | 100 Hz, 1,000 Hz, 10,000 Hz (Treble reduced below Nyquist on low-rate files) | User-selectable per band |
| Gain range | -12 to +12 dB per band, whole numbers only | Typically wider, with finer increments |
| Spectrum view | None — preview is by ear with reported numeric peaks | Usually includes a real-time spectrum analyzer |
| Loudness targeting | None — only a uniform safety scale to prevent PCM clipping | Often includes LUFS, RMS, and replay-gain metering |
| Automation and per-region EQ | Not supported — one setting applies to the whole file | Automation curves, region-specific EQ, sidechains |
| Input limits | 50 MiB, five minutes decoded, 8–192 kHz, 1–8 channels, 30 M channel samples | Set by project settings and available disk space |
| Output format | PCM16 WAV only, with no original metadata preserved | Original format or chosen target format with metadata |
| Processing location | Browser tab only, no upload of audio bytes | Local desktop install |
If you need adjustable Q, spectrum analysis, automation, region-specific settings, or codec-specific output, a full audio editor is the right tool and a three-band EQ will not satisfy those needs. If you need a quick tonal adjustment on a single file, want to preview a choice before committing, or simply do not want to install software, the Audio Equalizer handles that job in one short workflow. Pair the choice with a critical listen on the speakers or headphones that matter for your use case, and compare the result against the original at a matched perceived level — louder output is not evidence of a better mix.
For a deeper look, see How Do I Decide Whether I Need to Use Reverse Audio.