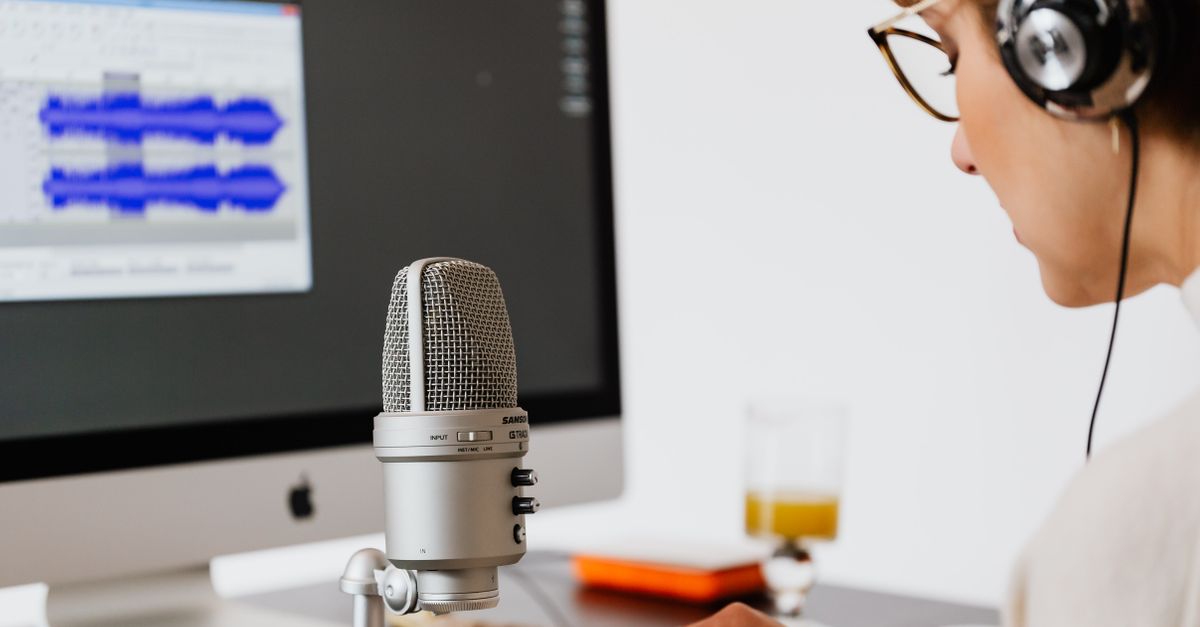
What "Documenting" Means for Audio Waveform Generation
Documenting the steps to generate an audio waveform is the act of writing down a procedure that another person — or future you — can follow to produce the same SVG image from the same input file. The record has to cover more than the buttons you pressed in one session: it must capture the file you chose, the controls you set, the limits that decided whether the file was accepted, and the SVG text the tool produced. A bare screenshot of the controls misses the data that makes the procedure reproducible.
The reason this matters is that waveform generation is rarely a one-off action. You may want to repeat the same look across a content series, hand the procedure to a teammate, train a new editor on the team's visual style, or audit a picture weeks later when a client asks where it originated. None of those reuse cases work if the documentation says "I clicked some sliders and saved a picture." A useful record is concrete: filename, format, dimensions, colors, the reported frame and column counts, and the SVG text in full.
The Audio Waveform Generator is shaped for that kind of record. It rejects unsupported or over-limit files outright, names the limits it enforces, and exposes the exact SVG string it generated. When you document against this tool, your written steps line up with what the tool itself reports, which is the simplest way to keep the record honest.
Why Determinism Matters When You Write Down the Steps
A procedure is only worth writing down if running it twice with the same inputs produces the same result. If the tool quietly changes its output between runs, the documentation becomes unreliable the first time someone re-runs it. Determinism is the property that turns a workflow into a recipe.
The Audio Waveform Generator is deterministic in the relevant sense. The SVG coordinates are calculated from validated numbers, not filenames. The vertical center is half the requested height, full-scale positive or negative samples extend to 45 percent of the height above or below that center, and columns are evenly centered across the requested width. Two runs with the same file, same width, same height, same background color, and same waveform color produce the same SVG string.
That property changes how documentation reads. You can write "for a 960 × 240 export, set width 960, height 240, background #ffffff, waveform #111111, generate, and the inspector will show 960 lines." A reader can verify each number against the inspector, instead of having to trust the writer's memory. The documentation becomes checkable.
Capture Inputs, Controls, and Limits in the Record
Every documentation record for a waveform generation workflow should list the same five categories of facts, because each one decides whether a re-run can succeed.
| Category | What to write down | Why it matters |
|---|---|---|
| Source file | Filename, audio container, decoded duration, channel count, sample rate | The same file in a different format can decode differently |
| Dimensions | SVG width and height in pixels | Width must be 320–1,600; height must be 120–600 |
| Colors | Six-digit background and waveform hex codes | Colors come only from the hex controls, never from filenames |
| Output proof | Reported frame count, reported column count, full SVG text | Proves the actual bytes, not the expected bytes |
| Limits checked | Compressed size ≤ 50 MiB, duration ≤ 5 min, channels 1–8, rate 8,000–192,000 Hz, channel samples ≤ 30,000,000 | Over-limit files are rejected in full, not truncated |
Capturing these five categories makes the record useful for audit, handoff, and re-runs. Skipping any of them turns the documentation into a story.
Write Down a Reproducible Workflow
This is the procedure to write into your record. Each step leaves a footprint you can paste into a runbook, wiki page, or tutorial.
- Pick one browser-decodable audio file and write its filename in the record. The tool reads the file with Web Audio in the current tab, so the document must say which file produced which image. Container labels like MP3, WAV, M4A, AAC, Ogg, WebM, or FLAC describe the file, but decoding still depends on what the browser and operating system actually support. Note that fact in the record.
- Confirm the file fits the decoded limits and write the verified numbers down. The compressed file must be at most 50 MiB. Decoded audio must last no more than five minutes, contain one through eight channels, use a rate from 8,000 through 192,000 Hz, and remain within 30 million channel samples. The whole file is rejected if any of these are exceeded; the waveform is not silently built from the first part.
- Set the SVG width and height and record both values. Width accepts 320 through 1,600 pixels; height accepts 120 through 600 pixels. These numbers decide the SVG viewBox, so they go in the record verbatim.
- Pick a background color and a waveform color using the six-digit hex controls and record both codes. Colors are read from the hex inputs, not from filenames or embedded source metadata. Writing the codes down is the only way to recreate the exact image later.
- Generate the local peak envelope and note the reported frame count and column count. The number of columns is the smaller of the requested image width, 1,000, and the decoded frame count. That sentence belongs in the documentation because it explains why a short clip looks blockier than a long clip with the same settings.
- Open the inspector, copy the SVG text, and paste it into the record. The page shows the exact generated SVG string in an expandable inspector, and the download uses that identical string. Storing the string alongside the controls makes the record self-verifying.
- Download the SVG and confirm the filename and contents match the recorded values. The output is text-based SVG, not PNG, JPEG, video, or audio. It contains one background rectangle and a group of peak lines with fixed pixel dimensions and a matching viewBox.
- Note the moment the record stops being valid. Selecting a replacement file, changing an option, generating again, or leaving the page revokes the obsolete object URL so an older image cannot appear to represent new inputs. The documentation should say which file produced which SVG, and when that pairing became invalid.
Record the Output You Actually Got
The most overlooked part of workflow documentation is the output itself. Saving the SVG file is not the same as recording what was inside it. A complete record stores the inspector text, the reported frame and column counts, and the dimension and color controls that produced it. With those four artifacts, the picture is reproducible; without them, it is only a file with a name.
The SVG file itself stays scalable because it uses a matching viewBox with fixed pixel dimensions. It remains sharp when placed at another display size. The documentation can honestly say the same SVG renders cleanly at thumbnail and at presentation size, because the output is the same string either way. Extremely large print or editing workflows may still need different stroke widths or more detailed source data; that limit is honest to write into the record as well. For a deeper review pass after the run, follow the steps in Check the Result After You Generate an Audio Waveform.
Honest Limitations to Note in Your Documentation
A good record admits what the tool does not do. The Audio Waveform Generator draws time-domain minimum and maximum sample peaks per bucket. It does not calculate frequency content, beats, notes, loudness, speech, transients, or musical structure. The vertical line represents sample amplitude range, not frequency, so the picture is not a spectrogram.
Two recordings can show similar peaks while sounding very different, because perceived loudness depends on duration, frequency balance, dynamics, and playback conditions. The picture is not a calibrated loudness meter and should not be used to diagnose hearing, equipment, clipping history, phase, or mastering compliance. Writing those limits into the record protects the next reader from overinterpreting the picture.
For multichannel audio, the picture is a combined peak overview: a bucket can take its minimum from one channel and its maximum from another, and the result does not display separate left and right lanes, preserve channel identity visually, or average channels into a new audio signal. The original audio is never rewritten. If separate channel waveforms are needed, that requirement goes into the record so a future user picks a different tool, such as an audio editor that exposes each channel as its own track. With those caveats written into the record, the documentation matches the tool. That match is what makes the written steps worth keeping.
If you're weighing options, Fix a Result That Looks Wrong in Audio Waveform Output covers this in detail.