Label Maker prints one non-empty line per item as a centered, paginated label sheet on US Letter or A4 paper, with a configurable grid, outer margin, and horizontal and vertical gaps — so it produces the recipient address sticker that ships with a FedEx parcel, not the barcoded carrier shipping label that FedEx Ship Manager generates for a shipment.
FedEx shipping labels include a tracking barcode, service code, origin and destination routing data, and a postage-paid mark that the carrier scans at handoff. Those fields are formatted by FedEx's own label service and printed on dedicated 4×6 thermal or laser stock, not on ordinary 30-per-page office label sheets. Label Maker does not replace that step. What it does well is turn a plain text list — one complete address per line, or one short identifier per line — into a measured grid that prints on the sticker paper you already own. For senders who reuse envelopes, polybags, or product boxes through FedEx Ground, FedEx Express, or FedEx International, the address label is the piece you can produce locally without uploading a spreadsheet or signing in to a remote service. The shipping label itself still comes from FedEx.
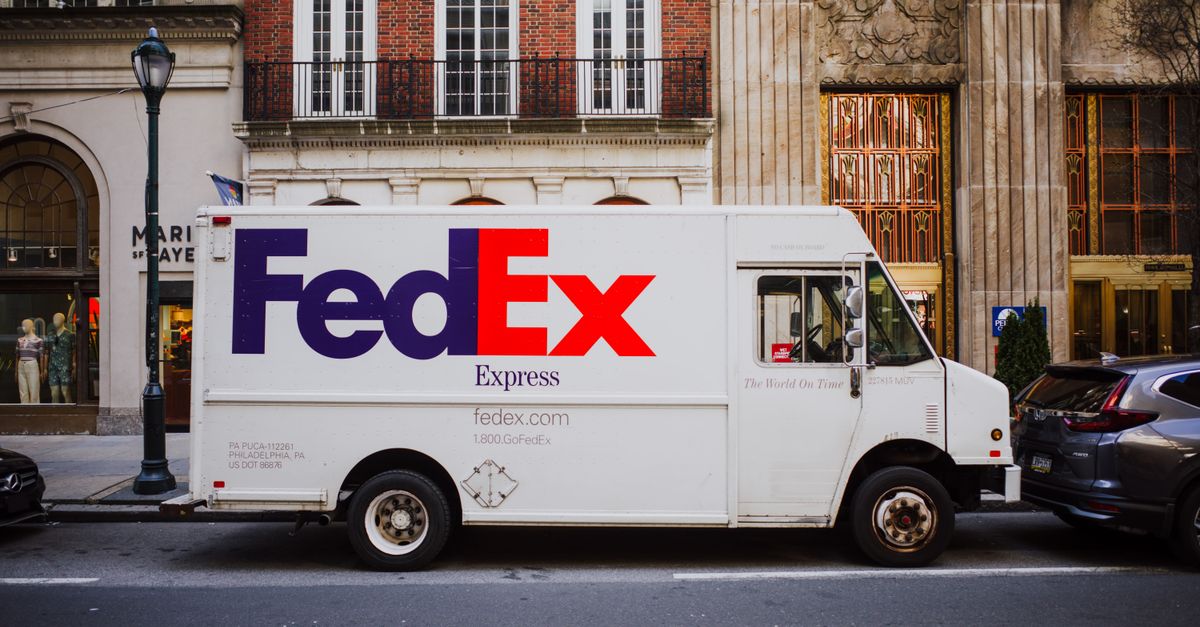
Address Labels vs FedEx Shipping Labels
The two labels on a FedEx parcel serve different jobs, and it helps to keep them straight before you start printing. The carrier shipping label is the document FedEx scans at pickup, in transit, and at delivery. It carries the tracking number, the service selected, the package weight, the routing, and any handling endorsements. That label is generated, formatted, and paid for inside the FedEx platform and is not something a general-purpose text label tool should produce.
The address label is the recipient and sender block that sits on the front of the package. It can be hand-written, printed on plain paper, or printed on a sticker, and it has to be legible, durable enough for transit, and placed on the largest flat side of the parcel. Label Maker targets that second layer. A standard domestic address such as "Jane Doe, 123 Maple Street, Apt 4B, Springfield, IL 48201" is a clean fit for one centered, word-wrapped cell on an ordinary 30-up or 80-up sheet. Short identifiers such as "RMA-2026-0143" or "Bin 12 / Cold Storage" work the same way for internal labels on FedEx Express Freight or pallet shipments.
Because the printable carrier label and the address label travel together on the parcel, the address label should never overlap, cover, or replace the carrier label. The address label goes on the largest flat side; the carrier label goes on the same side, normally adjacent to or above the address block, where the barcode stays flat and scannable.
What to Measure Before You Configure the Grid
Before opening the tool, gather four numbers from the physical sticker sheet in the printer tray. The first is the paper size. US Letter is 8.5 × 11 inches and is common in the United States and Canada. A4 is 210 × 297 mm and is common in the United Kingdom, the European Union, Australia, and most of Asia. Mixing these up is the most common reason a printed grid looks correct on screen but lands off-center on the sticker.
The second and third numbers are columns and rows. Count the die-cut stickers across the sheet and down the sheet. For a 30-up address sheet this is usually 3 columns by 10 rows; for an 80-up mini sheet it is often 4 by 20; for a 2-up shipping rectangle it is 2 by 1. Read those numbers from your sheet rather than guessing, since 3 × 10 and 2 × 5 use the same paper but produce very different printable grids.
The fourth set of values is the outer margin and the horizontal and vertical gaps. The outer margin is the empty border between the edge of the paper and the first row or column of labels. The horizontal gap is the empty space between two adjacent stickers on the same row; the vertical gap is the same thing between rows. These values are printed on most label stock packaging and on the vendor's product page. You can also measure them with a physical sheet and a ruler.
The tool uses a fixed geometry: for each axis, the usable paper size equals the paper dimension minus twice the outer margin minus the gaps between cells, and that usable size is divided evenly by the column or row count. For example, on a US Letter sheet that is 8.5 inches wide with a 0.5-inch outer margin, a 0.125-inch horizontal gap, and 3 columns, the usable width is 8.5 − 2(0.5) − (3 − 1)(0.125) = 8.5 − 1.0 − 0.25 = 7.25 inches, so each label is 7.25 ÷ 3 ≈ 2.42 inches wide. The same arithmetic applies to the vertical axis.
| Common stock example | Paper size | Columns × rows | Outer margin | Horizontal gap | Vertical gap |
|---|---|---|---|---|---|
| US Letter, 30-up address | US Letter | 3 × 10 | 0.5 in | 0.125 in | 0 in |
| US Letter, 80-up mini | US Letter | 4 × 20 | 0.25 in | 0.125 in | 0 in |
| A4, 21-up address | A4 | 3 × 7 | 1.0 cm | 0.2 cm | 0 cm |
These are common formats you are likely to see on store shelves; the exact values for your stock should come from the vendor's spec sheet. Enter them in the same units the tool accepts and the cells will line up. To match a specific die-cut layout, see the guide on how to make labels that match your sticker stock.
Make Address Labels for FedEx Packages Step by Step
- Open Label Maker and choose the paper size that matches what is loaded in the printer tray, either US Letter or A4.
- Enter the number of label columns and the number of label rows that match your physical sticker stock, for example 3 and 10 for a 30-up address sheet.
- Set the outer margin and the horizontal and vertical gaps in the same units as the paper size. The preview will redraw the dashed cell boundaries so you can confirm the geometry before adding any text.
- Type or paste one address per row in the text box, with the recipient name, street, city, state, and ZIP on a single line for each destination. Empty lines are ignored, so you can leave visual spacing without printing blank stickers.
- Inspect the paginated preview on the right. If the grid produces more lines than one sheet can hold, the tool automatically starts a new printable sheet after the configured grid is full, so a long list of recipients still prints in order.
- Open the browser print dialog, choose the same paper size, set scaling to actual size or 100 percent, and disable headers and footers if your browser offers that option.
- Print one plain-paper test sheet first. Hold the test sheet behind one sheet of label stock against a light source and confirm the text sits inside each die-cut cell, then adjust margins or gaps if any label drifts toward an edge.
- Reload the sticker stock and run the full print. Keep the test sheet and your original list until the run is complete.
Print Settings That Affect the Final Sheet
Browser print scaling is the most common cause of a grid that looks right in the preview but lands in the wrong place on the sticker. The preview uses the same page dimensions and geometry that the print view uses, so what you see is what should reach the printer, but only if scaling is left at actual size. Choosing "Fit to page" in the print dialog rescales the grid to fill the printable area and shifts every label by a few millimeters in every direction.
Paper size selection in the printer dialog must match the size you chose in the tool. A printer set to A4 with the tool configured for US Letter produces a clipped or rescaled sheet, and vice versa. Margins in the print dialog are a separate control from the tool's outer margin. Set the printer's margins to "Default" or "None" so they do not stack on top of the outer margin you already set.
Headers and footers in the browser inject page numbers, URLs, and timestamps that consume ink and overlap the top and bottom rows of stickers. Disable them in the print dialog's "More settings" or "Options" section. On laser printers, plain mode gives crisper text on matte sticker stock than high-quality or photo mode, which can over-saturate the toner and cause smearing on coated paper. The browser print pipeline that Label Maker uses is documented in the MDN Window print reference.
The dashed cell boundaries in the preview are visual guides for editing placement. They do not print, so they do not consume ink or leave marks on blank sticker stock. If you see them on a printed sheet, the printer is rendering from a cached or zoomed source; re-open the dialog, confirm actual size, and reprint.
When to Use Other Tools Alongside Label Maker
Label Maker is a text grid for office sticker sheets. Several adjacent tasks pair naturally with it, but each lives in a different tool.
If your recipients are pulled from a spreadsheet of orders, returns, or customer addresses, copy the relevant cells and paste them into Label Maker as one line per row. Label Maker centers and word-wraps plain text inside each cell and is not designed for embedded images, barcodes, or multi-line address blocks with logos.
If you need a QR code on a FedEx parcel, for example to link to a return portal or a packing slip, generate the QR image first in a dedicated QR code generator and place it in a design program that supports image insertion. If you need barcode artwork, use a separate barcode tool, since the cell renderer is text-only and will not produce a scannable glyph on its own.
The FedEx carrier shipping label, with its tracking barcode, service code, and routing data, must come from fedex.com, FedEx Ship Manager, or the FedEx Mobile app. Print that label on its own 4×6 stock, attach it to the parcel as described in FedEx's labelling guidance, and then place your printed address sticker on the largest flat side of the package. The two documents travel together on the parcel but serve different readers.
What Label Maker Does Not Cover for FedEx Shipments
A few practical limits are worth knowing before you commit a full sheet. Each entered line becomes one label, and the cell centers and word-wraps that text; complex multi-line address formatting with separate fields, logos, or barcode artwork is outside what the grid can render cleanly. The tool also refuses a grid when the chosen margins or gaps leave no usable paper area or produce labels that are too small to be practical, which is more useful than a layout that overflows the page at print time.
Label Maker is meant for ordinary organization, not for regulated shipping labels or for labels that have to meet a carrier or manufacturer specification. Treat the barcoded FedEx label, hazmat placards, and any label with carrier-issued routing data as separate documents, generated by FedEx's platform on the standard product tool. The address sticker that Label Maker produces sits alongside that document on the parcel and is the part you can prepare and print at home.