Plan an online tally counter workflow by defining one countable event, setting a short label and whole-number step, recording changes with Increase or Decrease on the device-local date, and exporting the saved daily history as PNG or CSV.
This planning prevents a common problem: the number on the screen looks complete, but nobody can explain what it represents or which day it belongs to. The Online Tally Counter is designed for repeated, neutral events such as classroom activities, production checks, personal collections, game score tallies, and visitor estimates. Its durable behavior is local daily counting plus downloadable history, so the plan should center on a precise event rule and a clear end-of-day record.
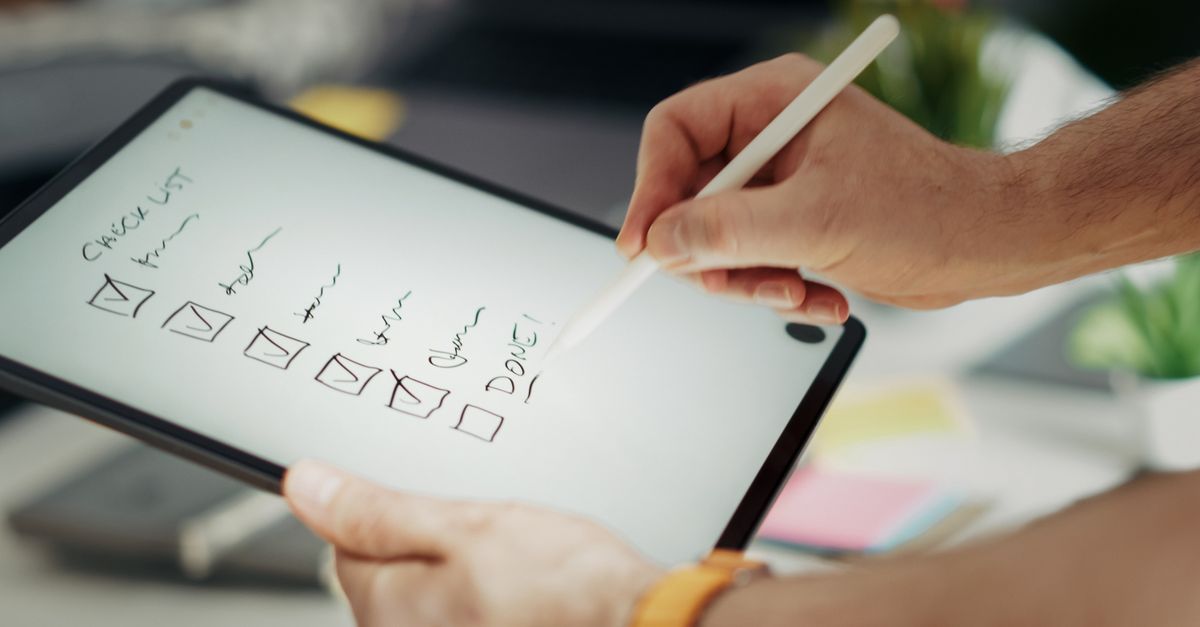
Plan the setup, count, and export routine
- Choose the event boundary. Write down what qualifies as one count and what does not. For example, decide whether a visitor is counted when crossing a selected point or when reaching a desk, and whether a production check is counted only after it is completed.
- Open the Online Tally Counter. The tool runs in the browser and does not request an account, a name, or an upload, so no credential setup is needed before counting.
- Enter a short label and choose the step for each press. Use the whole-number setting that matches your unit of counting. A step of 1 fits one event per press, while a larger whole-number step can represent a fixed bundle counted with one press.
- Confirm the date line. The displayed date identifies the device-local calendar day receiving the count. Check it before starting and periodically during longer sessions so an evening entry does not end up associated with a different day.
- Press Increase as each qualifying event happens. Every press applies the configured step. Press Increase only when a qualifying event happens.
- Correct mistakes with Decrease. If an extra press inflated the tally, press Decrease to reverse one configured step. If the entire current-day count should be removed, use the available clear action for that day; prior days remain in the history.
- Review the Daily history section. Saved dates appear in reverse order, and only dates with a nonzero saved count are included. Confirm that the current result and earlier daily records agree with what you intended to record.
- Export the record when it matters. Choose PNG for a visual record or CSV for a spreadsheet-friendly archive. Save the downloaded file wherever you need a portable copy, especially if the browser history may later be cleared.
Define the counting rule before the first press
A reliable plan separates the counting decision from the button action. Write a short rule that identifies the trigger, the unit, and the point at which an event is complete. This keeps borderline cases from producing inconsistent totals. If several people could interpret the event differently, settle that interpretation before pressing Increase rather than trying to repair an ambiguous total later.
The label should identify the event without suggesting capabilities the tool does not have. Calling a count “Visitors” does not turn it into an attendance system, and calling it “Inventory” does not create item-level records. It remains a general daily tally. Use the label to make the event understandable, and use the counting rule to define exactly what each press represents.
Step values must be whole numbers, and the daily count is maintained within a bounded range. Plan to count consistent events or fixed-size bundles rather than trying to represent fractional or irregular quantities with one press. The table below maps common decisions to the supported counter behavior.
| Situation | Planned rule | Setting or action |
|---|---|---|
| One repeatable event | One completed occurrence equals one press | Set the step to 1 and press Increase |
| Fixed-size bundle | One completed bundle equals one press | Set the step to the bundle's whole-number size |
| Extra press | Reverse one configured press | Press Decrease |
| Local day changes | Keep records separated by calendar date | Check the date line; the new day's display starts at zero |
Keep the count accurate during the day
Build one deliberate action into the routine: press Increase only when the event rule is satisfied. This matters when an event can be observed but not yet completed, or when several similar events occur close together. Pausing to verify the trigger is more dependable than pressing quickly and correcting the total afterward.
The device-local date is another part of the accuracy plan. A count recorded late in the evening stays attached to that local evening instead of being silently moved to a UTC day. When the next local calendar day starts, the displayed count begins at zero while the earlier day remains visible in Daily history. Use that rollover as the natural point for reviewing the completed day rather than combining separate dates into one informal total.
Use Decrease promptly when an extra press occurs. To discard the current day's tally without removing prior days, use the clear-current-day function. A fully cleared date does not create an empty row because Daily history displays only dates that still have a saved nonzero count. This keeps the history focused on actual recorded totals.
Match the export to the record you need
The export choice determines what you can do with the finished record. PNG is suited to a quick visual summary or share image. CSV is suited to a spreadsheet, archive, or later examination of the daily totals. Both files are created locally from the saved history at the moment you press the corresponding export control.
| Export | Best use | Exact contents | Important distinction |
|---|---|---|---|
| PNG | Visual record or share image | A 1080 by 1350 image with the Lizely mark, a total, and recent calendar-day rows | It contains no web address and does not include the custom label |
| CSV | Spreadsheet or archive | A plain two-column file labeled Date and Count, with one row for every nonzero saved day | It provides the complete saved daily list rather than only recent image rows |
Choose CSV when you need every saved nonzero day in a structured file. Choose PNG when a compact visual record is more useful than row-level data. Neither export sends the history to a server. The PNG design also avoids exposing a personal note through the custom label, although the exported image still includes the product mark, total, and recent rows.
Account for browser-only storage
Local storage is a central part of the plan. The counter keeps its state in the current browser under its own local key. It does not post the count to a server, merge it with an account, or share it with another device. Consequently, a different phone or computer begins with a separate, empty record.
Clearing this site's browser data removes the saved history. If you need a record to outlive the browser session, download PNG or CSV and retain that file separately. Do not treat the live number as a backup: it is only the visible working count, not a separate copy of the history.
There is also an important failure mode to plan for. If browser storage is disabled or full, the current page still shows the number you changed and explains that it cannot retain the history. In that situation, do not assume the day has been saved. The workflow may show the current total without providing a durable daily record until storage is available.
Use a repeatable end-of-day checklist
- Before counting: Confirm the event rule, short label, whole-number step, and device-local date.
- While counting: Press Increase only for completed events and use Decrease for each extra press.
- At a day boundary: Let the new local day begin at zero while confirming that the previous day remains in Daily history.
- Before leaving the counter: Review the saved dates and check that fully cleared days are absent.
- When a permanent record is needed: Download CSV for structured daily data or PNG for a visual summary.
- Before changing browsers or devices: Export the existing history, because it does not sync automatically.
For a deeper look, see How to Simplify the Process to Use a Tasbih Counter.
For a deeper look, see How Do I Repeat the Same Result in Workout Rep Counter?.