Kenya's eTIMS — the Electronic Tax Invoice Management System run by the Kenya Revenue Authority — is the official channel for issuing tax-compliant invoices to clients, and a free browser-based invoice generator produces the clean, print-ready PDF that you actually hand to the customer alongside your eTIMS record. Most people searching for how to generate an invoice on eTIMS already know the KRA workflow: log in to your eCitizen account, open the Sales menu, raise an invoice, fill in the buyer details and line items, and submit so the transaction is registered with the authority. That step handles compliance. What it does not always produce is a polished PDF that looks the way you want when it lands in a client's inbox or accounting folder. A no-login invoice maker that runs entirely in your browser fills that gap. You type your business details, the client's details, the line items, a tax rate, and an optional discount; the subtotal, tax, and total update live; and a single click downloads a watermark-free PDF generated locally on your machine — no upload, no account, no server storing your data.
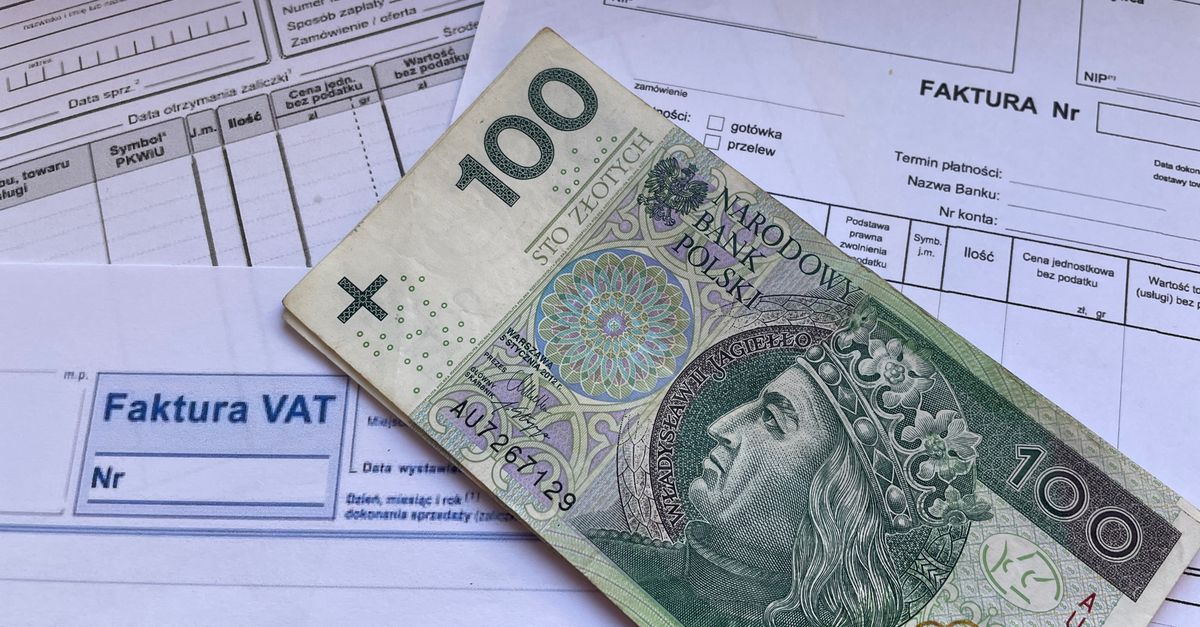
What eTIMS Is and Where a Free Invoice Generator Fits
eTIMS exists so that every sale a Kenyan business makes can be recorded with the tax authority in a standard format. Once your account is initialized through eCitizen, you raise an invoice from the Sales menu, select the buyer, add items, and submit. The portal returns a reference number that ties that transaction to your tax file, which is the part that matters for compliance with KRA. That record is exactly what eTIMS is built for: a structured, government-registered invoice. It is not always what you want to forward to the client. Many freelancers, consultants, and small traders still need a clean, branded PDF — one with a clear layout, their own business address at the top, and a total that matches the figures they quoted.
A separate free invoice generator handles that side of the job without competing with eTIMS. Think of eTIMS as the ledger and the browser tool as the document. You keep your eTIMS submission for compliance, and you use the generator when you need a presentable invoice PDF to email or print.
| Task or property | eTIMS (KRA portal) | Invoice Generator |
|---|---|---|
| Tax compliance registration | Yes | No |
| Account or login required | Yes (eCitizen) | No |
| Where the data lives | Uploaded to KRA servers | Stays in your browser |
| Client-facing PDF | System-generated layout | Custom layout you control |
| Watermark or third-party branding | Per KRA layout | None |
| Offline use after loading | No | Yes |
| Cost | Free per KRA terms | Free, no sign-up |
How to Generate an Invoice on eTIMS Step by Step
The standard workflow for issuing an invoice through eTIMS runs entirely inside the KRA portal and follows the same sequence whether you are a freelancer, a trader, or a registered company. These are the steps a first-time user typically walks through.
- Initialize your eCitizen eTIMS account. Log in with your eCitizen credentials, link your KRA PIN, and confirm the business details the portal pulls from your tax profile.
- Open the Sales menu and select Invoice. From the main dashboard, click Sales, then choose Invoice to start a new transaction.
- Select the buyer. Pick an existing customer from your saved buyer list, or add a new one with their name, PIN where applicable, and address.
- Add the line items. For every product or service, enter the description, quantity, and unit price. The portal calculates the subtotal, applies VAT or the relevant tax, and shows the total before you submit.
- Submit and note the reference number. Once the invoice is submitted, eTIMS returns a control number or invoice reference that ties the transaction to your tax file.
That reference is the compliance receipt. For the document your client actually opens, most businesses then generate a matching PDF — which is where the free browser tool comes in.
Create a Clean Client PDF With the Invoice Generator
The whole flow takes a couple of minutes the first time and much less once you know your usual line items. These four steps cover everything the tool accepts, in the order the form presents them.
- Fill in the From and Bill To blocks. In the From section, type your name or company name and your address. In the Bill To section, type your client's name and address. Then set the invoice number (it defaults to INV-001), pick the issue date, and pick the due date using the date pickers. Choose the currency symbol that matches how you bill — US dollar ($), British pound (£), euro (€), or yen (¥).
- Add a line item for each product or service. One row is already there. Type a description, the quantity (whole numbers or decimals such as 1.5 hours both work), and the unit price. Click Add item to insert more rows, or use the remove button on any row to delete it.
- Enter a tax rate and an optional flat discount. The tax field is a percentage applied to the subtotal. The discount field subtracts a flat amount before the total is calculated. The subtotal, tax, discount, and total all recalculate instantly in the live preview as you type, so you never have to do the math by hand.
- Click Download PDF. The tool lays out a print-ready invoice locally in your browser and saves the file to your device. Nothing is uploaded at any point.
For a concrete worked example, take three hours of consulting at $50 per hour and one logo design at a flat $200. The subtotal is (3 × 50) + (1 × 200) = 150 + 200 = $350. At a 16% tax rate, the tax line becomes 350 × 0.16 = $56. Subtract a $25 discount and the final total is 350 + 56 − 25 = $381. The preview shows exactly those numbers as soon as you finish typing.
What the Downloaded PDF Contains
The PDF mirrors the live preview, so there are no surprises between what you see on screen and what your client receives. The first page opens with a bold INVOICE heading, your From block in the top-left, and the Bill To block beside it. Below those sits the invoice number, the issue date, and the due date. The middle of the page is an itemized table with four columns: Description, Qty, Unit Price, and Amount. The lower-right corner carries the Subtotal, Tax, and Total summary, in the currency symbol you chose.
Long lists flow onto additional pages automatically, which means a 40-row invoice looks the same as a four-row one in structure. There is no watermark and no branding from the tool itself — the page is yours to send as-is. Any notes you add at the bottom of the form appear above the final rule. If your PDF font cannot represent a particular character (for example an emoji or some non-Latin scripts), the tool substitutes a safe glyph so the file still generates without errors.
Privacy, Accuracy, and Offline Use
Because the entire flow runs in JavaScript on your own machine, your client names, addresses, rates, and totals never leave the device. There is no server receiving a copy, no account tied to an email, and no analytics tracking the invoices you raise. This is one of the practical reasons freelancers use a local generator alongside eTIMS — anything they have not yet submitted to KRA stays private until they choose to send it.
The math is also more accurate than a quick spreadsheet. Every figure is computed in integer cents rather than floating-point dollars, which removes the tiny rounding drift that can otherwise leave an invoice a cent off. The discount is automatically clamped so that the final total never goes negative, even if you type a discount larger than the subtotal plus tax. Four currency symbols are supported and always render correctly in the downloaded PDF. If you bill in a currency that is not on the list, you can still edit the symbol or the description text after the PDF is generated.
The tool also works offline once the page has finished loading. If you invoice from a location with patchy internet — a client's office, a market stall, a remote site — you can still open the page, fill in the invoice, and download the PDF without a connection.
Practical Tips for Daily Invoicing
A simple workflow keeps the two tools from stepping on each other. Raise the invoice in eTIMS first so the transaction is registered with KRA and you have the compliance reference number. Then open the Invoice Generator and replicate the same buyer details, line items, and totals. The PDF you download is the document you attach to the email you send to the client. The eTIMS reference goes in the description, the notes field, or the email body so the client can match your paper invoice to your registered transaction.
For readers who invoice the same clients every month, bookmark the generator page: it loads instantly and keeps every billing detail on your own machine. If you want a logo on the final PDF, the current version of the tool does not support image upload — generate the document first and then add the logo in any free PDF editor. The result still has no watermark or third-party branding.
For small businesses that need a longer walkthrough of the invoicing basics — numbering, payment terms, late fees — the small business invoicing guide covers the surrounding decisions in more depth. The generator itself handles the document; the guide covers everything around it.
Whichever way you split the work, the principle is the same: eTIMS keeps the tax authority informed, and a browser-based invoice generator keeps the client informed. Used together, they give you a registered transaction and a professional PDF without forcing you to upload client data to a third-party server.
For a deeper look, see Are the Totals Accurate When Using an Invoice Generator?.