Cricut flags an image as too large when its pixel dimensions, printed footprint, or on-canvas placement exceeds the working area of the selected mat, the Print Then Cut sensor zone, or the canvas view in Design Space. In practice this warning shows up most often with high-resolution PNG or JPEG files, oversized scans, multi-panel layouts, and Print Then Cut projects that try to fill the full printable zone. The Print Then Cut sensor has its own physical maximum regardless of which mat is loaded, and each mat size has its own boundary that cannot be negotiated by the software. None of those limits are negotiable inside Design Space, which is why the same warning keeps reappearing even after a first round of resizing.
When the warning appears, many crafters assume the only fix is to shrink the file. That is one option, but it is rarely the only step in the workflow. Cricut iron-on vinyl, heat-transfer vinyl, window decals, and Print Then Cut stickers often need to be mirrored, or flipped, before the machine will cut or print correctly. A flipped file can also help rearrange how the artwork sits on a smaller mat. The right tool for that flip step is a fast, browser-based mirror that does not resample the pixels or upload the image anywhere. The Image Flipper runs locally, so nothing leaves the device while it mirrors the file.
Why Cricut Says Your Image Is Too Large
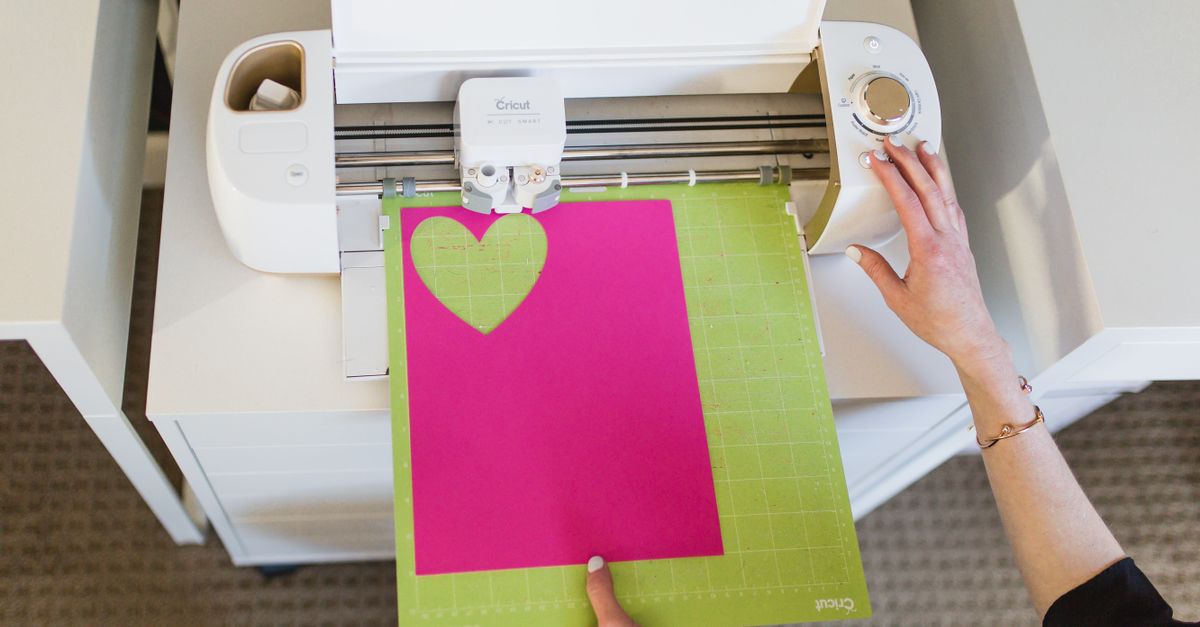
The "image too large" warning in Cricut Design Space is not a single error. It covers several real boundaries that the software checks in turn. The first boundary is the mat itself: a 12 by 12 inch mat provides 144 square inches of working area, and a 12 by 24 inch mat doubles that to 288 square inches. Any placement that crosses those edges triggers a warning. The second boundary is the Print Then Cut sensor zone, which is fixed regardless of which mat you have loaded. The third boundary is the canvas view: at high zoom levels, Design Space may show a warning that a placed object is wider than the visible workspace even though it would physically fit on the mat.
Each of these checks fires for a different reason, and each one calls for a different fix. Shrinking the artwork helps the canvas view. Splitting the artwork into tiles helps with the mat boundary. Mirroring the artwork helps when the design needs to read backward for transfer, decal, or symmetric layout reasons. Flipping is rarely the only step, but it is almost always required somewhere in a Cricut workflow that involves a large image.
Where Flipping Fits Into a Large Cricut Image
Flipping an image sounds like a small change, but it unlocks several common Cricut scenarios that would otherwise fail. The most frequent one is iron-on and heat-transfer vinyl. The cutting machine reads the vinyl from the back, so any design that contains text, numbers, or asymmetric artwork must be mirrored before cutting; otherwise the iron-on ends up reversed on the shirt or tote. The second scenario is window and glass decals, where the adhesive side changes which way the artwork needs to face. The third is symmetric pattern layouts where the left and right halves need to be flipped to align with a mat cutout.
A flipped image also solves a subtler "too large" problem. When a large design is resized down to fit a smaller mat, parts of it can drift off the edge in awkward places. Mirroring the design lets the visual weight shift so the most important elements land inside the cuttable area. Designers regularly flip, resize, and flip again until the artwork sits cleanly on the mat and the warning icon disappears.
Flip the Image Step by Step with Image Flipper
For most craft projects the fastest path is to mirror the image in the browser, download the corrected PNG, and upload it back into Design Space. Here is the exact workflow:
- Click Browse files and choose the image you want to flip. The Image Flipper accepts PNG, JPEG, WebP, GIF, BMP, and AVIF, which covers nearly every file type exported from a camera, scanner, or design app.
- Press Flip horizontal to mirror the image left to right, or Flip vertical to mirror it top to bottom. Use horizontal for iron-on vinyl and most decal projects.
- Combine both flips, or click a button again to undo, and watch the live preview until it looks right. Each flip is reversible, so you can experiment freely without losing the original orientation.
- Click Download PNG to save the flipped image to your device. The export is a lossless PNG that keeps the original width, height, aspect ratio, and any transparency intact, so the file drops into Design Space exactly as previewed.
This whole workflow runs locally in the browser. Nothing is uploaded, nothing is stored on a server, and the picture is cleared from memory as soon as the page is closed or refreshed.
Other Ways to Handle an Image Too Large in Cricut
Flipping the image is one prep step. The size warning usually needs at least one more move before the file drops cleanly onto the mat. The simplest is to resize the design in Design Space by dragging a corner inward while the proportions are locked. For multi-part designs, the Contour tool hides parts of a layered image so the visible cut path fits the mat. For very large prints, the Print Then Cut tiling feature splits the artwork into overlapping panels that each fit the sensor zone, and the panels are assembled after cutting. Outside Design Space, a high-resolution JPEG or PNG can also be reduced in file size with a browser-based image compressor so it imports and previews more quickly, although that does not change the printed dimensions.
The table below maps each common Cricut scenario where a large image triggers a warning to the prep steps that usually fix it. The mirror flip row is where the Image Flipper does its work.
| Scenario | Why the warning appears | Prep step that fixes it |
|---|---|---|
| Iron-on vinyl with text | Image too large for shirt area, and design must read backward | Resize in Design Space, then mirror with the Image Flipper |
| Print Then Cut sticker sheet | Logo or label larger than the Print Then Cut printable zone | Split into overlapping panels in Design Space |
| Window decal facing inward | Adhesive side reverses orientation; image often exceeds mat | Mirror the artwork with the Image Flipper, then resize |
| Tiled multi-mat poster | Each tile too large for a single mat | Resize each tile, then flip alternating tiles to mirror the seam |
For a deeper walkthrough of how a horizontal and vertical mirror work in the same tool, the Flip an Image Online: Horizontal and Vertical Mirror Guide covers the mechanics from a more general angle.
Local Flipping Protects Sensitive Files
Cricut users often work with images that contain unpublished designs, kids' school photos, family scans, or client artwork. Sending those files to an unknown online flip tool is risky: many "free flipper" sites quietly upload the picture to a server, keep a copy for analytics, or attach identifying metadata to the export. The Image Flipper avoids all of that by processing the file in the browser using the device's own power. There is no upload step, no account, no history, and no tracking. The pixels are mirrored and exported directly back to the computer, which makes the tool safe for identity documents, medical images, private screenshots, and any other sensitive material that might appear in a Cricut project.
Because the flip is lossless and pixel-accurate, the output PNG drops into Design Space exactly as it appears in the preview. There is no resampling, no compression artifact, and no hidden crop. If the result is not what you wanted, refresh the page, pick the file again, and try the other axis. The privacy model and the lossless output together make the Image Flipper a reliable prep step for any Cricut project that needs a mirrored image before it can be cut.
If you're weighing options, Image Too Large in Cricut Design Space? Flip It Right covers this in detail.