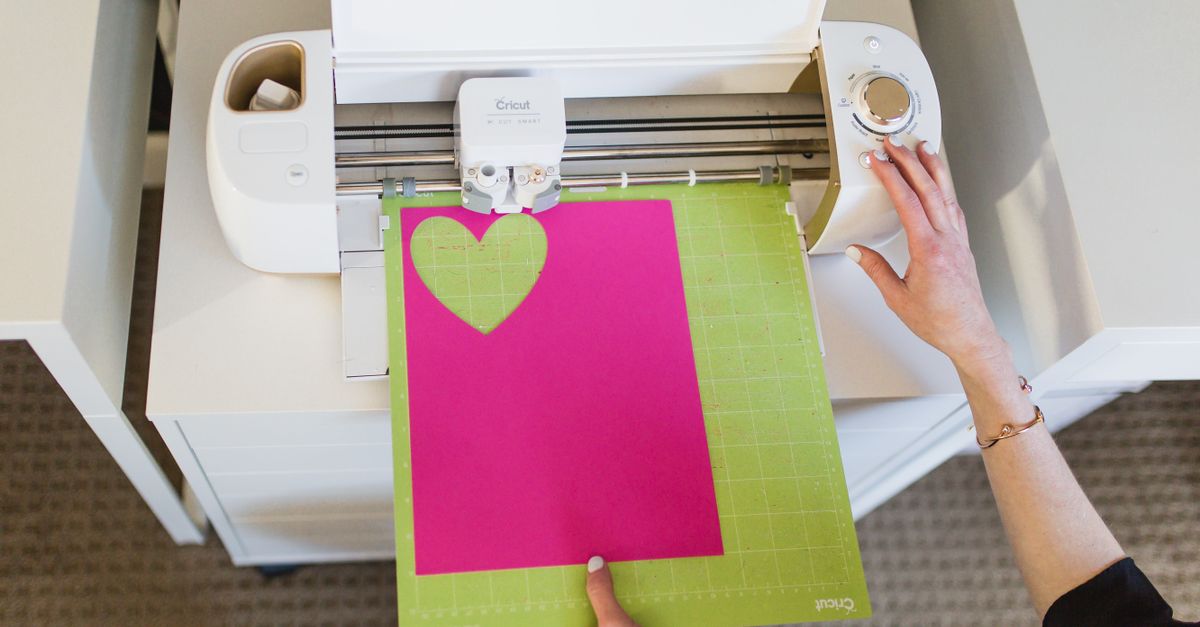
In Cricut Design Space, the "image too large" message usually means your picture exceeds the canvas or Print Then Cut area the software accepts — a standard Print Then Cut printable zone of roughly 9.25" × 6.75" on most Cricut machines — and the practical fix is to resize, mirror, or both before uploading. Flipping does not change the pixel size of an image, but it is the step most crafters forget and the one that breaks heat-transfer vinyl, stencil vinyl, and any text-based design if it is skipped. Heat-transfer vinyl (HTV), adhesive vinyl used as a stencil, and any design that reads as readable text must be mirrored horizontally before the blade cuts, because the material is placed face-down on the mat and the cutter is effectively reading the back of the image. So when Cricut Design Space says your image is too large, the safe order is: resize first so it fits the printable area, then flip horizontally if you are cutting HTV or a stencil, then upload. This guide explains what "too large" actually means, why mirroring belongs in the workflow, and how to flip an image locally with Image Flipper before it ever reaches Cricut.
What "Image Too Large" Means in Cricut Design Space
The "image too large" prompt in Cricut Design Space is not a single error — it surfaces in slightly different ways depending on what the software is complaining about. Three situations are common, and each has a different remedy.
The first situation is the Print Then Cut size limit. When you upload an image and toggle the Print Then Cut option, Cricut tries to fit the artwork inside its maximum printable area, which is bounded by the registration marks the machine prints in the corners of the page. On standard Cricut Maker, Explore, and Joy setups that support Print Then Cut, that bounded area is around 9.25" × 6.75". If your image, at its current pixel dimensions and the DPI you have chosen, would print outside that rectangle, Cricut Design Space warns that the image is too large and either shrinks it automatically or refuses to print. The uploaded file itself is still accepted, but the printed-and-cut result will be cropped or rescaled.
The second situation is the design canvas size. Each mat size in Cricut Design Space has a working canvas, and the default view is 12" × 12" for the most common mat. If you drop a high-resolution photograph or a large illustration onto the canvas, the design may appear to overflow the working area. The image still uploads, but the part that hangs outside the canvas is hidden by default and you have to scroll or zoom to see it, which is what most people describe as "too large."
The third situation is file size or pixel density. Cricut Design Space accepts uploads up to a generous pixel size, but if your image is at a very high DPI (300+), the equivalent print size can feel huge once the canvas is set. None of these situations actually require flipping on its own, but flipping is the next step most projects need anyway, which is why it belongs in the same fix-it conversation.
Why Flipping Belongs in the Cricut Fix
Mirroring is one of those steps that looks optional until you cut a t-shirt and the words come out backwards. Several Cricut project types require a horizontal flip before cutting, and forgetting it ruins the finished piece:
- Heat-transfer vinyl (HTV) — the material is laid face-down on the mat, so the blade cuts the reverse side. If your image is not mirrored before you upload and click "Make," the design will be flipped once it transfers to the fabric. HTV projects are the most common reason Cricut users search for "image too large" alongside flipping: they think the canvas is wrong when the real issue is the orientation of the artwork.
- Stencil vinyl — adhesive vinyl used as a stencil for etching glass, painting wood signs, or tracing onto a surface needs the design mirrored so the finished paint reads correctly. The stencil acts as a mask, so anything on its surface will print in reverse.
- Readable text and monograms — any letter or word that is supposed to read normally on the finished product must be mirrored before the cut, for the same reason as HTV.
- Reversed reference photos — front-camera selfies and mirrored scans come out backwards. Flipping them horizontally restores the orientation so they can be used as templates or transferred onto vinyl.
Vertical flips are less common for Cricut, but they show up in transfer-printing workflows, water-reflection compositions, and inverted scans. Combining both flips gives a full 180-degree rotation, which is useful when the artwork's center of gravity is in the wrong corner for the mat you have loaded.
Flip Your Image in Four Steps
Use Image Flipper to mirror a picture in seconds, entirely in your browser. Nothing is uploaded, so a high-pixel PNG of a detailed design can be flipped without waiting on a slow connection or worrying about file-size limits on a remote server.
- Click Browse files and choose the image you want to flip (PNG, JPEG, WebP, GIF, BMP, or AVIF).
- Press Flip horizontal to mirror it left to right, or Flip vertical to mirror it top to bottom.
- Combine both flips, or click a button again to undo, and watch the live preview until it looks right.
- Click Download PNG to save the flipped image to your device.
The download is always a PNG, which keeps sharp edges, text, and any transparent background intact. PNG also preserves the pixel dimensions of the original, so the file you upload into Cricut Design Space will be exactly the same size as the file you flipped — flipping never makes an image fit a smaller canvas, but it always produces the right orientation for HTV and stencil cuts.
Cricut-Specific Prep After You Flip
Mirroring is one part of the Cricut fix; resizing is the other. Once your flipped image is downloaded, follow these steps inside Cricut Design Space to turn it into a finished cut:
- Click Upload in the Design Space left panel and choose Upload Image, then browse to the flipped PNG you just saved.
- For a Print Then Cut project, decide whether you want a Cut image (shapes that the blade follows) or a Print Then Cut image (printed graphics with a cut border). Pick the type that matches your project on the upload screen.
- If the upload preview shows an "image too large" warning, the printed output will be downscaled to fit the maximum printable area of around 9.25" × 6.75". To keep the design at your intended size, reduce the pixel dimensions first using a resizer, then re-upload.
- Place the image on the canvas. Drag the corner handles to scale it to the real-world size you want — for example, 10" wide for a t-shirt graphic. Hold Shift while dragging to keep the aspect ratio locked.
- For HTV, stencil vinyl, or any text-bearing design, confirm the Mirror toggle is turned ON in the Make screen. The image was already mirrored in your browser, so the on-screen image will look backwards at this stage — that is correct, because the cut side is now facing up on the mat.
- Choose your material (Heat Transfer Vinyl, Stencil Vinyl, Adhesive Vinyl, etc.), load the mat, and press Go.
If you need exact hex codes from your image to match brand colors on a Cricut project, the Cricut color-matching guide walks through the local workflow step by step.
Choosing the Right Axis: Horizontal, Vertical, or Both
Each flip type does something different, and choosing the wrong one is the most common reason Cricut projects fail after a successful upload. The table below matches each flip to the Cricut situation where it applies.
| Flip type | What it does to the pixels | Common Cricut use case |
|---|---|---|
| Horizontal | Mirrors the image left-to-right, like a mirror reflection | HTV/iron-on vinyl, stencil vinyl, text, monograms, correcting mirrored selfies used as templates |
| Vertical | Mirrors the image top-to-bottom, flipping it along its horizontal axis | Inverted scans, water-reflection compositions, transfer-printing alignment |
| Both (horizontal + vertical) | Equivalent to a 180-degree rotation | Repositioning an asymmetric design so its heavy corner sits on a different part of the mat |
For the vast majority of "image too large" Cricut workflows, the right answer is a single horizontal flip combined with a resize. Vertical flips and combined flips are occasional tools, not everyday ones.
Privacy, Formats, and Quality Notes
Flipping an image sounds simple, but it has a few practical limits worth knowing before you start.
Privacy. Image Flipper runs entirely inside your browser. The picture you load is painted onto a canvas, mirrored with a transform, and exported again — none of those steps involve a server, so the image never travels across the internet. This matters for Cricut projects that include unpublished designs, licensed artwork, or client logos you do not want to send to a third-party service.
Supported formats. The tool accepts PNG, JPEG, WebP, GIF, BMP, and AVIF — the same formats Cricut Design Space accepts on upload. SVG is intentionally not supported by Image Flipper because SVG is a vector format and the geometry cannot simply be "mirrored" by reversing pixel rows. If you are working with an SVG, export it to a PNG first and then flip the PNG.
Output. The downloaded file is always a PNG, regardless of the input format. PNG keeps the original pixel dimensions, preserves transparency, and stores text and sharp edges without compression artifacts. Only the orientation changes; the original width, height, and aspect ratio are preserved, and the result is exported as a PNG, so any difference in on-disk size versus the input comes from the format change rather than the flip itself.
Quality. Flipping only reverses geometry, so no detail is lost. The exported PNG is a pixel-accurate mirror of the input, not a re-photographed or re-encoded version. You can flip the same image multiple times safely; pressing Flip horizontal a second time simply returns the image to its starting orientation, which is handy for previewing both directions before you commit.
For a deeper look, see Icon Too Large? Resize It to Exact Favicon Sizes.