
To get color images on your Cricut, you need the exact HEX or RGB color codes from your source image. Cricut Design Space doesn’t let you sample colors directly from photos, so you’ll need a tool that extracts precise color values. The Image Color Picker solves this by letting you click any pixel in an image and instantly see its HEX and RGB codes. This means you can match colors from logos, fabric swatches, or digital artwork perfectly in your Cricut projects—no guesswork or manual color matching required.
For example, if you’re designing a custom vinyl decal and want to use the exact shade of blue from a brand’s logo, you can upload the logo to the Image Color Picker, click the blue area, and copy the HEX code. Paste that code into Cricut Design Space, and your vinyl will cut in the precise color you need. This method works for any project, whether you’re making stickers, heat transfers, or paper crafts. The tool is especially useful for designers who work with client-provided images or need to match colors across multiple materials.
Unlike desktop software like Photoshop, which requires installation and a learning curve, the Image Color Picker runs entirely in your browser. There’s no need to download anything, and your images never leave your device. This makes it a fast, private, and accessible solution for anyone who needs to extract colors quickly. if you're a hobbyist or a professional, this tool simplifies the process of getting accurate colors for your Cricut projects.
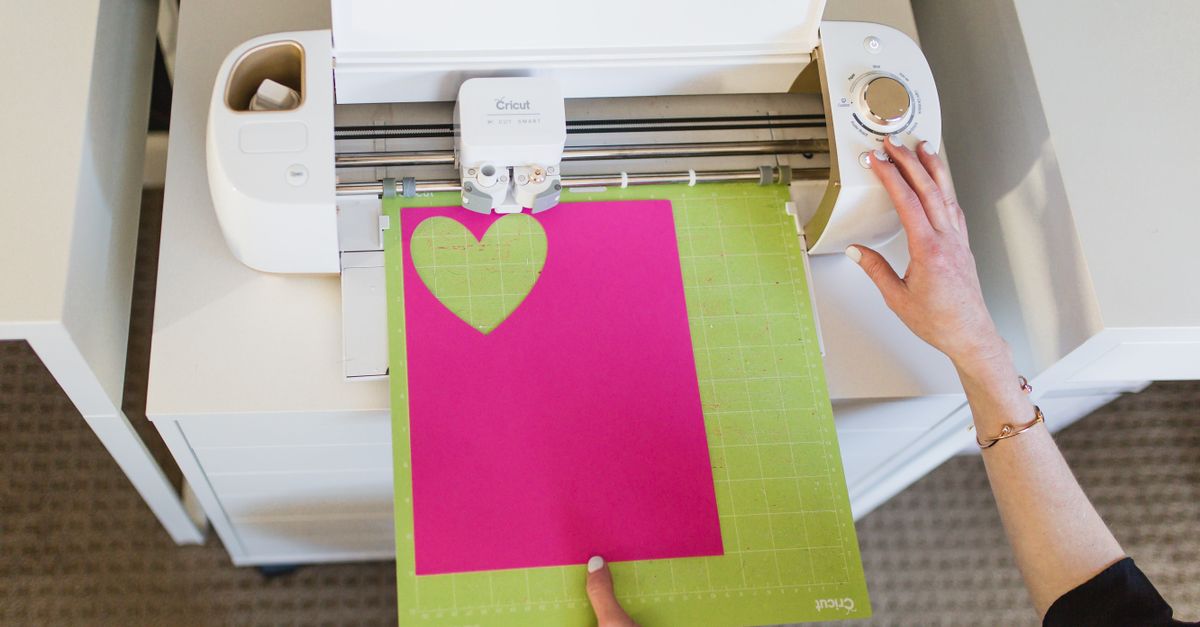
Why Cricut Design Space Needs Exact Color Codes
Cricut Design Space uses HEX or RGB color codes to ensure consistency across materials and projects. When you upload a design, the software relies on these codes to match the colors you’ve chosen with the materials you’re cutting or printing. For example, if you’re working with vinyl, the color code tells the Cricut machine which shade to use, ensuring your final product looks exactly as you intended. Without precise codes, colors can appear slightly off, leading to mismatched designs or wasted materials.
This is especially important for projects that require brand-specific colors, like logos or corporate designs. A slight variation in color can make a design look unprofessional or fail to meet client expectations. By using exact HEX or RGB codes, you can ensure that every element of your project—from vinyl to cardstock—matches perfectly. The Image Color Picker makes this easy by giving you the exact codes you need in seconds.
Another advantage of using precise color codes is that they allow you to save and reuse colors across multiple projects. Once you’ve extracted a color from an image, you can store its HEX code in a palette or note it down for future use. This saves time and ensures consistency, especially if you’re working on a series of related designs. For example, if you’re creating a set of stickers for a brand, you can use the same color codes for all of them, ensuring a cohesive look.
How to Extract Colors from an Image for Cricut
- Open the Image Color Picker tool in your browser.
- Click Browse files and select the image you want to use from your device. The image will load instantly in the tool.
- Move your cursor over the image to preview colors in real time. The tool displays the HEX and RGB values of the pixel under your cursor.
- Click any pixel to lock in the color you want. The tool will display the exact HEX and RGB codes next to a live color swatch.
- Tap Copy to copy the HEX code to your clipboard. You can now paste this code directly into Cricut Design Space or any other design software.
- If you need to compare multiple colors, click additional pixels. The tool saves your recent colors in a history strip at the bottom of the screen.
- Repeat the process for any other colors you need, then close the tool—your image is never uploaded or stored.
Using Extracted Colors in Cricut Design Space
Once you’ve extracted the HEX or RGB codes from your image, using them in Cricut Design Space is straightforward. Start by opening your project in Design Space and selecting the element you want to color. Click the Color box in the toolbar to open the color picker. Instead of choosing a color from the default palette, paste the HEX code you copied from the Image Color Picker into the search bar. Design Space will automatically apply the exact color to your design.
If you’re working with multiple colors, repeat this process for each element. For example, if you’re designing a layered vinyl decal, you can assign each layer its own precise color code. This ensures that every piece of vinyl matches the original image perfectly. You can also save your custom colors to the Design Space palette for future use, making it easy to reuse them in other projects.
For projects that involve printing, like print-then-cut designs, precise color codes are even more critical. The colors you see on your screen may not match the printed output if you rely on generic color swatches. By using exact HEX or RGB codes, you can minimize discrepancies and achieve more accurate results. If you’re unsure how a color will print, test it on a small sample before committing to a full project.
Frequent Errors When Extracting Colors
One of the most common mistakes when extracting colors for Cricut projects is relying on low-resolution images. If your source image is blurry or pixelated, the colors you extract may not be accurate. Always use high-quality images to ensure the best results. If you’re working with a logo or artwork, try to find the original file rather than a screenshot or compressed version.
Another mistake is not accounting for lighting or screen calibration. The colors you see on your screen may look different from the final printed or cut material. To minimize this issue, use a calibrated monitor if possible, and test your colors on a small sample before starting your project. If you’re working with a client, ask for their brand’s official color codes to ensure consistency.
Finally, avoid using color codes from untrusted sources. For example, if you find a color code online, it may not match the actual color in your image. Always extract colors directly from your source image using a reliable tool like the Image Color Picker. This ensures that the codes you use are accurate and tailored to your specific project.
Comparing Image Color Picker with Other Tools
When it comes to extracting colors from images, there are several tools available, but not all are equally suited for Cricut projects. The table below compares the Image Color Picker with other common methods, highlighting their pros and cons.
| Tool | Pros | Cons |
|---|---|---|
| Image Color Picker (Browser) | Free, private, no installation, instant results, works on any device | Requires an internet connection (though the tool works offline after first load) |
| Photoshop (Desktop) | Highly accurate, advanced features, works offline | Expensive, steep learning curve, requires installation |
| Mobile Apps | Convenient for on-the-go use | Often require uploads, limited privacy, may compress images |
| Online Color Pickers | Accessible from any browser | Many require uploads, slower performance, privacy concerns |
The Image Color Picker stands out for its simplicity and privacy. Unlike desktop software, it doesn’t require installation or a subscription, and unlike many online tools, it doesn’t upload your images to a server. This makes it ideal for users who need a quick, reliable way to extract colors without compromising their privacy or workflow.
For users who need additional image editing features, like resizing or compressing, the Image Color Picker can be paired with other browser-based tools. For example, you can use the Image Resizer to adjust your image dimensions before extracting colors, or the Image Compressor to reduce file size without losing quality. This flexibility makes it a versatile choice for all your Cricut project needs.
Advanced Tips for Matching Colors in Cricut Projects
If you’re working on a complex project with multiple colors, consider creating a color palette before you start designing. Use the Image Color Picker to extract all the colors you need from your source image, then save their HEX codes in a document or design software. This will help you stay organized and ensure consistency across your project. For example, if you’re designing a set of stickers, you can use the same color codes for all of them, creating a cohesive look.
Another tip is to use the color history strip in the Image Color Picker to compare multiple colors side by side. This is especially useful if you’re trying to decide between similar shades. For example, if you’re designing a logo and need to choose between two blues, you can click both colors and see them next to each other. This makes it easier to pick the best option for your project.
Finally, if you’re working with printed materials, consider testing your colors on a small sample before committing to a full project. Print a test sheet with your chosen colors and compare it to your source image. This will help you catch any discrepancies early and make adjustments as needed. If the printed colors don’t match, you can tweak the HEX codes slightly to achieve a closer match.
More on this topic: Match Picture Frame Colors to Your Artwork in 3 Clicks.
For a deeper look, see Convert Base64 to Image in C# Without Writing Code.