
Converting an image to black and white means replacing every colored pixel with a single gray value computed from its red, green, and blue components, using the standard luminance weights 0.2126 R + 0.7152 G + 0.0722 B published by the W3C. The result is a full-resolution grayscale PNG where each pixel still carries the original width and height of your source file, so no detail is cropped or resized in the process. This kind of transform is ideal for product photos, portraits, scanned documents, and screenshots where color is either distracting or unnecessary, and the output is a portable PNG that can be re-imported into any editor, slide deck, or web page.
The fastest way to do this locally, without installing software or uploading a photo to a remote server, is the Black and White Photo Converter. It accepts JPG, PNG, and WebP inputs up to a documented file and pixel limit, runs the per-pixel canvas transform in your browser, and hands back a downloadable grayscale PNG. Below is a plain guide on how to use it, what is happening under the hood, and a few related tasks you might want to do next.
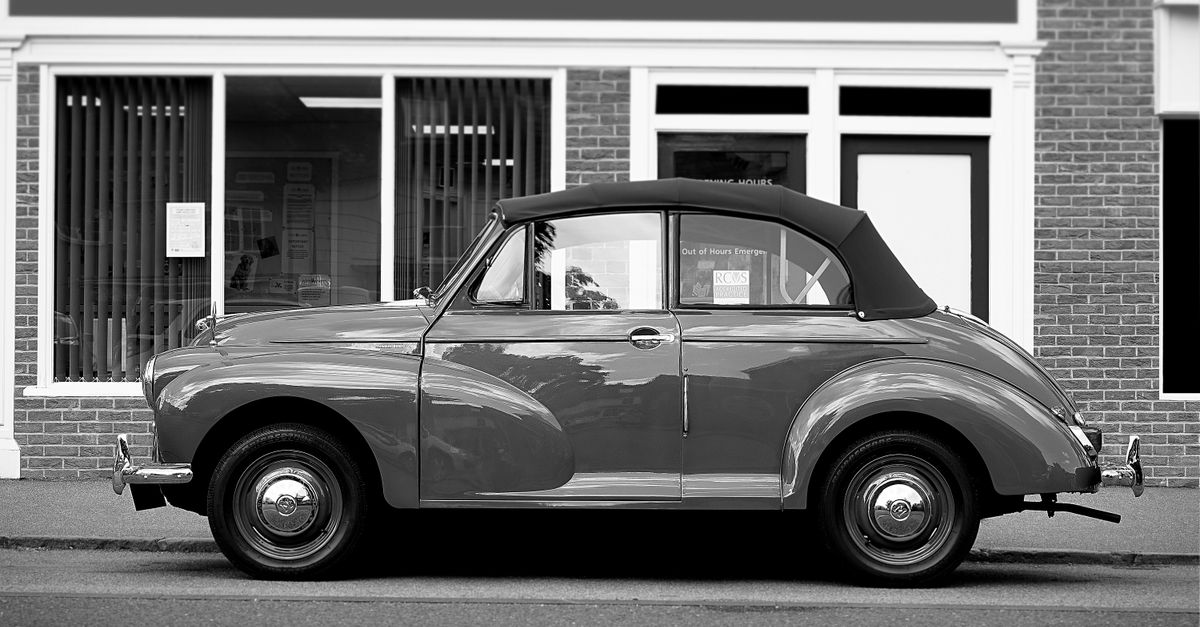
What "black and white" actually means for a digital image
A digital image stores three color channels per pixel — red, green, and blue — each on a 0–255 scale. A "black and white" version, also called grayscale, replaces those three numbers with a single luminance value. The most common formula, used in CSS filters, SVG feColorMatrix, and most image editors, weights the channels by how the human eye perceives brightness:
- Red contribution: 21.26%
- Green contribution: 71.52%
- Blue contribution: 7.22%
Because green dominates, two pixels with the same average brightness can produce noticeably different gray values — a leafy photograph tends to look brighter and a deep blue sky tends to look darker. The Black and White Photo Converter applies exactly this channel matrix to every pixel and writes the result back into a fresh PNG, leaving alpha untouched.
A browser tool vs a desktop editor: Which Works Better
Photoshop, GIMP, and Lightroom can all convert to grayscale, but for a quick one-off conversion they tend to be overkill. A browser-based converter has three practical advantages:
- Privacy: the file never leaves your machine, so there is no risk of uploading a personal photo to a third-party server.
- Zero install: nothing to download, no plugins, no license keys, no updates.
- Reproducible output: the transform is a fixed formula rather than a slider, so two people converting the same input will get the exact same pixels.
The tradeoff is that you do not get the manual channel-mixing controls that professional software offers (for example, darkening skies by pulling down the red channel). For most everyday cases — thumbnails, profile pictures, scanned pages, moody social posts — the standard luminance formula is exactly what you want.
Convert an image to black and white step by step
- Open the Black and White Photo Converter in a current desktop browser.
- Choose a local JPG, PNG, or WebP from your device using the file picker. Stay within the documented file and pixel limits to avoid the validation error.
- Click the "Convert to black and white" action and wait while the tool applies the per-pixel canvas transform. Large images can take a few seconds.
- Check the preview to confirm the dimensions and overall tone look right. The width and height should match the source file.
- Download the grayscale PNG. The exported file is lossless, supports transparency where the original had it, and can be opened in any image editor.
If your image has an alpha channel — for example, a logo saved as PNG with a transparent background — the converter preserves it. Transparent pixels stay transparent and only the opaque pixels are turned gray.
Input formats and limits
The converter accepts three input formats and outputs one. Knowing the difference between them helps you pick the right source file and the right next step.
| Format | Best for | Typical use here |
|---|---|---|
| JPG | Photos with rich color and small file size | Most phone and camera photos |
| PNG | Lossless images, screenshots, logos with transparency | Scans, UI captures, layered graphics |
| WebP | Modern web images with both lossy and lossless modes | Images downloaded from web pages |
If you are not sure which format your file is, open it in any viewer and check the extension, or try the converter — if the format is supported it will load, and if not it will reject the file before any processing happens. For a deeper look at the trade-offs between these formats, see the JPEG vs PNG vs WebP comparison.
Common situations where a grayscale image is the right call
Color is information-dense, and sometimes that density gets in the way. A few scenarios where converting to black and white is genuinely useful:
- Document scans and forms: once color is removed, ink on paper reads more clearly and file size drops.
- UI screenshots in tutorials: grayscale keeps the focus on layout and labels rather than brand colors.
- Profile photos and avatars: a clean gray version can sit comfortably on light or dark backgrounds.
- Print-ready assets: some print workflows expect a single-channel image to avoid color shift on cheap paper.
If you are working on a printed deliverable and wondering whether PNG or JPG is the safer format, the PNG or JPG for printing guide covers the trade-offs in detail.
What to do with the grayscale output
Once you have a black-and-white PNG, a few small follow-up steps are common:
- If the file is larger than you need, run it through the Image Compressor to shrink it. PNG compresses well when there are only gray values and few colors.
- If the dimensions need to change — say, a square avatar or a specific banner size — the Image Resizer can set exact pixel widths and heights without re-encoding the image into a different format.
- If the photo needs to be flipped or rotated before use, the Image Rotator and Image Flipper handle that on the same local-only basis.
- If you need to send the grayscale image as a downloadable PDF, the Image to PDF tool bundles one image per page.
You can also pair the grayscale result with a small border or watermark. The Add Border to Image tool wraps a 1–500 pixel solid frame around the PNG, and Add Watermark to Image stamps text at a controlled position and opacity — both run locally on the already-grayscale file.
More About black-and-white conversion
Does converting to black and white reduce image quality?
The output is a lossless PNG, so no detail is destroyed by the conversion itself. Quality is preserved; what changes is that you go from three color channels to one luminance channel, which is by design.
Will the dimensions change?
No. Every pixel of the original is mapped to one pixel of the output. A 1920×1080 JPG comes out as a 1920×1080 PNG.
What happens to transparency?
Transparent pixels in a PNG stay transparent. Only fully opaque pixels are turned gray. Semi-transparent pixels get the same gray value applied, with their original alpha kept intact.
Can I convert a HEIC or RAW file?
No — the converter only accepts JPG, PNG, and WebP. If your camera shoots HEIC or RAW, export to JPG first in your camera roll or in any standard photo app.
Is the conversion the same as Photoshop's default?
Yes for most images. Photoshop's "Desaturate" command uses the same luminance formula, and "Black & White" defaults to a channel mix that produces very similar results. The difference is that Photoshop offers manual sliders for fine-tuning individual channel contributions.
Why does the downloaded file look slightly different from what I saw on screen?
Two common reasons: a color-managed display will render RGB values differently from a non-managed one, and some image viewers apply sharpening or contrast on open. The PNG itself contains exactly the pixels the tool produced.
Troubleshooting quick checklist
- If the converter refuses the file, check that it is a JPG, PNG, or WebP and that it is within the size and pixel limits.
- If the preview looks correct but the download fails, try a different browser or disable extensions that block downloads.
- If the result looks too dark, the source image likely had a lot of blue or red content; remember green dominates the luminance formula.
- If you need the inverse — turning a grayscale image back into color — there is no reliable automatic way to do that, since color information is gone after conversion.
For a broader walk-through of working with photos in the browser, the Turn Any Photo Black and White in Your Browser guide covers similar ground with extra examples.
If you're weighing options, How to See a Blur Image Clearly with One Online Tool covers this in detail.