Advanced 3D Tetris strategy in this six-piece puzzle reduces to one decision repeated six times: rotate each domino to the Y axis and hard-drop it into the next empty X column. The well is a compact three-wide, two-deep, three-high box, the sequence contains exactly six two-cube pieces that always appear in the same order, and the win condition is two fully cleared layers worth five hundred points each. Once you accept that the run is finite and the piece order is fixed, every advanced technique serves a single purpose: putting both cubes of every domino into one X column so that three dominoes together fill a complete three-by-two layer. The result is six dominoes filling exactly twelve cells across two layers, and the third and sixth drops each trigger a layer clear because every cell in the three-by-two footprint becomes occupied at the same time. That is the entire strategy stack: rotate, choose a column, hard-drop, repeat, and the deterministic piece order guarantees the same scoring path on every attempt.
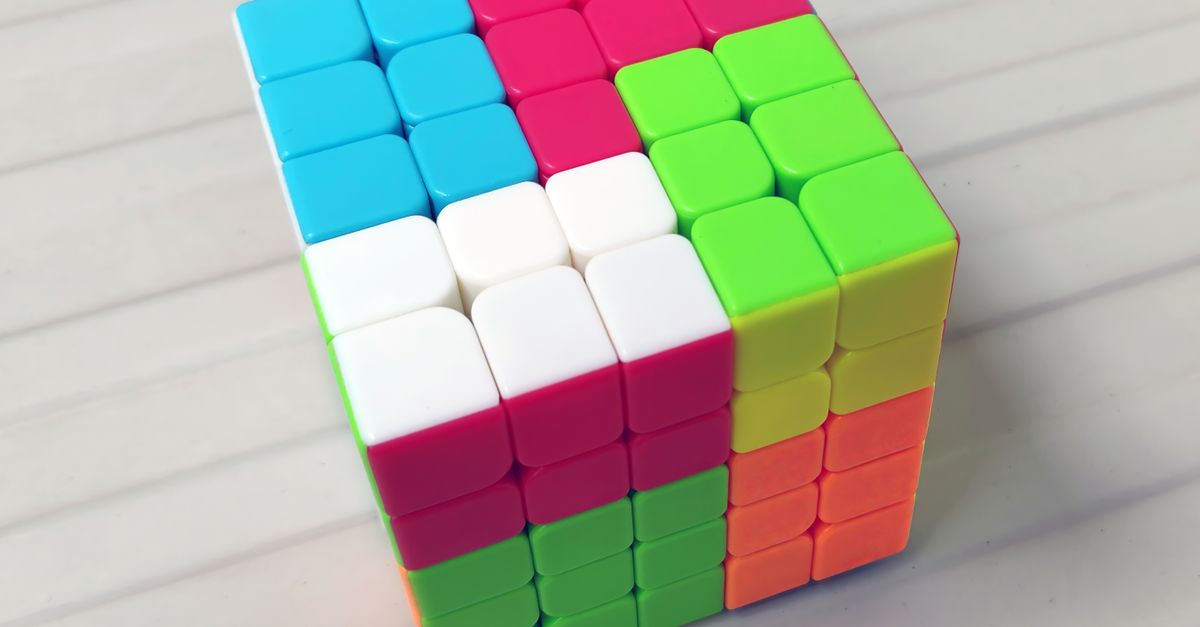
How the 3D Block-Well Differs from Classic Falling-Block Games
Classic Tetris hands you a random seven-bag of tetrominoes and asks you to survive as long as possible in a tall single-layer well. This 3D Tetris puzzle hands you a fixed sequence of six dominoes and asks you to clear exactly two layers in a short, wide block-well. The differences change every strategic assumption. Randomness disappears because the same six named pieces appear in the same order on every reset. Survival pressure disappears because the game ends after six drops, not when you top out. Scoring becomes a verification task instead of an open-ended chase, since two clears at five hundred points each always equal the one-thousand-point target.
The most important difference is the depth axis. In classic Tetris you reason about one flat row at a time. Here you reason about horizontal slices that are three cells wide and two cells deep. A layer clears only when every position in that three-by-two footprint is filled, which means partial fills of four or five cells do nothing: the layer stays locked, the score stays at zero, and the cubes above do not compact down. This forces you to plan at the layer level rather than the row level, and it is the source of the entire advanced strategy.
Reading the Voxel State Before You Commit
Advanced play starts before you press any movement button. The puzzle shows three layer cards from top to bottom: the spawn layer where the next domino appears, the middle slice, and the floor. Each card lists the cubes already locked at its six positions. Coordinate and axis labels make every voxel inspectable, so before committing a hard-drop you can check two things: which X columns still have room, and whether the next domino will lock at the height you expect.
The well footprint is fixed at three wide by two deep. The X axis runs left to right with three positions (0, 1, 2), the Y axis runs front to back with two positions (0, 1), and the Z axis is gravity with three levels. Every piece always begins on the top layer along the X axis, which means the active two-cube domino is initially horizontal in width. Reading the layer cards also tells you whether your previous drops created any blocking above the floor, because the feedback line states whether a piece simply locked, completed a layer, or created a deadlock. That single line is your between-drops audit.
Why Rotating to the Y Axis Is the Core Principle
Every piece can be left in its starting X orientation or rotated to the Y orientation, and this choice decides whether the drop helps you or wastes a turn. The X orientation spans two adjacent X positions in the same Y row, so it places one cube each in two different columns. The Y orientation spans the two Y depths at the same X column, so it places both cubes of the domino into a single column. Because a layer clears only when all six cells in the three-by-two footprint are occupied, a Y-oriented piece is the only shape that fills one column completely with a single drop.
| Orientation | Cells Covered Per Drop | Effect on Layer Fill |
|---|---|---|
| X axis | Two different X positions, same Y row | Leaves one X column untouched; layer stays partial |
| Y axis | Same X column, both Y depths | Fills one X column completely in a single drop |
Three Y-axis drops in three different X columns (0, 1, 2) therefore cover the entire footprint. Two X-axis drops in the same two columns still leave one column empty, so the remaining drops must include at least one Y-axis placement to fill that column. This is why the rotation is the strategy: the piece shape is identical in both orientations, but the column footprint is fundamentally different.
Running the Six-Drop Strategy
The reproducible winning route is six hard-drops in a fixed column pattern, and the order of those drops is what makes the score deterministic. Follow the numbered steps to clear both target layers and lock in exactly one thousand points.
- Wait for the first domino to appear on the spawn layer. Press R or the Rotate button to switch it from the X axis to the Y axis.
- Use the left and right arrow keys (or the X column buttons) to position the piece above X column 0. Do not move it toward or back, since the Y orientation already covers both depths.
- Press Space, Enter, or the Hard Drop button. Both cubes fall to the floor in column 0 and lock in place.
- When the second domino appears, rotate it to the Y axis and move it to X column 1. Hard-drop to lock both cubes in column 1.
- Rotate the third domino to the Y axis, move it to X column 2, and hard-drop. The floor's three-by-two footprint is now fully occupied, the first layer clears, and the score increments by 500.
- After the layer clears, repeat the column pattern: rotate the fourth piece to the Y axis, drop into column 0 of the new floor; rotate the fifth piece to the Y axis, drop into column 1; rotate the sixth piece to the Y axis, drop into column 2.
- The sixth drop fills the second three-by-two layer, clears it, and adds another 500 points. The run reaches the exact 1,000-point target and freezes.
The arithmetic checks the run: 2 layers cleared × 500 points per layer = 1,000 points. The well capacity also balances: 6 dominoes × 2 cubes per domino = 12 cubes, which exactly fills 2 layers × 6 cells per layer = 12 cells. Every cube the puzzle gives you is consumed, and no cube is wasted.
Where Runs Break: Spawn Blocks and Bad Rotations
The most common failure is leaving a piece on the X axis by accident. A single X-oriented drop covers two columns instead of one, so the layer footprint stays partial and no clear ever triggers. With only five drops remaining and three columns still demanding a Y-axis fill each, the run is unrecoverable. Treat the R key as part of the default action before every movement input, not an optional adjustment.
The second failure is stacking without compacting. Cubes only fall after a layer clears, so anything you place above an incomplete layer stays suspended at the height you dropped it. A piece locked on top of a partial layer occupies spawn-adjacent space and can block the next fixed piece from fitting in its spawn cells. The puzzle ends the run the moment the next domino cannot occupy both spawn cells, and the feedback line announces the deadlock.
The third failure is choosing a column pattern that does not vary the X position. Dropping every Y-axis piece into column 0 leaves columns 1 and 2 empty, and three drops into a single column cannot fill the footprint on either the first or second layer. Vary the X position on each drop: 0, 1, 2, 0, 1, 2. Any other sequence is a tactical risk against the fixed piece order.
Verifying the Strategy Between Attempts
Because the run is deterministic, advanced strategy is a verification exercise rather than a gambling decision. Every reset restores the same six named pieces in the same order, so an honest comparison between attempts only needs the cube positions and the final score. If a different attempt reaches the same two layer clears and the same 1,000 points, you have reproduced the path. If it deadlocks earlier or scores less, the deviation is in your input sequence, not in the puzzle.
The puzzle exposes its full state for review. The layer cards show every locked cube with its X and Y coordinates, the active piece is highlighted before it falls, and the feedback line records whether the last drop locked, cleared a layer, or ended the run. After a success or deadlock, later inputs cannot mutate the board, which means you can audit the final frame without the input modifying what you are auditing.
This determinism is also what allows the puzzle to publish an exact winning route. The strategy is not a heuristic that sometimes works: it is a fixed plan that works every time you execute it correctly. Treat your next attempt as a comparison against that published plan, and the advanced mindset is simply this: confirm the rotation, confirm the column, confirm the hard-drop, then repeat.