To convert RGB to CMYK in InDesign, assign a CMYK working space through Edit > Color Settings or set the document intent in Window > [Document Name], and InDesign will remap every swatch, image, and placed vector to the new color space using that profile. InDesign performs this remap automatically based on whatever CMYK profile is active, which is typically a regional press standard such as US Web Coated SWOP v2 for North America or FOGRA39 for European coated paper. The change applies to swatches, placed images, and vector content across the document, but the screen preview is only an approximation because InDesign is working in a calibrated color space rather than depositing ink on paper. To preview how those CMYK values will look when actually printed, designers turn on View > Proof Colors with a soft-proof profile that matches the final press conditions. For individual colors such as a brand swatch, a logo color lifted from a website, or a hex value pulled from a stock image, a browser-based RGB to CMYK Converter gives you the raw CMYK percentages to plug into a swatch, paste into a style, or hand to your printer as a starting reference.
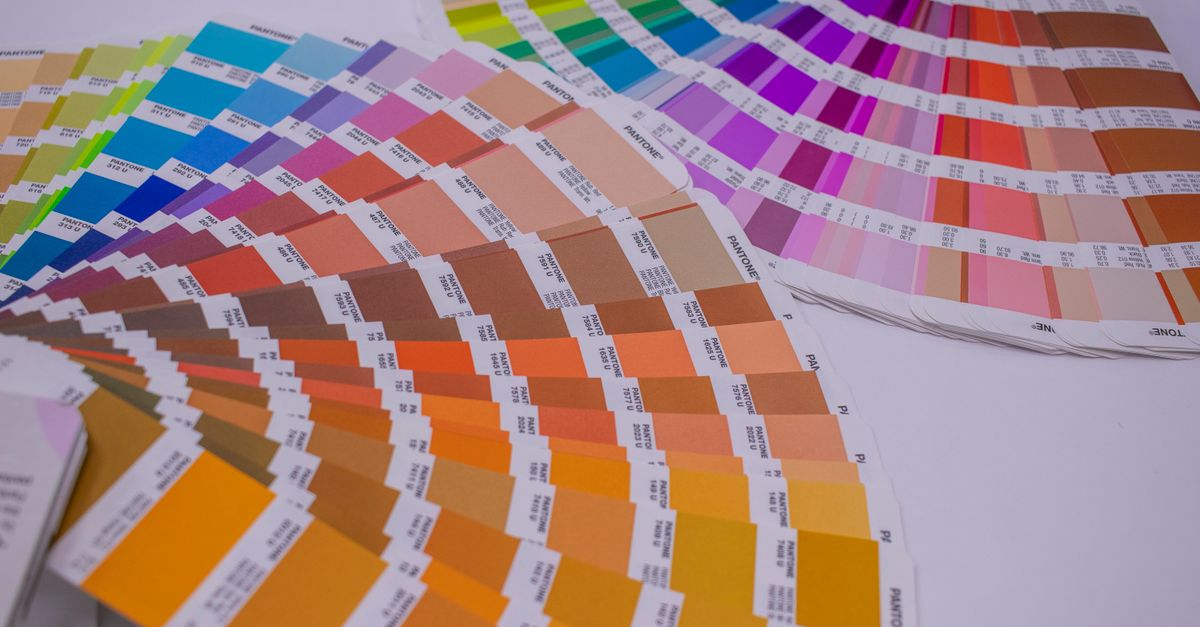
InDesign's built-in RGB to CMYK conversion paths
Adobe InDesign does not expose a single Convert to CMYK button the way Adobe Illustrator does. Instead, the conversion happens implicitly whenever a CMYK working space is assigned and the document processes color. The most direct path is the document intent setting, reached through Window > [Document Name] when the file is the active document. There you will see the document's Transparency Blend Space and Intent, usually set to one of the working space profiles loaded in Edit > Color Settings, such as Adobe Color Settings: Prepress defaults (North America) or Working Spaces > CMYK set to Coated GRACoL 2006, US Web Coated SWOP v2, or FOGRA39.
Once you change the document intent to a CMYK profile (the file may already be CMYK if it was created as a print document), every swatch, image, and vector color referenced inside InDesign is reinterpreted through that profile. RGB images that were placed still contain RGB pixel data internally, but InDesign displays and outputs them as CMYK separations based on the active profile. The same logic applies to spot colors — they remain spots, while process colors and any RGB-tagged content are converted on the fly at output time.
For spot colors and named brand swatches, the Swatches panel (Window > Output > Swatches) lets you inspect each color's mode (Process, Spot, or Mixed Ink) and double-click any swatch to see its CMYK values. This is where checking a converted swatch against a brand guide becomes practical. If the on-screen CMYK reading does not match the brand spec, you can manually enter the swatch's Cyan, Magenta, Yellow, and Black values to match. To produce those values for an external RGB color, you can convert a hex code to integer RGB first using the RGB to HEX tool, then run those integers through the RGB to CMYK Converter.
Why the automatic conversion is not always the whole story
InDesign's automatic color remap relies entirely on the assigned CMYK profile. Different presses, paper stocks, and ink sets produce different CMYK output for the same input RGB value. US Web Coated SWOP v2, FOGRA39, Japan Color 2011, and GRACoL 2006 each have their own color gamut, dot gain curves, and ink behavior. A bright cyan that looks fine in one profile may be reproducible only as a duller teal in another. If your file is destined for a specific print shop, ask the printer which CMYK profile they prefer to receive and set that as the document intent before you begin design work — ideally before you place any RGB images.
The second limitation is gamut. RGB can describe colors that CMYK inks cannot physically reproduce, including most neon greens, electric blues, and some saturated oranges. InDesign converts these colors to the closest in-gamut CMYK equivalent, which often looks visibly duller. This is not a software bug — it is a physical limitation of how inks absorb light on paper. A soft proof using View > Proof Setup > [Document CMYK] with View > Proof Colors turned on lets you see the closest-match approximation on screen before sending the file to the press.
For these reasons, professional designers rarely trust InDesign's automatic conversion alone for brand-critical colors. They either set the file to CMYK from the start of the project, or they convert specific RGB swatches to CMYK values that match their printer's profile, paste those values into InDesign, and let the rest of the document follow the same intent.
Convert specific RGB colors to CMYK values for InDesign swatches
When you have a single RGB value (for example, a brand color pulled from a website such as #1E5AA8 for a corporate blue) and you want the CMYK percentages to use as an InDesign swatch, follow these steps with the RGB to CMYK Converter:
- Identify the RGB value. Open the source image in any image editor, or pull a hex code from a website using a color picker. Convert hex to RGB if needed so you have integer channel values between 0 and 255.
- Enter the three RGB channels into the converter. Each input accepts values from 0 to 255, and the matching CMYK percentages, RGB triplet, and HEX value update live as you type.
- Read the CMYK result. The four percentages shown are the standard naive conversion. For example, pure red (RGB 255, 0, 0) becomes CMYK 0%, 100%, 100%, 0%, meaning no cyan, full magenta, full yellow, no black. Pure blue (RGB 0, 0, 255) becomes CMYK 100%, 100%, 0%, 0%.
- Check the swatch preview. The live swatch next to the value fields shows the actual color in your browser, useful as a sanity check that you have typed the channels correctly.
- Click Copy next to the CMYK field. The four percentages are now on your clipboard in a format you can paste into an InDesign swatch.
- Back in InDesign, open Window > Output > Swatches, click New Color Swatch, set Color Mode to Process, and type the four CMYK percentages. Name the swatch and click Add.
The math behind this conversion is straightforward: each RGB channel is scaled from 0–255 to 0–1, the K channel is set to 1 minus the largest of those three values, and C, M, and Y absorb whatever is left over after the black component is removed. Pure black (RGB 0, 0, 0) is handled as a special case where K equals 100% and the colored inks are all zero. Out-of-range inputs are clamped so the converter never returns a broken result. Everything runs locally in your browser, so no color value is uploaded.
Getting the document ready for print after the conversion
Switching an InDesign file to a CMYK working space is one step; preparing it for an actual print job involves a handful more. The decision about whether to design in RGB or CMYK usually happens at file creation, but if you have already built the file in RGB, you can still recover most of the fidelity by following a clear print-prep checklist.
First, run a color check. Window > Output > Preflight > [Document Name] lists any out-of-gamut colors and any RGB-tagged images that will be converted at output. Resolve any flagged items by adjusting the color, by using a swatch that already has a CMYK equivalent, or by confirming with the printer that the conversion is acceptable. The Preflight panel also surfaces missing fonts and low-resolution images, which are easier to fix before packaging than after.
Second, package the file. File > Package gathers the InDesign document, all linked images, all fonts, and a profile report. The print service uses this report to confirm which CMYK profile your file was built against, which avoids any guesswork on their end about how to interpret your colors.
Third, generate a PDF proof. File > Adobe PDF Presets > [Press Quality] or PDF/X-4:2010 produces a print-ready PDF with the color values embedded in a known standard. PDF/X is widely accepted by commercial printers and locks in the color profile so nothing shifts in transit. Sending both the packaged InDesign file and a PDF/X proof is standard practice for a production handoff.
Common problems when converting RGB to CMYK in InDesign
A few issues come up repeatedly, and most are caused by the inherent gap between additive RGB light and subtractive CMYK ink rather than by a setting buried in InDesign. Knowing the typical symptom makes them quick to identify.
| Symptom | Cause | Fix |
|---|---|---|
| Vivid blues and greens go flat or gray | Out-of-gamut RGB value | Pick the closest CMYK match manually or choose a less saturated swatch |
| Black text looks brown on press | Rich black applied to small text | Switch small text to 100% K to keep edges crisp |
| Photos look darker than on screen | No soft proof applied | Turn on View > Proof Colors with the printer profile |
| Spot color converted to process unexpectedly | Swatch mode changed during edit | Double-click the swatch and set Type to Spot |
| CMYK numbers don't match brand spec | Naive math vs profile conversion | Use the printer's preferred CMYK profile for the final file |
Color shifts are inevitable when crossing from RGB to CMYK; the goal is to keep them small and predictable. For brand-critical colors, convert them once with a verified profile, lock them as named swatches in InDesign, and reference those swatches everywhere so a single edit propagates through the entire document. If you want a quick sanity check on a particular swatch, paste its RGB values into the RGB to CMYK Converter and compare the result against your brand guide before you commit.
One more practical point about the K channel. CMYK uses a separate black plate rather than mixing equal parts of cyan, magenta, and yellow for several reasons. A black plate produces a true neutral black, prints sharper text, dries faster on press, and uses far less ink than a CMY mix would. This is why pure black in CMYK is written as 0/0/0/100, and why rich blacks for large solid areas use combinations like 60/40/40/100 to deepen the tone without flooding the paper with ink. Out-of-range CMYK inputs are clamped by the converter to keep percentages within 0–100, and pure black is recognized as the K = 100%, C = M = Y = 0 special case rather than being decomposed into a costly CMY mix.
For designers who build printed work in InDesign regularly, a typical workflow is to design in RGB for digital deliverables, then duplicate the document and switch the copy to CMYK using the document intent. From there, each swatch is checked, and where a brand color is involved, the RGB to CMYK Converter supplies the percentages to plug into the swatch. If you want a deeper read on the print-versus-screen trade-off before you commit, the guide on choosing CMYK or RGB for print projects walks through the same decision in more depth. Combining InDesign's profile-based conversion with a quick browser check for individual colors keeps both the workflow and the output color under control, and gives your printer a sensible starting point to apply their own profile for the final production file.
Related reading: Is RGB to HEX Safe to Use Online? Privacy and Accuracy Guide.