Use an audio equalizer when you can hear a repeatable tonal imbalance that a modest, targeted boost or cut can improve.
EQ is most useful when the same recording sounds consistently too boomy, dull, harsh, crowded, or lacking presence on the system you normally use. It changes the relative balance around selected frequencies; it does not raise the overall volume by itself. It also cannot remove clipping, distortion, reverb, echo, or background noise. If the only problem is that the audio is quiet, level control is the more appropriate solution.
Run a repeatable A/B listening test
Before adjusting anything, listen to the same passage on the speakers, headphones, or other output that matters. Write down what sounds wrong: low frequencies may feel excessive, voices may be buried, or the upper end may draw too much attention. Then switch between the original and a processed version at a similar perceived level. This is more reliable than judging only by loudness.
A useful EQ correction has three traits. First, the problem repeats in the same tonal area. Second, a small change in that area produces a clear improvement rather than merely a different flavor. Third, the result still sounds natural on the intended playback system. An equalizer cannot compensate for every environment, and the same setting can be helpful on one system and excessive on another.
The Audio Equalizer is designed for this kind of deliberate, three-band adjustment. It provides fixed Bass, Mid, and Treble controls rather than automatically diagnosing the recording. Because each control affects a broad region, use the A/B comparison to decide whether the change solves the identified problem.
Match the control to the audible problem
| Situation | Sensible starting response | What to watch |
|---|---|---|
| Low frequencies consistently sound boomy or muddy | Try a small negative Bass setting | The change is broad around 100 Hz and may also reduce warmth or low-frequency impact. |
| Midrange feels crowded or lacks presence | Try a small Mid cut or boost | The Mid control is centered at 1,000 Hz, so it can affect both fullness and perceived clarity. |
| The top end sounds dull or excessively bright | Try a small Treble cut or boost | Treble normally centers at 10,000 Hz, although its center is lowered at low decoded sample rates. |
| The track is simply too quiet | Do not use EQ for this goal | Adjust the level instead; changing tonal balance will not make the recording uniformly quieter or louder. |
| The source contains clipping, reverb, hiss, or a damaged recording | Do not rely on EQ alone | EQ cannot reconstruct clipped transients or remove unwanted time-based and noise problems. |
These are starting points, not guaranteed fixes. A peaking control influences a region around its center rather than everything below or above a hard boundary. For a fuller explanation of the broad regions involved, see the three-band equalizer guide to bass, mid, and treble.
Apply the equalizer without losing track of the source
- Choose one browser-decodable file. MP3, WAV, M4A, AAC, Ogg, WebM, and FLAC can be processed when the current browser and operating system support the actual codec. A familiar file extension is not a guarantee because a container can contain a codec the browser cannot decode. The source must be no larger than 50 MiB, decode to no more than five minutes, contain one through eight channels, use a decoded sample rate from 8,000 through 192,000 Hz, and contain no more than 30 million channel samples. Over-limit files are rejected before filtering, and the tool never silently truncates the end.
- Listen to the original on the target system. Identify one repeatable tonal issue before choosing a setting. Keep the original available so you can compare tone, artifacts, and intelligibility instead of judging the processed file only by volume.
- Set Bass, Mid, and Treble to whole values from -12 through +12 dB. Positive values boost energy around a band center, while negative values cut it. For an excessive frequency, a small cut is often safer than stacking several boosts. Change one band at a time so you can identify what caused an improvement or a new problem.
- Apply the equalizer locally. Processing occurs in the current browser tab rather than by uploading the source. The tool uses three disclosed peaking filters in Bass, Mid, then Treble order, each with a fixed Q value of 1. At a low decoded sample rate, the Treble center becomes 45 percent of that rate so the filter remains below the Nyquist limit.
- Check the raw peak, output peak, safety scale, sample rate, and frame count. The peak values show whether processing moved samples toward digital full scale. The scale factor shows whether the tool had to reduce the complete processed result, while the sample rate and frame count confirm the decoded dimensions carried into the result.
- Preview the processed audio. Compare it with the original at a similar perceived level on the same equipment. Listen for noise, sibilance, rumble, existing distortion, or loss of clarity. A larger waveform does not prove that the mix is better.
- Download the complete PCM16 WAV when the result sounds right. The download contains every accepted channel with the same number of sample frames. If decoding fails, the interface reports an error and does not present a stale download.
Read the peak and safety figures correctly
The raw peak is the largest absolute sample value found across all processed channels. Cascaded bass, mid, and treble boosts can push new peaks above digital full scale even when the source did not clip. If that raw peak exceeds 0.99, the tool applies one uniform scale factor to the entire processed result, bringing its largest magnitude to 0.99.
A safety scale below 1 therefore means the output was reduced to avoid PCM clipping. The same factor is applied across the processed channels, so the balance created by the EQ is not selectively altered, but the overall level can become lower. This mechanism prevents the WAV encoder from independently chopping individual peaks. It is not loudness normalization and does not target LUFS, RMS, replay gain, or a streaming platform’s delivery specification.
Setting all three controls to 0 dB produces a genuine flat path: the decoded channel samples pass through without a nonzero filter section. Once any band changes, the raw and output peak readings become essential context for understanding the final level.
Judge the result by listening, not by volume
The preview and reported figures are checks, not proof of a desirable mix. Strong boosts can expose hiss, emphasize sibilance, amplify rumble, or make existing distortion more obvious. A cut can also remove useful weight, so it still needs an A/B comparison.
Listen on the speakers or headphones that will be used for the final playback. Compare the original and processed versions at a similar perceived level, and avoid concluding that the equalized file is better simply because it sounds louder. If a setting reduces the problem without introducing a new one, keep it. If it weakens the recording or makes another defect obvious, reduce the change or return that control to 0 dB.
Know what the downloaded WAV contains
The result is a new, uncompressed PCM16 WAV. Float samples are converted to signed 16-bit little-endian PCM and interleaved by frame. Its header records the actual channel count, decoded sample rate, byte rate, block alignment, bit depth, and complete data length, matching the core fields described in Microsoft’s WAVEFORMATEX reference.
The WAV does not retain the source MP3 or AAC bitrate, compression mode, tags, artwork, chapters, loop markers, or other container-specific metadata. Web Audio may resample while decoding, so the tool reports and writes the decoded sample rate rather than claiming that the original container rate survived unchanged. The source audio, decoded samples, EQ settings, filename, and result remain out of Lizely’s possession.
Choose a fuller editor for advanced requirements
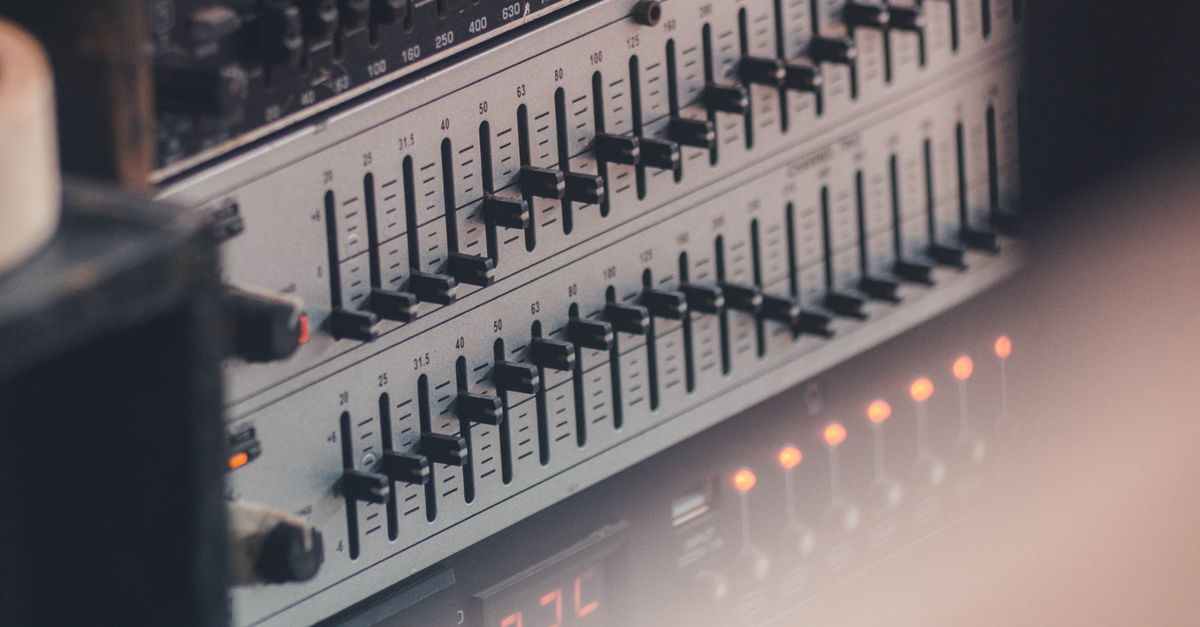
This compact equalizer is not a 10-band graphic equalizer, linear-phase mastering processor, or automatic room-correction system. Use a full audio editor when you need precise center frequencies, adjustable Q, spectrum analysis, automation, linear-phase processing, loudness metering, dithering controls, codec selection, or metadata preservation.
The practical decision is simple: use EQ after you have identified a repeatable tonal imbalance, make a modest change, and confirm the improvement through an A/B listening test. Skip it when the goal is only more volume or when the real problem is clipping, noise, reverb, or an unusable recording.
If you're weighing options, When Should I Use an Audio Equalizer Instead of Editing? covers this in detail.