Applying an audio equalizer to a track can introduce digital clipping, amplify hidden noise, distort the original mix, change the perceived loudness of the result, or fail to decode the input file at all—because every EQ adjustment reshapes the signal in ways the original recording was never designed to handle. The three failure modes that show up most often are clipping caused by cascaded boosts, codec or container errors that prevent the file from loading in the browser, and the silent loss of metadata when the processed result is re-encoded as a new WAV. A three-band peaking equalizer with a disclosed coefficient formula and a uniform peak safety scale handles the first problem with a measured scale factor rather than a per-sample chop, but it cannot repair a poorly recorded source or restore metadata that never made it into the new file. Knowing each failure mode before it happens is the most reliable way to keep your EQ session productive and your output file clean.
Most of what goes wrong is mechanical rather than creative. The filter math is predictable, the safety scale is reported, and the output format is fixed—so the surprises that remain are usually about the input file, the listening context, or the gap between what "louder" feels like and what "better" actually sounds like.
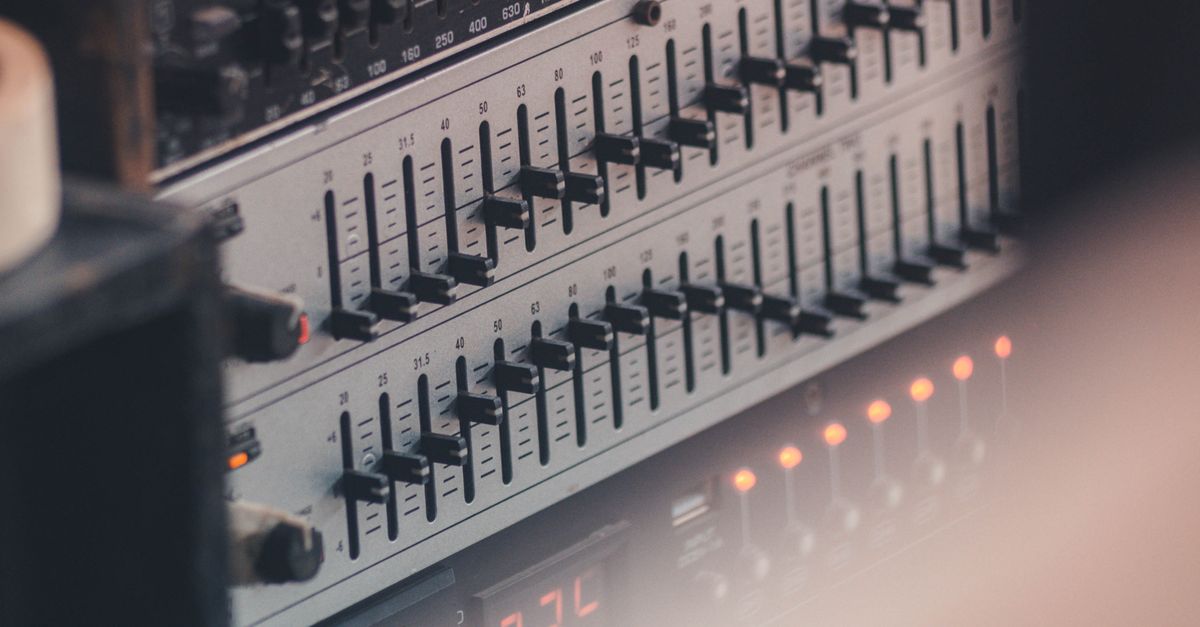
Why Stacked Boosts Cause Clipping Even When the Original Doesn't
The most common EQ problem is also the easiest to miss: a single band set to +6 dB is fine on its own, but three cascaded boosts at +6 dB each can push the combined peak far above digital full scale (1.0 in floating point). The input never clipped, yet the output does. Each peaking filter multiplies samples near its center frequency by a coefficient derived from the requested gain, and when the regions overlap—Bass at 100 Hz and Mid at 1,000 Hz share energy in the lower midrange, for example—their outputs add together inside the filter chain. A disclosed three-band Audio Equalizer measures the absolute peak across every processed sample and every channel after all three filters have run, and if that raw peak is greater than 0.99, applies one uniform scale factor so the largest magnitude becomes exactly 0.99. The page reports the raw peak, the output peak, and the exact scale so you can see whether a level reduction was needed.
This safety scale protects the PCM encoder from clipping, but it is not loudness normalization. It does not target LUFS, RMS, replay gain, or any streaming-platform specification. A track that triggered the safety scale will be quieter than the un-scaled version would have been, which is why the result can sound "less impressive" right after a stack of boosts. If the perceived level drop is the problem, the right fix is usually fewer boosts or a cut on one of the bands, not a separate limiter.
Codec, Container, and Sample-Rate Problems Before EQ Even Runs
EQ failures do not always start with the EQ. The decoder running inside your browser, defined by the Web Audio AudioBuffer specification, decides whether a file can be processed at all, and that decoder is far pickier than the file extension suggests. A familiar extension such as .m4a or .ogg is not a guarantee, because containers can hold codecs the browser cannot read. When decoding fails, a reliable tool shows an error and refuses to offer a stale download from a previous session instead of handing you a corrupt WAV. Web Audio can decode MP3, WAV, M4A, AAC, Ogg, WebM, and FLAC where the current browser and operating system support the actual codec, and the decoded sample rate may differ from the rate in the original container header because the browser may resample on the way in.
Sample rate also affects how the treble band behaves. The disclosed band centers are Bass 100 Hz, Mid 1,000 Hz, and Treble 10,000 Hz, but at a low sample rate the treble center is reduced to 45 percent of that rate so the filter stays below the Nyquist limit. Asking a digital filter to operate above the available spectrum is invalid, and this disclosure lets you know why a +12 dB treble setting on a 22,050 Hz file affects a different range than the same setting on a 48,000 Hz file. The tool reports the actual decoded sample rate and frame count, so you can confirm what your filters were applied to before judging the result.
| EQ control | Center frequency | Adjustment range | Q (fixed) |
|---|---|---|---|
| Bass | 100 Hz | -12 to +12 dB | 1 |
| Mid | 1,000 Hz | -12 to +12 dB | 1 |
| Treble | 10,000 Hz (or 45% of sample rate if lower) | -12 to +12 dB | 1 |
Q = 1 is a disclosed product choice that gives a broad, musical-style adjustment rather than a surgical notch. You cannot change Q on this page, and it is not inferred from the source file. If you need a tight cut around a single ringing frequency, you will want a parametric editor.
File Size, Length, and Channel Limits That Stop Processing
EQ tools that run locally in the browser have to bound the work, because a tab cannot safely chew through an arbitrarily large decoded buffer. The Audio Equalizer enforces a clear set of limits before any filter coefficient is computed: the input file must be at most 50 MiB, the decoded audio must be five minutes or shorter, the file must contain one through eight channels, the sample rate must be between 8,000 and 192,000 Hz, and the total number of channel samples must not exceed 30 million. An over-limit file is rejected before filtering rather than silently truncated, which protects you from discovering that the last thirty seconds of your podcast intro were dropped without warning.
| Limit | Maximum allowed value |
|---|---|
| Input file size | 50 MiB |
| Decoded duration | 5 minutes |
| Channel count | 1 to 8 |
| Sample rate | 8,000 to 192,000 Hz |
| Total channel samples | 30,000,000 |
Every accepted channel is filtered independently with identical Bass, Mid, and Treble settings, and each channel keeps the same number of sample frames as the source. If the limit you hit was sample rate rather than duration, resampling to a standard rate before loading will often let the same EQ settings through, and the report will show the new decoded rate that was actually used.
How to Use the Audio Equalizer Safely in Three Steps
Once you understand what can fail, the actual session is short. The three steps below cover the full path from a loaded file to a checked WAV.
- Pick a browser-decodable file. Choose one audio file up to 50 MiB that your browser can decode—MP3, WAV, M4A, AAC, Ogg, WebM, or FLAC where the codec is supported. If the load fails with an error, no stale download from a previous session is shown, so a failed decode is the only signal you need.
- Set Bass, Mid, and Treble. Enter whole numbers from -12 through +12 dB for each control. Bass is centered at 100 Hz, Mid at 1,000 Hz, and Treble at 10,000 Hz unless the decoded sample rate is low enough to lower the treble center to 45 percent of that rate. All three controls at zero give a flat path that copies the decoded samples without running a nonzero filter section.
- Check the numbers, then download. Read the raw peak, output peak, safety scale, decoded sample rate, and frame count on the result panel. If the safety scale is below 1.0, the tool reduced the overall level to prevent clipping—listen for whether the trade-off was worth it, then download the complete PCM16 WAV. The download is a brand-new uncompressed file that does not preserve your original codec, bitrate, tags, artwork, or chapters.
A single worked example makes the safety scale concrete. Suppose the raw peak after processing is 1.5 across all channels. The scale the tool applies is 0.99 divided by 1.5, which equals 0.66. Every processed sample is multiplied by 0.66, the output peak becomes 0.99, and the report shows raw peak = 1.5, output peak = 0.99, scale = 0.66. If you would rather keep the level, the only safe fix is to reduce one or more of the boost values so the raw peak stays below 0.99 before the encoder runs.
What the Downloaded WAV Keeps and What It Loses
The downloaded file is a fresh PCM16 WAV written from the processed float samples, which means several properties are guaranteed and several are not. What is guaranteed: the WAV header records the actual channel count, sample rate, byte rate, block alignment, 16-bit depth, and the complete data length; float samples are converted to signed 16-bit little-endian PCM and interleaved by frame; and the file uses the format described in the Windows WAVEFORMATEX reference. What is not guaranteed: the original MP3 or AAC bitrate, the compression mode, ID3 or Vorbis tags, cover artwork, chapter markers, loop markers, and any other container-specific metadata are not preserved, because the output is a brand-new uncompressed file rather than a re-muxed copy of the original.
Web Audio's resampling during decode also means the WAV reports the decoded sample rate rather than claiming the source container rate survived unchanged. For a single-step EQ pass on a standard MP3, the practical difference is small—you get a clean WAV you can drop into another editor—but if you need exact metadata round-tripping for a delivery spec, run the original file through a full DAW instead.
When You Should Switch to a Full Audio Editor
A three-band peaking equalizer with a fixed Q and integer dB steps is built for fast, predictable adjustments, not for surgical mix repair. Switch to a full audio editor when you need any of the following: precise center frequencies that fall between 100, 1,000, and 10,000 Hz; an adjustable Q for tight cuts around a single resonance; spectrum analysis or automation that changes during the track; linear-phase processing that preserves phase relationships; loudness metering against a LUFS target; dithering controls when you downsample; or codec selection that keeps the original container intact. The disclosed verification contract for this page is numeric and covers coefficient identity at 0 dB, uniform 0.99 peak safety, invalid gains, mismatched channels, and safe filenames, so trust the report for what it checks and reach for a heavier tool when your task moves outside that envelope.
One last thing that can go wrong has nothing to do with the math: judging the EQ result only because it sounds louder. Compare the processed file against the original at a similar perceived level, listen on the speakers or headphones that actually matter, and remember that a cut is usually safer than stacking several boosts. If a strong boost emphasizes noise, sibilance, rumble, or existing distortion, the answer is almost never "turn it up more"—it is to back off, cut somewhere else, or move to a tool with a narrower filter. For verifying what came out, the Check the Result After Using an Audio Equalizer guide walks through a quick set of post-EQ checks you can run in the same session.
For a deeper look, see What Details Matter When You Use an Audio Equalizer.