An audio equalizer processes your audio with three disclosed peaking filters at 100 Hz, 1,000 Hz, and 10,000 Hz, and the small details that matter are exactly where those filters meet your source: the file format and duration the browser can decode, the integer gain range you can dial in, the Nyquist-adjusted treble center on low-rate material, the peak the tool measures across every processed channel, and the one uniform scale it applies before encoding so the WAV writer never clips a single sample. When you track those details instead of guessing at knobs, you know what the page is doing to your audio, what the preview numbers actually mean, and why the downloaded WAV may sound quieter than the input without losing any part of the recording. The rest of this article walks through each of those details, the exact limits the tool enforces, and the safe way to verify the result before you commit to a final setting.
About the Audio Equalizer Tool
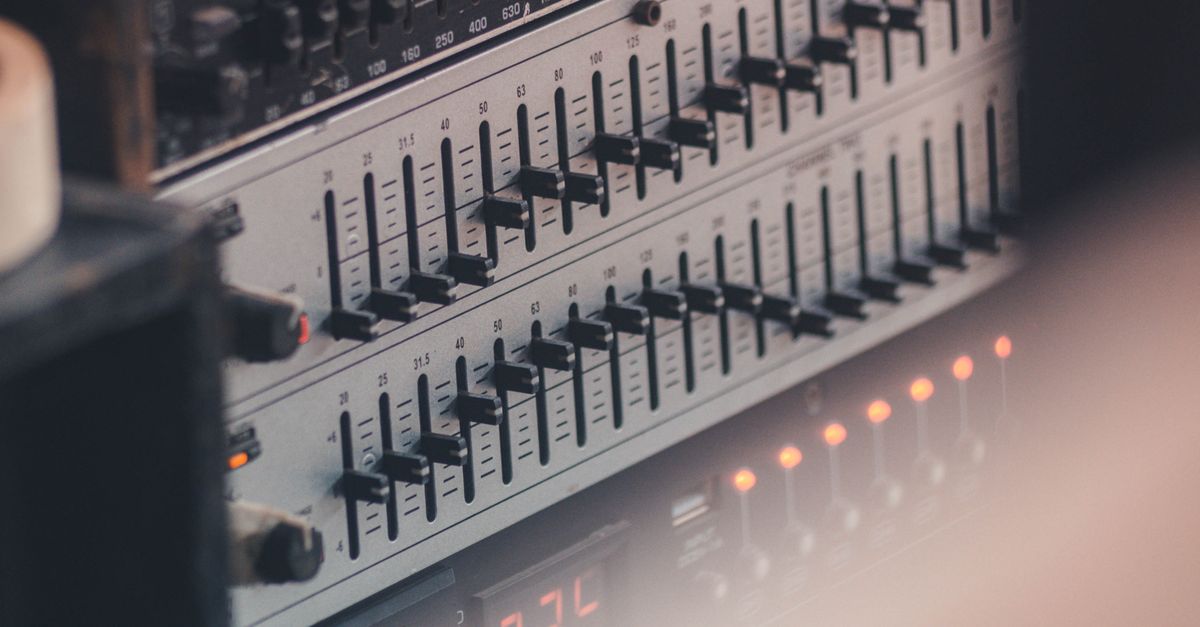
The Audio Equalizer is a fully in-browser tool that applies three peaking biquad filters to one decoded audio file, measures the resulting peak across every channel, applies a single uniform safety scale if the result would clip, and writes a fresh PCM16 WAV for download. It is not a ten-band graphic EQ, a parametric processor with adjustable Q, an automatic room-correction system, or a loudness-normalizer. Those are deliberately different tools, and treating this one as if it were any of them is the fastest way to get confused about what the numbers on screen actually mean.
Details About File Input
The first detail that matters is what your browser is willing to decode. The tool does not re-implement audio parsing; it hands the file to the Web Audio AudioBuffer decoder, which accepts the common browser-readable containers (MP3, WAV, M4A, AAC, Ogg, WebM, FLAC) when the actual codec is supported by the running browser and operating system. A familiar extension is not a guarantee, because some containers wrap codecs a browser cannot read. When decoding fails, the tool returns an error and never presents a stale download.
The second detail is the bound the tool itself enforces on top of decoding. Anything that exceeds a bound is rejected before filtering starts; the file is never silently truncated.
| Input limit | Value | What happens at the boundary |
|---|---|---|
| File size | 50 MiB | Larger files are rejected before decoding |
| Decoded duration | 5 minutes (300 s) | Longer files are rejected |
| Channel count | 1 through 8 | Outside this range is rejected |
| Sample rate | 8,000 to 192,000 Hz | Outside this range is rejected |
| Total channel samples | 30,000,000 max | Excessive decoded length is rejected |
Because Web Audio may resample while decoding, the reported and written sample rate is the decoded rate, not the rate printed in the source container. If you need the exact container sample rate preserved, you are out of scope for a tool that processes the file in your browser tab.
Details About the Three EQ Controls
The equalizer exposes three controls, and each one is a single disclosed peaking biquad with a Q value of 1. There is no shelf filter, no notch, no all-pass, and no adjustable Q on this page. Positive gain boosts the band, negative gain cuts it, and zero on every control is a genuine flat path that copies the decoded channel samples without running any nonzero filter section. The relevant constants are:
| Control | Center frequency | Gain range | Q value | Cascade position |
|---|---|---|---|---|
| Bass | 100 Hz | -12 to +12 dB, whole numbers | 1 | First |
| Mid | 1,000 Hz | -12 to +12 dB, whole numbers | 1 | Second |
| Treble | 10,000 Hz (or floor(sample rate × 0.45) on low-rate inputs) | -12 to +12 dB, whole numbers | 1 | Third |
The Treble row needs its own paragraph. A digital peaking filter cannot operate above the Nyquist limit of the decoded signal, so when the decoded sample rate is low enough that 10,000 Hz would exceed the Nyquist boundary, the tool lowers the Treble center to floor(sample rate × 0.45). For a 44,100 Hz file that is well above Nyquist for 10 kHz so the treble center stays at 10 kHz; for a 16,000 Hz file the treble center drops to about 7,200 Hz; for an 8,000 Hz file it drops to 3,600 Hz. You cannot override this behavior on the page, and the displayed treble control still moves between -12 and +12 dB — only the underlying filter center changes.
A peaking filter adjusts a region around its center, not every frequency below or above a hard boundary. Q=1 is a deliberately broad adjustment chosen by the tool. The cascade order is fixed at Bass, then Mid, then Treble, and the three filters are applied independently per channel with identical settings.
Details About Clipping and the Safety Scale
Stacked boosts can push individual samples above digital full scale, even when the input file never clipped. A naive encoder would chop those peaks sample by sample, distorting the waveform in a way that varies by sample and channel. The tool does something different. Before encoding, it measures the absolute peak across every processed channel. If that raw peak exceeds 0.99, a single uniform scale factor is applied to the entire processed buffer so the largest magnitude becomes exactly 0.99. The interface then reports the raw peak, the output peak, and the safety scale it applied.
This is the detail most often missed. A worked example: suppose your three boosts push the raw peak to 1.20. The safety scale is 0.99 divided by 1.20, which is 0.825. The tool multiplies every processed sample by 0.825, the output peak becomes 0.99, and the encoder never sees a clipped value. The trade-off is that the whole result is quieter, including parts of the signal that were already far from clipping. The tool is not loudness normalization, does not target LUFS, RMS, replay gain, or any streaming-platform target, and never raises gain. A drop in safety scale below 1.0 is a clear signal that your combined boosts were too aggressive for the material.
How to Equalize Audio While Tracking Every Detail
- Pick one browser-decodable audio file that fits within the 50 MiB size limit and the five-minute decoded duration limit. If your file is larger or longer, trim or split it first; the equalizer will not silently shorten it.
- Load the file in the Audio Equalizer and wait for the decode to finish. Confirm the channel count, decoded sample rate, and frame count the page reports. A surprise in the channel count usually means the source has more than two channels or fewer than one — the decoder will reject values outside 1 through 8.
- Set Bass, Mid, and Treble to whole numbers from -12 to +12 dB. Start with a single small cut if the source has a specific problem (rumble, muddiness, harshness); avoid stacking several large boosts before previewing.
- Apply the equalizer locally and read the raw peak, output peak, safety scale, sample rate, and frame count the page reports. If the safety scale is well below 1, reduce your boosts before committing to the result.
- Preview the processed buffer with the headphones or speakers that matter to your decision, level-matched against the original, then download the complete PCM16 WAV.
Details About the WAV Output
The download is always a freshly written uncompressed PCM16 WAV. It is not a re-wrap of your source file. Specifically, the original MP3 or AAC bitrate, compression mode, embedded tags, cover artwork, chapter markers, loop points, and any other container-specific metadata are dropped. Float samples are converted to signed 16-bit little-endian PCM and interleaved by frame, and every accepted channel keeps the same number of sample frames so the WAV header is internally consistent. The Microsoft WAVEFORMATEX reference documents the layout of those fields, and the writer follows that layout: the header records the actual channel count, sample rate, byte rate, block alignment, bit depth, and a complete data length computed from the filtered buffer.
Channels you did not think about (more than two, fewer than two, or unusual layouts like 7.1) are all filtered independently with identical EQ settings and written into the WAV at their original layout. If the decoded sample rate differs from the rate printed in the source container — which can occur because Web Audio may resample while decoding — the WAV records the decoded rate.
Details That Affect Your Listening Test
The preview and the on-screen numbers are checks, not proof of a desirable mix. Loudness changes the way humans perceive EQ: a result that is a few dB quieter than the original will sound duller regardless of what the filters did, and a result that is a few dB louder will sound brighter. Match levels when you compare, and use the safety scale the page reports as a guide — a safety scale of 0.7 means your processed result is roughly 3 dB lower than the unprocessed peak, which is a useful reference for what "louder" really means.
Strong boosts will also emphasize whatever the source already contains: hum and rumble in the bass region, sibilance and harshness in the treble region, and any pre-existing distortion sitting in the band you are boosting. A cut is usually safer than stacking boosts because cuts lower the level rather than push it into the safety-scale path. If you need precise center frequencies, adjustable Q, spectrum analysis, automation, linear-phase processing, loudness metering, dithering, codec selection, or metadata preservation, a full audio editor is the right tool — this page is a compact three-band adjustment, not a substitute for one.
For a focused walkthrough of where boosts and cuts tend to go wrong on a tool like this, see the Audio Equalizer Mistakes That Hide in Your Boosts and Cuts guide. For a structured way to read the preview numbers and confirm the WAV after you download, the Check the Result After Using an Audio Equalizer page goes step by step.