A beginner should expect a static SVG time-domain peak overview—not a spectrogram, a calibrated loudness meter, or a rewritten audio file.
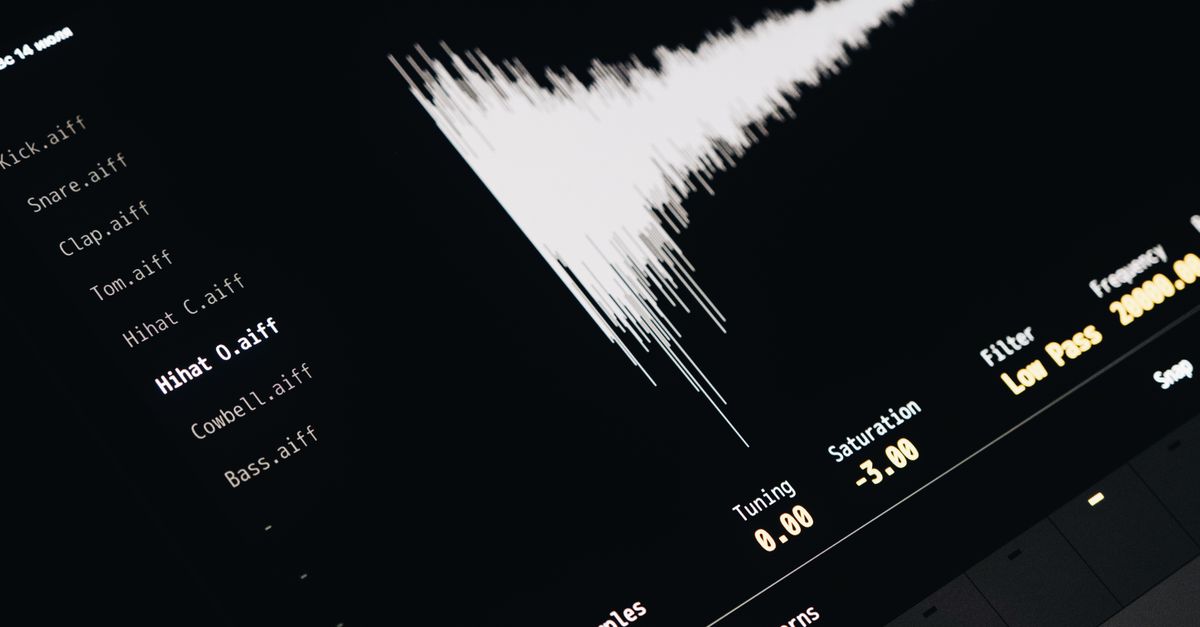
In this guide, “generate an audio waveform” means turning an existing recording into a visual overview. Time runs from left to right, while each vertical SVG line represents the minimum-to-maximum decoded sample range for one part of the recording.
Decoding, peak extraction, SVG generation, previewing, and downloading happen locally in the current browser tab. No audio file or generated graphic is uploaded to Lizely, and the original recording is not rewritten.
Start with the right mental model
The generator divides decoded frames into contiguous, integer-index ranges. For each range, it finds the minimum and maximum finite sample across every decoded channel, clamps defensive out-of-range values to -1 through 1, and draws one vertical line from the bucket maximum to its minimum. Using both extremes preserves short positive and negative peaks more honestly than choosing one arbitrary sample from each range.
The browser decodes the sound into an AudioBuffer, which holds the channel sample data used for processing. The method remains deliberately simple: it is a peak-envelope visualization rather than a complete analysis of the recording.
| Output or goal | What this tool provides | Better fit when you need |
|---|---|---|
| Static waveform overview | Minimum-to-maximum decoded sample peaks over time | A quick visual summary for an SVG-based workflow |
| Frequency analysis | No spectrogram, notes, beats, or frequency content | A spectrogram or dedicated frequency analyzer |
| Loudness assessment | Sample peaks without calibrated loudness values | A dedicated loudness meter |
| Separate channel views | One combined multichannel peak overview | An audio editor that exposes each channel as its own track |
Contiguous bucket boundaries begin at frame zero, and the final bucket reaches the final decoded frame. Accepted frames are not omitted between adjacent ranges, so the image represents the decoded recording in the order it was processed.
Check the audio before loading it
File format and browser support are separate questions. MP3, WAV, M4A, AAC, Ogg, WebM, and FLAC can be selected, but decoding succeeds only when the current browser and operating system support the file’s real codec. An extension or MIME label cannot guarantee that support. Unsupported, corrupt, empty, or disguised files return an error instead of producing a misleading waveform.
If a normally supported format will not decode in a particular browser, browser troubleshooting for failed waveform generation can help distinguish a browser compatibility problem from an invalid source file.
Check every decoded-audio boundary before starting. These limits apply to the whole selection:
| Input property | Required value |
|---|---|
| Compressed file size | No more than 50 MiB |
| Decoded duration | No more than five minutes |
| Channel count | One through eight channels |
| Sample rate | 8,000 through 192,000 Hz |
| Decoded channel samples | No more than 30 million |
An over-limit file is rejected as a whole; the generator does not silently create a waveform from only its beginning. A small compressed file can expand into a much larger floating-point channel array, which is why both the compressed-size and decoded-sample limits matter.
Choose settings that match the final SVG
The output dimensions are part of the generated file rather than temporary display settings. Width can range from 320 through 1,600 pixels, while height can range from 120 through 600 pixels. Background and waveform colors must be selected through six-digit hexadecimal controls.
| Control | Accepted value | Effect on the output |
|---|---|---|
| SVG width | 320–1,600 pixels | Sets the fixed width and matching viewBox |
| SVG height | 120–600 pixels | Sets the fixed height and vertical scale |
| Background color | Six-digit hexadecimal color | Fills the single background rectangle |
| Waveform color | Six-digit hexadecimal color | Colors the generated peak lines |
The downloaded file is text-based SVG, not PNG, JPEG, video, or audio. It contains one background rectangle and a group of peak lines, with dimensions generated from validated numbers and colors rather than copied from filenames or embedded source metadata. SVG remains sharp when displayed at another size, although unusually large print or editing projects may still need different stroke widths or more detailed source material.
Generate the waveform in a controlled workflow
- Open the Audio Waveform Generator and choose one file. Confirm that the browser can decode it and that it satisfies every compressed and decoded limit before continuing.
- Set the SVG dimensions and colors. Choose a width from 320 to 1,600 pixels, a height from 120 to 600 pixels, and valid background and waveform colors. Treat these values as the final pixel dimensions and appearance of the SVG.
- Generate the local peak envelope. The current tab decodes the selected file, divides its frames into indexed buckets, calculates the combined minimum and maximum values, and creates the SVG preview. The original audio remains untouched.
- Review the reported frame and peak-column counts. The column count is the smaller of the requested image width, 1,000, and the decoded frame count. A short recording therefore does not gain fabricated measurements, while a longer recording stays within the generator’s bounded column and processing budget.
- Inspect the result before downloading it. Check the preview and open the expandable SVG text when you need to verify the dimensions, colors, and peak lines. For multichannel material, remember that the preview is one combined envelope rather than separate channel lanes.
- Download the exact SVG shown in the inspector. The preview and download share the same generated string. When replacing the file, changing an option, generating again, or leaving the page, the obsolete object URL is revoked so an older image cannot appear to represent the new inputs.
Keep the generated SVG as the authoritative result. If the preview looks correct, the downloaded file should contain the same dimensions, colors, background rectangle, and peak-line group.
Interpret the peaks without overreading them
The geometry is deterministic. The vertical center is half the requested height, and full-scale positive or negative samples extend to 45 percent of the requested height above or below that center. This leaves a five-percent margin at the top and bottom, while the peak columns are evenly centered across the width.
For stereo and multichannel files, every bucket combines all accepted channels. Its minimum can come from one channel while its maximum comes from another. The result does not preserve visual channel identity, create separate left and right lanes, or average the channels into a new signal. If separate channel waveforms are required, use an audio editor that exposes each channel as its own track.
A peak waveform is not a calibrated loudness meter. Two recordings can have similar visible peaks while sounding very different because perceived loudness also depends on duration, frequency balance, dynamics, and playback conditions. Do not use this picture to diagnose hearing, equipment problems, clipping history, phase, or mastering compliance. It also does not reveal speech content, transients, notes, beats, or musical structure.
Know when another workflow fits better
This tool fits a beginner who needs a deterministic, editable, static SVG overview of an existing recording. It does not fit a request for frequency analysis, calibrated loudness, separate channel lanes, or an audio file that has been modified. If the final deliverable must be PNG or JPEG, plan a separate conversion step in an SVG-aware editor that supports the required format; this generator downloads SVG only.
A reliable beginner workflow is simple: confirm decoding and limits, choose fixed dimensions and colors, generate the local peak envelope, check the reported counts, inspect the exact SVG text, and then download it. That sequence keeps the output useful for a visual waveform task without mistaking it for a full audio-analysis instrument.
For a deeper look, see What to Compare Before You Generate an Audio Waveform.