Ableton Live's built-in noise sources output white noise, so creating pink noise in Ableton usually means filtering white noise at three decibels per octave to produce the tilted spectrum that defines pink. The classic method is to start from a continuous random signal, then drop high-frequency energy with a steep equalizer curve until the spectrum rolls off the way pink noise is defined. This is the workflow behind most pink-noise results inside Live, since Live's own Analog and Operator instruments only expose a white-noise oscillator. A browser-based white-noise source gives you a clean, continuous, locally generated signal that you can route into Ableton through a virtual audio cable or loopback driver, then shape inside Live with EQ Eight, a filter device, or a Utility gain stage. Everything stays under your control: the noise runs in your tab, the routing lives on your machine, and the shaping happens in Live where you can audition it against your session. The steps below cover how to start the browser tool safely, how to get its audio into Ableton, and how to convert that white-noise input into pink noise with the EQ Eight curve that defines the format.
Pink Noise in Ableton: Where It Comes From
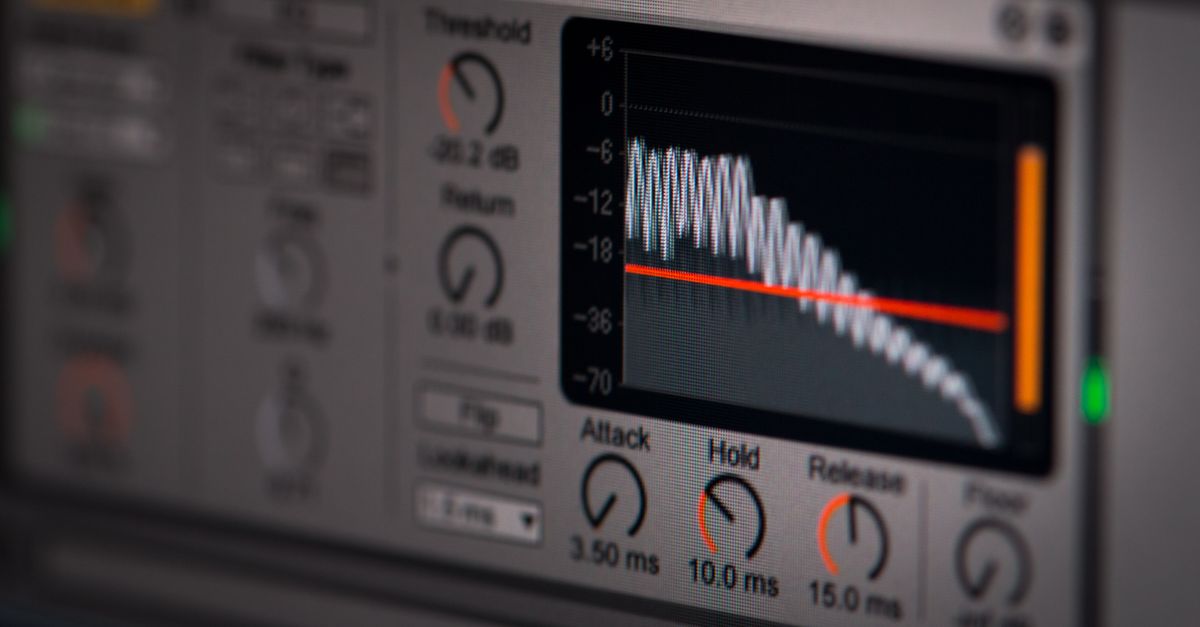
Pink noise is defined by its power spectral density, which falls at roughly three decibels per octave across the audible range. That tilt gives it more low-frequency energy than white noise, which is why many engineers describe it as warmer or smoother, and why it shows up in acoustic measurement, room calibration, and certain mixing reference workflows. Ableton Live does not include an oscillator that outputs pink noise directly. The noise source in Analog is white, and Operator's noise oscillator is also a flat-spectrum random signal. When you see a tutorial or a session that claims to use pink noise in Ableton, the source is almost always white noise that has been filtered with EQ Eight, a dedicated EQ device, or a third-party plug-in.
The Web Audio API, the browser standard that the noise tool is built on, generates audio the same way: a buffer filled with independent random samples and played back through a gain stage. The W3C Web Audio specification describes how a buffer source node plays back an in-memory audio buffer, which is exactly the mechanism the White Noise Generator uses. That makes a browser-based source a convenient way to feed a clean, deterministic starting signal into a DAW without downloading a sample pack or installing a plug-in.
White, Pink, and Brown Noise at a Glance
The table below summarizes how the three most common noise colors are defined and what they are typically used for in music production and audio work. The figures come from widely cited engineering definitions rather than from this article's calculations.
| Noise type | Power spectral density | Per-octave change | Common uses |
|---|---|---|---|
| White | Flat across frequency | 0 dB per octave | Test signals, synth sweeps, dither, percussion layers |
| Pink | Drops toward high frequencies | −3 dB per octave | Acoustic measurement, full-bandwidth testing, mixing reference |
| Brown (red) | Drops more sharply | −6 dB per octave | Ambient beds, low-end rumble, ocean textures |
White noise is the practical starting point for any of these because it has the most high-frequency energy. Tilt the spectrum down with a filter and you move toward pink; keep tilting and you reach brown. The National Instruments documentation on dithering and high-quality components describes wide-band noise as flat in the frequency domain, which matches the white-noise definition that drives the rest of this article.
How to Start the White Noise Generator Safely
Before you route anything into Ableton, the browser tool itself needs to be set up so the signal is comfortable to monitor while you work. The tool starts at a conservative fifteen percent gain so you have plenty of headroom on the slider, and it exposes explicit Start and Stop controls so you can silence the page instantly if something sounds wrong.
- Set your device output low, then leave the tool at its conservative 15% starting volume or reduce it further.
- Select Start white noise and adjust the 0–100% slider only as needed.
- Select Stop before leaving the page or whenever the sound feels uncomfortable.
Because the signal is generated locally in your browser tab, nothing about your listening level, seed, or routing reaches the network. If you want to verify that the buffer is actually loading and playing before you point Ableton at it, headphones are the simplest check: white noise should sound like steady hiss with no clicks, no pitch, and no rhythm. Clicks at start or stop usually mean the buffer loop is being interrupted by a system process, and the Stop control is the way to recover.
Routing Browser Audio into Ableton Live
Once the White Noise Generator is playing, you need to get its output into Ableton Live as an audio source. There is no upload step and no file involved; the audio simply needs a path from the browser tab to a Live audio track. The two most common ways are a virtual audio cable on macOS or an application-specific loopback driver on Windows, both of which appear as ordinary audio inputs inside Live.
On macOS, install a loopback utility such as BlackHole or Loopback, route your browser's output to the loopback device, then open Ableton and create a new Audio Track. In the track's input chooser, select the loopback device and arm it for monitoring. On Windows, a tool like VB-Audio VoiceMeeter or ASIO4ALL exposes a similar virtual input that Live can select. Either path keeps the audio on your machine and lets Live treat the browser tab as if it were any other hardware input. A general white noise in your browser guide walks through the browser side of this setup in more detail.
Shaping White Noise Into Pink With EQ Eight
Now that Live is receiving the white-noise signal, the next step is to turn it pink by tilting the spectrum down toward the high end. EQ Eight is the stock Ableton device for this because it gives you per-band control over gain, frequency, and slope, and it ships with every edition of Live. The aim is a curve that drops roughly three decibels per octave across the audible range, which is the textbook definition of pink noise.
Insert EQ Eight on the track that is receiving the loopback input. Enable all eight bands and configure them as peaking filters with a wide Q so they act like a smooth shelf across the spectrum. Place the first band low, around 30 to 60 Hz, and the last band high, around 12 to 16 kHz, then attenuate each successive band by roughly one decibel so the overall curve drops about three decibels per octave. Because the numbers are approximate, audition the result against a reference or against your room if you need an exact calibration signal. The Web Audio API specification, which defines the digital pipeline that produces the browser signal in the first place, treats any AudioBufferSourceNode as an ordinary source the host DAW can capture and process, which is why this shaping step works with no extra glue.
For sessions where you only need a quick pink-noise reference, a single Utility gain stage is not enough on its own; you need the EQ curve to actually tilt the spectrum. If your goal is just a soft hiss for ear training or a noise bed for a pad, drop the highest bands more aggressively and accept a steeper curve. If you are doing acoustic measurement, match the curve as closely as you can and use a calibrated microphone to confirm the result.
Practical Uses for a Browser Noise Source in Ableton
A clean white-noise source that you can start and stop on demand is useful in several situations that go beyond generating pink noise. You can use it as a test signal while you are routing audio between Live and another application, since steady noise reveals dropouts and glitches faster than music does. You can route it into a sidechain input to check that a compressor is reacting, or send it to a reverb bus to hear how the reverb responds to a broadband source.
You can also use it as a starting layer for sound design. White noise filtered with a narrow band-pass becomes a wind or breath texture; fed through a delay and pitched becomes a snare-style layer; looped short and sidechained becomes a pumping pad. The White Noise Generator page keeps the signal running while you build these layers in Live, so you can tweak the routing and effects without stopping and restarting the source every time.
Listening Safety and Volume Controls
Continuous noise can be deceptive because your ears adapt to it quickly, and a level that felt comfortable at the start of a session can feel loud an hour later. The White Noise Generator's 15% default and the Stop button exist because the loudness that actually reaches your ears depends on your device output, your speakers or headphones, and your amplifier, not on the tool's slider. A low slider value is not a measurement or safety guarantee, and 100% is not endorsed as safe. Begin low, lower the output or stop the page if it feels uncomfortable, and follow the guidance supplied with your audio equipment.
If you are working with a loopback device, treat your monitoring level the same way you would treat any other input in Live: bring the input gain up only as far as you need for a clean signal, keep the master output low while you are auditioning pink noise, and stop the browser source the moment you step away. The tool closes its AudioContext and disconnects its audio nodes when you stop playback or leave the page, so there is no risk of leaving the signal running after you have moved on to the next stage of your session.
If you're weighing options, Generate White Noise in Logic as a Test Source covers this in detail.