An online AI beat maker is a browser-based tool that turns toggleable cells on a 16-step grid into a looped drum beat, using synthesized kick, snare, and hi-hat sounds generated locally rather than audio samples. The whole workflow lives in a single page: you enter a tempo from 40 to 240 beats per minute, click cells to turn steps on or off for each of the three instrument tracks, and press a single button to hear the pattern loop. Because every sound is synthesized on the fly by the browser, no files are uploaded and no account is required, which makes this kind of AI-driven beat maker online usable on any modern device with a working speaker or headphone jack.
Most people who search for a "beat maker online AI" want three things: a fast way to audition groove ideas, an interface that does not require learning a digital audio workstation, and the ability to keep their work private. A 16-step sequencer fits that brief because 16 steps divide cleanly into four groups of four, matching the way musicians naturally count bars, and three instrument voices are enough to sketch the backbone of nearly every popular groove. Below is what each part of the interface does, why it matters, and the exact sequence of clicks to go from a blank grid to a playing beat.
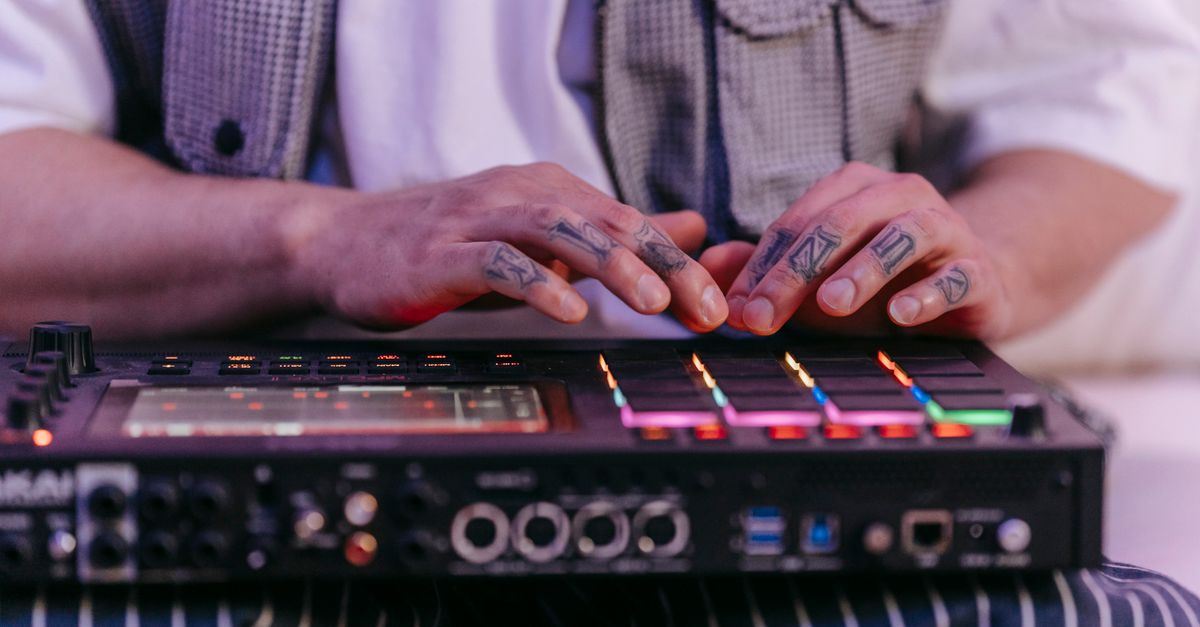
What Each Control on the Grid Actually Does
The Online Drum Machine has three layers of control: a tempo field, the 16-step grid, and the playback row. Understanding each layer prevents the small mistakes that happen when beginners treat the grid like a piano roll instead of a step sequencer.
The tempo input accepts whole numbers from 40 to 240. Each unit equals one quarter note per minute, so 120 BPM means the grid advances one step every half-second, since one quarter note at 120 BPM is 0.5 seconds. Lower numbers feel relaxed and trip-hop oriented; mid-range numbers in the 90 to 110 range suit hip-hop and R&B; numbers above 140 drive rock, drum and bass, and dance styles. The tempo applies to every step simultaneously, so kick, snare, and hi-hat always agree on where the downbeats fall.
The grid itself is a 3-by-16 matrix. Each row is one instrument — kick on top, snare in the middle, hi-hat on the bottom in the standard layout — and each column is one sixteenth note of a 4/4 bar. A filled cell means the instrument plays on that step; an empty cell means silence. Toggle a cell by clicking it; the state is visual and immediate, so you can see your pattern take shape as you build it. Because each row is independent, you can have a hi-hat running on every odd step, a snare on steps 5 and 13, and a kick only on steps 1 and 9 without any of those choices interfering with each other.
The playback row contains three buttons: Play, Stop, and Clear pattern. Play loops the current grid from step 1 through step 16 indefinitely until you press Stop. Stop releases audio immediately, which matters if you are sketching in a shared room or on a call. Clear pattern turns every cell off across all three rows, resetting the grid to a blank state without changing the tempo.
How to Build a Beat With the Online Drum Machine
- Open the Online Drum Machine tool in your browser.
- Type a whole-number tempo into the BPM field. Pick 90 for hip-hop, 120 for pop, or 140 for dance music.
- Click a cell in the kick row to add a kick drum on that sixteenth note. For a basic four-on-the-floor, click steps 1, 5, 9, and 13.
- Click a cell in the snare row on steps 5 and 13 to place a backbeat on beats 2 and 4.
- Click cells in the hi-hat row on every odd step (1, 3, 5, 7, 9, 11, 13, 15) to add steady eighth notes.
- Press Play to hear the synthesized beat loop. Adjust the tempo if the feel is too slow or too fast.
- Press Stop to silence playback, then keep toggling cells to refine the pattern.
- Press Clear pattern to reset every cell to off when you want to start a fresh groove.
Choosing a Starting Tempo and Pattern
Tempo choice shapes the genre feel more than any other decision, so it helps to pick a BPM range before laying down a single note. The grid is the same shape at every tempo, but the perception of groove changes dramatically. The table below maps common tempo bands to the kinds of patterns that sit comfortably under them, based on widely used conventions in popular music production.
| BPM Range | Typical Feel | Good Starting Pattern |
|---|---|---|
| 40 to 70 | Slow, downtempo, hip-hop soul | Kick on 1 and 11, snare on 5 and 13, sparse hi-hat |
| 80 to 100 | Classic hip-hop and boom-bap | Kick on 1, 7, 11, snare on 5 and 13, hi-hat on every odd step |
| 100 to 120 | Pop, R&B, funk | Four-on-the-floor kick, snare on 5 and 13, hi-hat eighths |
| 120 to 140 | House, disco, dance-pop | Four-on-the-floor kick, clap on 5 and 13, open hi-hat accents |
| 140 to 180 | Drum and bass, punk, metal | Double-kick bursts, snare on 5 and 13, fast hi-hat rolls |
| 180 to 240 | DnB fast cuts, breakcore | Tight kick patterns, syncopated snare, dense hi-hat |
If you are unsure where to begin, start at 100 BPM with a kick on steps 1 and 11, snare on 5 and 13, and hi-hat on every odd step. That single template covers roughly half of recorded popular music and is a reliable starting point for sketching ideas.
Pattern Design Tips for a 16-Step Grid
A 16-step grid rewards rhythmic thinking over melodic thinking. Each step lasts one sixteenth of a bar, so the smallest meaningful gap between two hits is a sixteenth note, and the largest comfortable gap is a full bar of silence. Three habits make patterns feel intentional rather than mechanical.
First, leave space. A common beginner mistake is to fill every cell, which produces a flat, robotic loop. Leaving two or three steps empty in each row creates the syncopation that listeners read as "groove." Second, vary the kick against the snare. If the kick and snare both hit on step 5, the backbeat disappears, so make sure the snare falls on a step where the kick is silent. Third, use the hi-hat to glue the kit together. Steady eighth-note hi-hats on the odd steps give the ear a constant reference point against which the kick and snare can move.
For more advanced patterns, try shifting the snare to step 6 or step 14 for a swung or pushed feel, removing the hi-hat on the "and" of beat 4 (step 15) to open up the bar, or doubling the kick on adjacent steps like 1 and 2 for a driving rock pattern. Each of these is a single click on the grid.
Pairing the Drum Machine With Other Browser Tools
The drum machine is most useful as the rhythmic foundation for a larger project. Once you have a pattern you like, the same browser session can extend it in several directions without ever leaving the page. If you want a clean click track to practice against, the Online Metronome plays an accented beat at the same tempo range, which is useful for checking whether your pattern is sitting on the grid. For a deeper guide to sketching grooves in the browser, see Create Custom Beats Instantly with an Online Beat Maker, which walks through building full song sections from a 16-step starting point.
If you already have an audio file and want to chop, reverse, or pitch-shift it to layer with your beat, the Audio Cutter, Reverse Audio, and Audio Pitch Changer tools all process files locally and return a labeled PCM16 WAV download. For practice sessions where you want steady background ambience rather than a rhythm, the White Noise Generator plays bounded white noise with a volume slider. Everything runs client-side, so the workflow stays private from the first click to the final export.
Common Questions Before You Start
New users often wonder whether the tool can save a pattern between sessions. Because the drum machine runs entirely in the browser without a backend, the pattern exists only as long as the page is open. Reloading the page resets the grid, so take a screenshot or write down the step numbers of any pattern you want to recreate. The tempo persists for the session, but the cells do not.
Another frequent question is whether the synthesized sounds can be replaced with samples. The Online Drum Machine is built around its own kick, snare, and hi-hat voices, which is what lets it run with no uploads and no licensing concerns. If you need sample-based production with more than three voices, a full digital audio workstation is the appropriate next step; for sketching ideas and practicing timing, three voices on a 16-step grid are more than enough.
Finally, beginners sometimes ask why the click they hear does not match the BPM they typed. The most common cause is a fractional tempo value; the field only accepts whole numbers, so a value like 120.5 will not register and the previous tempo will keep playing. Type only integers, and the grid will move at exactly the rate you set.
Troubleshooting Playback and Grid Issues
If pressing Play produces no sound, the most likely culprit is the system volume or a muted browser tab. The browser must not be muted, and the device output must be unmuted. Some browsers suspend audio in background tabs; switch back to the tab containing the drum machine and press Play again. If the grid looks correct but the playback sounds off, double-check that no extra cells were toggled while experimenting; the Clear pattern button resets everything in one click.
If a step plays at the wrong time, the cause is almost always a tempo change made mid-playback. The grid does not re-quantize existing patterns, so reducing BPM from 140 to 90 will simply slow the existing pattern down, which can make sixteenth notes sound like triplet eighths against the new grid. Stop playback, change the tempo, then press Play again to hear the pattern at its new rate. For a step-by-step walkthrough of setting up and adjusting a practice-friendly beat, the guide on using a virtual drum kit in your browser covers related techniques that apply to any grid-based drum tool.