Premiere Pro's built-in audio waveform is fixed in size and cannot be resized beyond a small zoom slider, so the only reliable way to make a bigger audio waveform for a Premiere Pro timeline, graphic, or reference image is to generate a custom-sized SVG elsewhere and bring it back into the project. The Audio Waveform Generator exports a scalable SVG at exact dimensions between 320 by 120 and 1600 by 600 pixels with chosen background and waveform colors, then lets you download a text-based SVG file you can drag straight into Premiere Pro's timeline or Essential Graphics panel. The bigger waveform is fully scalable, which means the same SVG stays sharp at thumbnail size on the timeline or stretched across a 4K reference frame without re-rendering. Audio is decoded locally in the browser, the peak envelope is calculated from real decoded frames, and nothing is uploaded to a server, so source files remain private while you work.
Why Premiere Pro's Built-In Waveform Stays Small
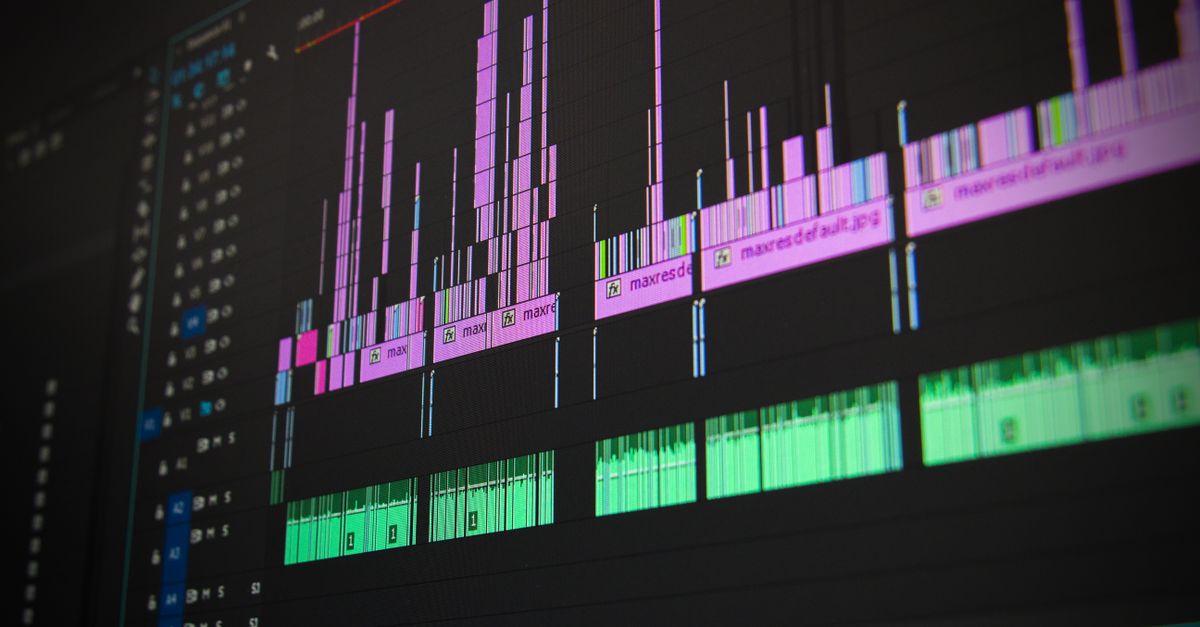
Premiere Pro shows waveforms as part of the source audio clip on the timeline. That display is functional but limited: you can zoom in and out, change the wave-log color, and switch between standard and logarithmic display, but you cannot export the waveform as a graphic, change its aspect ratio, or scale it independently of the audio clip. Three practical problems follow from that constraint.
- The display is bound to the timeline ruler. A short clip shown at very wide zoom produces a tiny waveform height, while a long clip compressed into a small space produces a busy blur of overlapping lines.
- Color contrast is fixed to a small palette. Custom branding, transparent backgrounds, and matching the project color scheme require an export-and-reimport workflow.
- No PNG, JPEG, or SVG export exists inside Premiere. If you need the waveform as a still image for a thumbnail, a graphic overlay, a YouTube cover, or a printed reference, Premiere Pro does not provide one.
An external SVG export solves all three problems at once, which is why editors who want a clearly readable waveform for review or graphic use typically move outside the timeline to generate one.
What the SVG Method Actually Does
An SVG waveform is a vector image. A vector describes lines with mathematical coordinates rather than pixels, so the same SVG renders sharply at 320 pixels wide or stretched to 1600 pixels wide. The Audio Waveform Generator reads the selected audio file in the browser, decodes it through the Web Audio API as documented in the AudioBuffer specification, and draws one vertical line per bucket of decoded frames. The result is a deterministic overview where time moves left to right and the vertical extent of each line represents the sample amplitude range in that bucket.
Because the SVG carries fixed pixel width, fixed pixel height, and a matching viewBox, every element scales together when the image is resized inside Premiere Pro's graphics workflow or in any other editor. The file also contains plain text, so opening it in a vector editor reveals the exact coordinates of every peak line.
How to Generate a Bigger Waveform SVG
A practical workflow for an editor who needs a larger, more legible waveform:
- Export or locate the audio file you want to visualize. A short clip up to five minutes works best; the tool caps at 50 MiB compressed, five minutes of decoded audio, one through eight channels, sample rates from 8,000 Hz through 192,000 Hz, and 30 million total channel samples.
- Open the Audio Waveform Generator in the same browser tab you use for editing. Pick a width between 320 and 1600 pixels and a height between 120 and 600 pixels. Pick a background color and a waveform color using the browser's six-digit hexadecimal color controls.
- Click Generate. The tool divides decoded frames into equal-index buckets and draws one vertical line per bucket from the bucket's clamped minimum sample to its clamped maximum sample across every channel. For a 10-second mono clip at 44,100 Hz, the decoded frame count equals 10 x 44,100 = 441,000 frames; with a requested width of 800 pixels, the column count becomes min(800, 1000, 441,000) = 800 columns.
- Read the reported frame count and column count. Open the preview, inspect the SVG text in the expandable inspector, and click Download to save the exact same string as an .svg file.
Bring the Bigger Waveform Into Premiere Pro
Once the .svg file is on disk, Premiere Pro treats it as a still graphic. The exact steps for the most common workflow:
- In Premiere Pro, open the Project panel, right-click an empty area, and choose Import. Browse to the downloaded .svg file and confirm.
- Drag the imported SVG into the timeline above the matching audio track on a new video layer. The SVG appears as a regular graphic clip.
- Open Effect Controls and adjust Scale, Position, and Opacity until the waveform sits where it needs to. Because the SVG is vector, scaling does not blur it.
- For animated reveals, keyframe Scale or Opacity across the clip duration. For an Essential Graphics overlay, drag the SVG into the Essential Graphics panel and place it on a graphics layer instead.
If only a static reference image is needed, skip the timeline entirely and open the SVG directly from the file browser. Vector files stay sharp at any zoom level, so the waveform remains crisp when reviewed at full screen or printed.
Choosing Dimensions and Colors for a Premiere Use Case
The tool's officially defined width range is 320 to 1600 pixels and height range is 120 to 600 pixels. Full-scale positive or negative samples extend to 45 percent of the requested height above or below the vertical center, leaving a five-percent margin at the top and bottom. The following table matches common Premiere uses to a starting dimension.
| Premiere use | Suggested width | Suggested height | Notes |
|---|---|---|---|
| Timeline overlay thumbnail | 320 px | 120 px | Compact, stays legible at small timeline zoom |
| Social video graphic | 800 px | 300 px | Wide ratio suitable for cover frames |
| Reference frame for grading | 1600 px | 600 px | Largest size for detailed inspection |
| Print storyboard or contact sheet | 1600 px | 600 px | Vector remains sharp at any print size |
Color choice should match the project. A dark background with a light waveform works against light video footage; a light background with a dark waveform works against darker video. Hexadecimal colors such as #111111 for background and #FF5500 for waveform remain among the most readable combinations.
Limits That Decide Whether the Tool Accepts Your File
The decoded-data limits from the product contract are the deciding factor. The following table lists each hard limit and what it means for a typical Premiere editor.
| Limit | Value | Practical meaning |
|---|---|---|
| Compressed file size | 50 MiB maximum | A short exported WAV or MP3 fits; very long multitrack stems may not |
| Decoded duration | 5 minutes maximum | A short interview, jingle, or sound effect fits; a full song or long take does not |
| Channel count | 1 through 8 | Stereo, 5.1, and 7.1 work; anything higher is rejected |
| Sample rate | 8,000 through 192,000 Hz | Standard 44.1 and 48 kHz plus high-res 96 and 192 kHz files work |
| Channel samples | 30 million maximum | A small compressed file can still exceed this once decoded |
Files outside any of these limits are rejected as a whole; the waveform is not silently made from only the beginning.
What the Bigger Waveform Cannot Tell You
The visualization uses a deliberately simple peak-envelope method. Each bucket takes the finite clamped minimum and maximum across every decoded channel, which means the image has clear limits.
- It is not a calibrated loudness meter. Two recordings can show similar peaks and still sound very different because perceived loudness depends on duration, frequency balance, dynamics, and playback conditions.
- It is not a spectrogram. The vertical line represents sample amplitude range, not frequency, so the picture cannot be used to read notes, beats, or musical structure.
- For multichannel audio, the image is a combined peak overview. A bucket can take its minimum from one channel and its maximum from another, so separate left and right lanes are not preserved visually.
- The original audio is never rewritten. To change channel balance, phase, or clipping, use a dedicated audio editor.
Treat the exported SVG as a visual aid for editing decisions, not as a measurement of perceived loudness or audio quality.
For a deeper look, see Are the Audio File and Waveform Uploaded to a Server?.
For a deeper look, see How Are Stereo and Multichannel Files Shown in a Waveform.