To equalize audio for a DaVinci Resolve project without opening Resolve's Fairlight page or installing a third-party plugin, decode the file in your browser, apply a disclosed three-band peaking equalizer at 100 Hz, 1 kHz, and 10 kHz with Q=1, then drop the resulting PCM16 WAV onto a timeline track. The Audio Equalizer runs entirely in the current browser tab — Lizely does not receive the audio bytes, decoded samples, EQ settings, filename, or result — so a dialog box, a network meter, or an offline session stays undisturbed. Each of the three controls accepts integer gains from -12 to +12 dB; setting all three to 0 is a genuine flat path that copies the decoded channel samples without running a nonzero filter section. Before encoding, the tool measures the absolute peak across every processed sample and channel, and when that raw peak exceeds 0.99 it applies one uniform scale factor to bring the largest magnitude to 0.99, preventing the PCM encoder from independently chopping individual peaks.
DaVinci Resolve already includes the Fairlight audio engine and several built-in EQ plugins, so this browser method is not a replacement for a full mix. It fits a specific gap: the moment when you want a clean, deterministic three-band adjustment applied to a single file before it reaches the timeline, when you are working on a machine that does not have Resolve installed, or when you need to share a pre-EQed bounce with a collaborator who edits in Resolve. The output is a plain uncompressed PCM16 WAV whose header records the actual channel count, sample rate, byte rate, block alignment, bit depth, and complete data length as defined in the standard WAVEFORMATEX layout, so Resolve treats it like any other WAV on import.
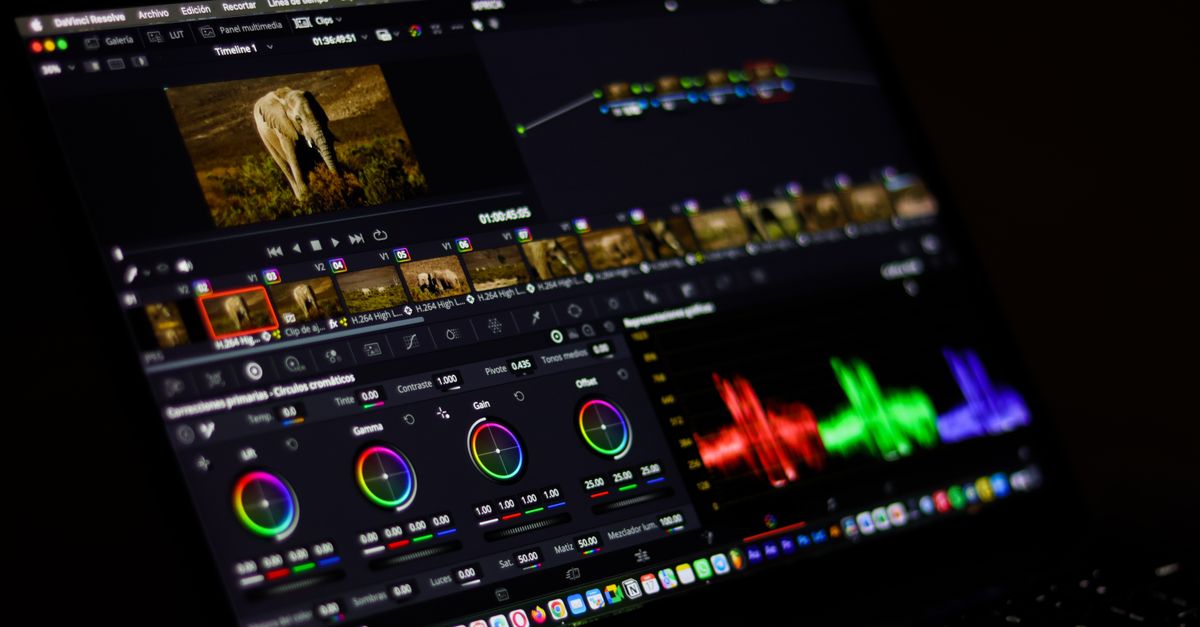
Why equalize outside DaVinci Resolve?
Three reasons come up repeatedly when editors and colorists ask about EQ'ing outside the NLE. First, Resolve's Fairlight page is powerful but is also where you spend time on routing, bus assignment, and clip-level automation — sometimes you only want a single fixed tonal shape baked into one bounce. Second, Resolve supports VST3 and Audio Units plugins, but installing one of those requires admin rights, a plugin scan, and a restart on some setups, which is impractical on locked-down edit bays or remote machines. Third, a pre-EQed WAV is portable: it travels to Premiere, Final Cut, or a review tool without rebuilding the curve, and the same numbers you saw in the browser are what listeners hear.
The browser approach is also useful for previewing a tonal idea. You set Bass, Mid, and Treble on a short clip, listen through the page preview, and only commit the change once the balance sounds right. Because each control exposes one fixed center frequency and a fixed Q, you cannot get lost in a 10-band graphic interface when all you needed was to pull 3 dB out of the low end.
What the Audio Equalizer actually does
The tool applies three disclosed peaking biquad filters in cascade, using the coefficient formulas published in the W3C Audio EQ Cookbook. Bass is centered at 100 Hz, Mid at 1,000 Hz, and Treble at 10,000 Hz when the decoded sample rate allows it. When the decoded sample rate is low, the Treble center is reduced to 45 percent of that sample rate so it stays below the Nyquist limit instead of asking an invalid digital filter to operate outside the available spectrum. Every band uses a Q value of 1 and the biquad coefficients are normalized by a0 before the filter runs.
| Band | Center frequency | Q | Gain range | Typical use |
|---|---|---|---|---|
| Bass | 100 Hz | 1 | -12 to +12 dB | Reduce rumble, add warmth, tame boomy dialogue |
| Mid | 1,000 Hz | 1 | -12 to +12 dB | Adjust presence, control honky or boxy recordings |
| Treble | 10,000 Hz (or 45% of sample rate if lower) | 1 | -12 to +12 dB | Tame sibilance, add air, soften harsh cymbals |
Zero on all three controls is a true flat path. In that case the tool copies the decoded channel samples without running a nonzero filter section, so an accidental all-zeros setting applies no EQ adjustment to the decoded samples. Positive values boost energy around a band center and negative values cut it. Because a peaking filter affects a region around its center rather than every frequency below or above a hard boundary, a Bass cut at -6 dB still leaves some 100 Hz content and gently rolls into the low mids, which is usually what you want for a single-bus cleanup.
Each accepted channel is filtered independently with identical settings, and every channel keeps the same number of sample frames after processing. The decoded AudioBuffer can hold one through eight channels, and the Web Audio decoder can read MP3, WAV, M4A, AAC, Ogg, WebM, or FLAC when the current browser and operating system support the actual codec — a familiar extension is not a guarantee because containers can hold codecs that a browser cannot read.
Equalize audio for your DaVinci Resolve timeline
- Open the Audio Equalizer in a browser tab on the same machine where your Resolve project lives, so the downloaded WAV lands somewhere easy to drag into the Media Pool.
- Pick one browser-decodable audio file. The tool caps input at 50 MiB, decoded audio at five minutes, one through eight channels, a sample rate from 8,000 to 192,000 Hz, and no more than 30 million channel samples — over-limit files are rejected before any filtering runs and nothing is silently truncated.
- Set Bass, Mid, and Treble to whole dB values between -12 and +12. Start with small moves — a 2 dB cut on Bass to clean rumble, a 1 to 3 dB cut on Mid to take box out of dialogue — and only push further if the preview confirms the change.
- Apply the equalizer locally. The three peaking sections run in Bass, Mid, then Treble order and the result sits in memory while the page reports the raw peak, output peak, safety scale, decoded sample rate, and frame count.
- Hit the page preview and compare the processed clip against the original at a similar perceived level. Listening on the speakers or headphones that matter is the only way to confirm a tonal choice; louder output is not the same as better output.
- Download the WAV. The file is a new uncompressed PCM16 WAV with a complete header — it does not keep the original MP3 or AAC bitrate, compression mode, tags, artwork, chapters, loop markers, or container metadata.
Reading the numbers before you import
Five numbers matter once the equalizer has run. The decoded sample rate is what the WAV will report; Web Audio may resample while decoding, so the result writes the decoded rate rather than claiming the source container rate survived unchanged. The frame count is the total sample-frame length per channel after filtering and is identical across channels. The raw peak is the largest absolute magnitude across every processed sample and every channel before any safety scaling. The output peak is the largest absolute magnitude after the safety scale. The safety scale itself is reported numerically and is exactly 1.0 when the raw peak was already at or below 0.99, and a value below 1.0 when cascaded boosts pushed the result above full scale.
| Limit or value | Specification |
|---|---|
| Input file size | Up to 50 MiB |
| Decoded duration | 5 minutes or shorter |
| Channel count | 1 through 8 |
| Sample rate | 8,000 to 192,000 Hz |
| Channel samples | 30,000,000 max |
| Output format | PCM16 little-endian WAV |
| Processing location | Current browser tab only |
A nonzero safety scale is not a sign of a problem — it is the tool's way of saying that the cascaded peaks exceeded digital full scale, which happens routinely when you stack positive boosts. The scale factor is applied uniformly to every processed sample and every channel, so the relative balance of Bass, Mid, and Treble stays intact; the trade-off is that the overall level drops. If you need a louder result, go back and reduce the largest positive gain rather than post-applying a second volume change, because stacking two processing passes compounds any quantization and re-introduces the very peaks the safety scale was preventing.
Bring the WAV back into DaVinci Resolve
Drop the downloaded WAV into the Media Pool the same way you would import any other clip: drag from a Finder or Explorer window onto the Media Pool panel, or use Media > Import > Media and pick the file. Resolve reads the WAV header for sample rate, channel count, and bit depth, and the audio lands on a stereo or mono track depending on what the WAV declares. Because the WAV carries no tags, artwork, chapters, or container-specific metadata, the imported clip has a clean slate in the Metadata panel.
On the timeline, place the equalized clip on a dedicated audio track so it can sit beside any other Resolve-side processing you still want to apply — a clip gain trim, a Fairlight EQ for fine work, or a bus compressor on the dialogue chain. If you need to revisit the tonal choice, re-run the browser tool with different gains on the original source file; Resolve's Fairlight automation is the right place for moves that change over time, while the browser tool is the right place for a single fixed tonal shape baked into the file.
For projects that already include multi-track audio work, the same WAV can move between Resolve and other editors without rebuilding the EQ, and the same numbers you read in the browser — sample rate, frame count, raw peak, output peak, safety scale — are what the listener hears on playback. If you want a related edit on the same source, the Change Audio Pitch in DaVinci Resolve Without Plugins walkthrough covers the pitch-shifting side of that workflow using a similar local-first approach.
Use the preview and the reported numbers as checks, not as proof of a desirable mix. Strong boosts may emphasize noise, sibilance, rumble, or existing distortion; a cut is often safer than stacking several boosts. When you need precise center frequencies, adjustable Q, spectrum analysis, automation, linear-phase processing, loudness metering, dithering controls, codec selection, or metadata preservation, the right tool is a full audio editor — the Audio Equalizer is deliberately compact and disclosed, and it does not pretend to be anything else.
Related reading: Change Audio Pitch in Browser Locally.