Changing audio pitch in DaVinci Resolve is a two-step task when you want a quick, no-plugin result: first render the audio you want to shift out of your timeline, then open the rendered file in a local browser tool that accepts whole-number semitone shifts from -12 to +12. The mathematical relationship that drives this kind of pitch shifting is 2^(n/12), where n is the number of semitones, so +12 doubles the playback rate (one octave up) and -12 halves it (one octave down). Because this method uses playback-rate resampling rather than a dedicated time-stretching algorithm, both pitch and duration move together: raising pitch shortens the audio, lowering pitch lengthens it. The local browser path is fast and predictable for practice tracks, sound design experiments, and quick creative edits; a phase-vocoder or elastic-time workflow is the correct choice when a transparent tempo-locked change is required instead. Audio Pitch Changer from Lizely does exactly this work in your current browser tab without uploading the source file to any server.
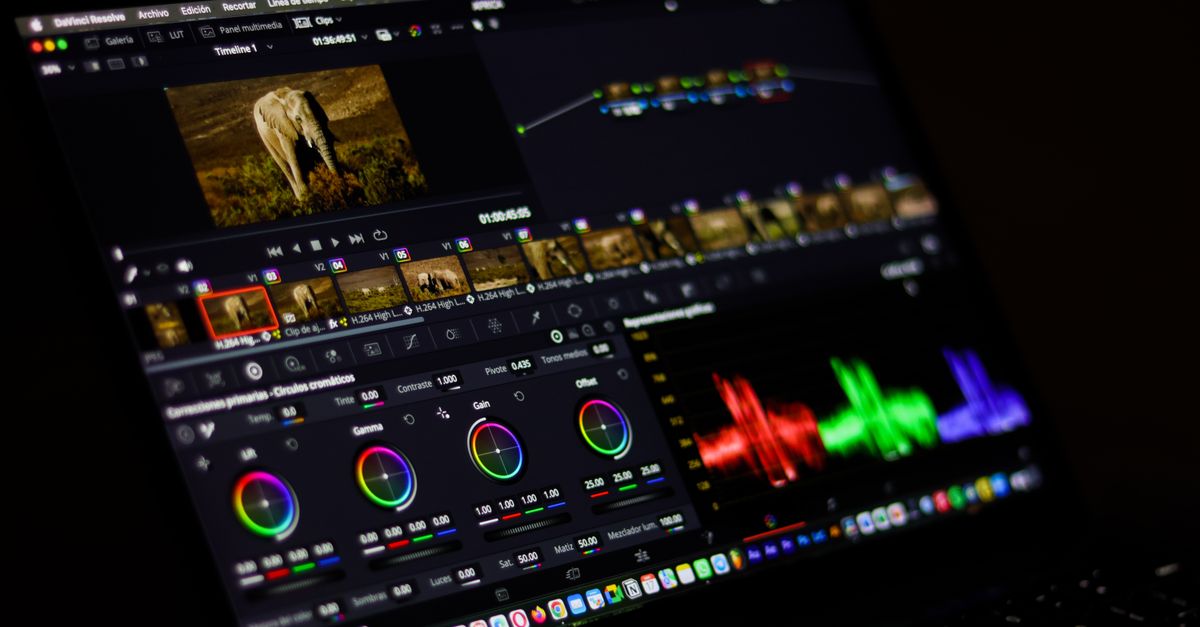
What Pitch Shifting Means Inside DaVinci Resolve
DaVinci Resolve ships with a full audio environment called Fairlight, and pitch shifting is part of that toolkit. Inside the Fairlight page you can change the pitch of a clip using clip properties, inspector controls, or a pitch-shift effect on the audio bus. The built-in path is convenient when your edit stays inside Resolve and you are happy with the pitch and tempo behaviour Resolve applies. Many users, however, want a much wider, more transparent shift range than the small in-DAW steps, or they want a render that they can audition outside the timeline before deciding whether to commit. That is where a local browser tool becomes useful: it lets you render an audio clip once, audition a whole-octave shift with a single slider, and decide whether to re-import the result.
The pitch itself is a perceptual quality tied to frequency. Twelve-tone equal temperament, the standard Western tuning system, divides every octave into twelve equal semitones, and each semitone has a frequency ratio of 2^(1/12). Doubling the playback rate therefore raises pitch by exactly one octave, halving it lowers pitch by exactly one octave. McGill University's music technology course material confirms that an octave has twelve equal semitones and that a semitone contains one hundred cents, which is the same definition the Web Audio specification uses for the detuning factor on an AudioBufferSourceNode. For DaVinci Resolve users, the practical upshot is simple: the same one-octave shifts you can hear inside Fairlight can also be produced and re-imported as a separate file with no audible difference in the underlying math.
Why Exporting First Then Shifting Locally Works
A common workflow in DaVinci Resolve is to solo or bounce the specific clip you want to change, export it as a WAV or MP3, run the shift outside the project, then drag the new file back into the media pool. That pattern works because pitch shifting and resampling are largely format-agnostic: once you have a decodable audio file, you can apply any playback-rate ratio to it. Doing the shift locally in the browser has three concrete benefits for this kind of work. First, the full -12 to +12 semitone range is one click, so you can quickly compare an octave-up chipmunk version with an octave-down monster version of the same line. Second, the new file is a clean PCM16 WAV that you can re-import with no extra decoding on Resolve's side. Third, no plugin has to be installed or authorised inside Resolve, which matters on shared machines or short-term trial installs.
Local processing also keeps the audio inside your browser tab, so nothing has to be uploaded, queued on a server, or downloaded twice. For solo creators working on short reels, podcast clips, social edits, and game-capture commentary, that round-trip economy is the main reason to reach for a browser tool rather than to learn every parameter in Fairlight. The result is still a regular WAV file that Resolve treats exactly like any other imported media.
Change Audio Pitch in DaVinci Resolve: Local Workflow
The end-to-end workflow takes only a few minutes once you know where to click on each side.
- In DaVinci Resolve, switch to the Fairlight page and solo the clip you want to shift, then export it as a WAV or MP3 from the timeline. Any common browser-decodable format will work; pick whichever gives you a clean, normalised source.
- Open Audio Pitch Changer in your current browser tab. Click the file input and choose the exported audio file. The tool accepts one file at a time, browser-decodable, up to 50 MiB.
- Set a whole-number semitone value in the shift field. Valid values are -12 through +12 inclusive. A value of 0 keeps the original pitch, +12 raises it by one octave, and -12 lowers it by one octave. Whole-number values are required.
- Trigger the local render. The tool decodes the file with the Web Audio API, sets the source's playbackRate to 2^(n/12) inside an OfflineAudioContext, and renders the complete result at the decoded sample rate. No data leaves your machine during this step.
- Read the duration change the tool reports once the render finishes, then download the resulting file. The download is a freshly encoded, uncompressed, interleaved, little-endian PCM16 WAV in a RIFF/WAVE container.
- Drag the downloaded WAV back into DaVinci Resolve's media pool, drop it on the timeline where the original clip was, and mute or delete the original audio if you want to replace it.
Semitone Reference: Pitch and Duration Trade-Offs
Because the playback rate is the only thing that changes, every semitone value has a direct, predictable effect on duration. The table below lists the three values that the tool documents explicitly, plus the formula that defines every other whole-number shift.
| Semitone shift (n) | Playback rate (2^(n/12)) | Pitch effect | Duration effect |
|---|---|---|---|
| -12 | 0.5× | One octave down | Roughly 2× original duration |
| 0 | 1× | Unchanged | Unchanged |
| +12 | 2× | One octave up | Roughly 0.5× original duration |
For any other whole-number value between -12 and +12, the playback rate is 2^(n/12) and the duration is the original duration divided by that same rate. Smaller absolute shifts sit closer to 1.0 and produce a less dramatic duration change; larger absolute shifts sit closer to the 0.5× or 2× endpoints and produce a much larger one. The MDN documentation on AudioBufferSourceNode.playbackRate confirms the underlying behaviour: a value below 1 slows the audio, a value above 1 speeds it up, and any non-unit rate causes resampling.
A Worked Example for a +12 Semitone Shift
Suppose you render a 60-second stereo clip from a DaVinci Resolve timeline at 44,100 Hz, then shift it up one octave. The arithmetic the tool performs is straightforward:
playbackRate = 2^(12/12) = 2^1 = 2.0 output duration = 60 s ÷ 2.0 = 30 s input channel samples = 60 × 44,100 × 2 = 5,292,000 (well under the 30,000,000 cap) output channel samples = 30 × 44,100 × 2 = 2,646,000 (also under the cap)
Both limits pass, so the tool produces a complete 30-second PCM16 WAV that is exactly one octave higher than the source. If the same source were shifted -12 semitones instead, the output duration would be 120 seconds and the output channel samples would double to 10,584,000, which still fits the budget for this particular input. Lowering pitch is the direction that grows the output fastest, so very long inputs combined with strong downward shifts are the cases most likely to hit the output cap.
Input and Output Limits to Keep in Mind
Every limit the tool enforces is checked before the expensive render work begins, so an over-budget request fails fast and produces no partial file. The full set of limits is:
| Limit | Value |
|---|---|
| Maximum encoded input file size | 50 MiB |
| Maximum decoded input length | 5 minutes |
| Maximum channel count | 8 |
| Sample rate range | 8,000–192,000 Hz |
| Maximum input channel samples | 30,000,000 |
| Maximum output channel samples | 30,000,000 |
The output cap is the one most often surprising to new users, because lowering pitch lengthens the audio. A 4-minute stereo 48,000 Hz source contains about 23,040,000 input channel samples, which fits the input budget. A -12 semitone shift on that source asks for 46,080,000 output channel samples, which is over the 30,000,000 output cap, so the tool reports an error and creates no download. In that situation, either shorten the source in DaVinci Resolve before exporting, choose a less extreme shift, or move to a dedicated time-stretching workflow that handles longer material. Decoded audio above five minutes is rejected before the output cap is even checked, so very long renders from a Resolve timeline need to be trimmed first.
When You Need Time-Stretching Instead
Playback-rate resampling is the right tool when pitch and duration are allowed to move together, which is exactly the case for a chipmunk vocal effect, a deep-voiced effect for a video game monster, or a sped-up chip-tune rehearsal track. It is the wrong tool when the brief requires the original tempo to survive a pitch change, because speech cadence, beat positions, and total length all change with the rate. For that brief, a phase-vocoder or other time-stretching algorithm is required. The Lizely guide on changing audio pitch in Audacity without affecting tempo walks through one such workflow for users who want to keep the beat grid intact while moving the key.
For DaVinci Resolve specifically, the same trade-off applies: the built-in pitch-shift controls in Fairlight are useful for small, musical adjustments, but a separate phase-vocoder or elastic-time pass is the right answer when the original tempo must hold steady. Audio Pitch Changer is the right answer for everything else, and the WAV it produces drops straight back into the Resolve media pool without any extra conversion step. The whole pipeline stays inside your own machine, so the only file that touches a server is whatever you choose to upload to a stock library or a client portal after the edit is finished.
Related reading: How to Change the Volume of an iPhone Alarm.