The iPhone's side buttons and Control Center can only push playback output so high. To make an audio file louder, softer, or muted before it ever reaches your iPhone speakers or headphones, edit the file itself with Volume Changer: a browser-based tool that multiplies every decoded sample by a linear gain from 0% to 400% and exports the result as a 16-bit PCM WAV file. Because the source audio is decoded and re-encoded entirely inside your current browser tab, nothing is uploaded to a remote service, and you can preview the WAV, inspect its peak and clipped-sample count, and download only after listening to the complete result. The downloaded file is a standard uncompressed WAV that macOS Finder, iTunes, Music, Voice Memos, and most third-party iOS players recognize without extra conversion. Because the gain is applied to the underlying sample data, the louder version travels anywhere the file travels: AirDrop, Finder sync, podcast hosting, or a quick import back into Voice Memos on the same iPhone.
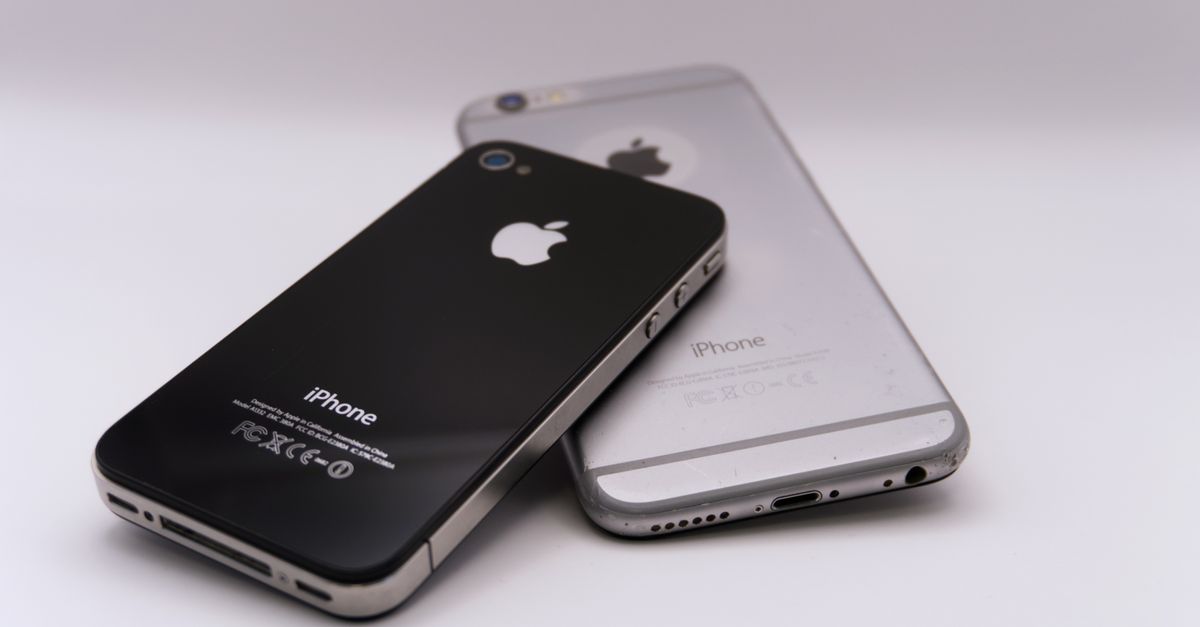
Why hardware buttons cap your iPhone audio
The volume buttons on an iPhone, plus Siri and Control Center, all send a single level setting to the iOS audio output stage. That setting scales what the speakers and connected headphones receive, but it does not touch the audio data already sitting inside a file. Once that output stage reaches its maximum gain, the buttons stop producing louder sound even if the underlying file still has headroom. There is also a system-level limit on how low playback can drop before the player treats the slider as muted, which leaves a soft recording without much room to back off.
Editing the audio file changes the actual samples before any iOS scaling happens. A voice memo recorded too quietly for your car speakers, an audiobook chapter that gets lost under road noise, a ringtone that wakes the dog, or a podcast export that came in uneven can all be rebalanced at the file level. Because the change lives in the file itself, the louder or softer version travels anywhere the file travels: AirDrop to a friend, sync through Finder, upload to a podcast host, or a quick import back into Voice Memos on the same device.
How to change the volume of an iPhone audio file
- Open Volume Changer in a current desktop or mobile browser and choose a browser-decodable audio file no larger than 50 MiB. Wait for the file name to appear in the interface, which confirms the browser's Web Audio decoder has accepted the file.
- Set the linear output volume anywhere from 0% through 400%. Use 0% to write total silence while preserving the decoded duration, sample rate, and channel count, and use values above 100% only after previewing, because the gain can push quiet sections over the digital full-scale ceiling.
- Select Change volume. The tool decodes the entire file, rejects decoded durations above five minutes, more than eight channels, or more than 30 million total channel samples, multiplies every finite sample by the chosen gain, clamps values above plus or minus 1 to the supported range, and counts how many samples crossed that boundary.
- Preview the resulting WAV from start to finish through suitable headphones or speakers. Do not skip this step. The operation cannot restore information already clipped in the source, and repeated PCM conversions can complicate version control, so a full listen is the only reliable way to catch distortion introduced by high gain settings.
- Inspect the peak and clipped-sample count reported by the tool. A nonzero clipped-sample count means the gain pushed some peaks past the supported range, which is a sign of possible audible distortion. Drop the percentage a notch and regenerate the WAV until the count returns to zero, or until you reach a clear tradeoff between loudness and artifact level.
- Download the WAV only after the preview sounds correct. The downloaded filename ends in -volume-adjusted.wav, and the file uses a RIFF container with format code 1, the original decoded sample rate, the original channel count, and 16-bit signed little-endian PCM samples.
What the peak and clipped sample numbers mean
After a run, the tool reports two diagnostic values: the post-clip peak and the number of samples that crossed the digital full-scale boundary. The peak tells you how close the loudest moment in your output came to plus or minus 1.0, where 1.0 is the digital full-scale ceiling used to clamp samples before they are written as 16-bit signed integers from -32768 to 32767. The clipped-sample count tells you how many individual samples had to be clamped because the chosen gain pushed them beyond that ceiling.
Consider one sample with a value of 0.6. At 200% gain the calculation becomes 0.6 × 2 = 1.2, which exceeds the 1.0 digital full-scale ceiling and is clamped down to 1.0. That clamping event adds one to the clipped-sample count. By contrast, a quiet sample at 0.3 stays at 0.6 after a 200% gain and never crosses the ceiling. Doubling linear amplitude equals roughly a 6.02 dB increase before any clipping takes effect, which is much smaller than the 100 dB shift the word "200" might suggest.
A nonzero count does not automatically mean the file sounds bad, but it is evidence the gain may have introduced audible distortion. Drop the percentage, regenerate the WAV, and recheck the count. For a safe edit, begin near 100%, preview the complete output, and only push higher once you have a clean baseline. Keep the original file as your source of truth, since the operation cannot restore information already clipped in the source.
File limits that apply to iPhone-bound audio
Volume Changer is bound by four concrete limits that matter when the result is going to live on an iPhone. The selected file cannot exceed 50 MiB, and even a smaller compressed file can expand after decoding, so the decoded limits (five minutes of duration, eight channels, and 30 million total channel samples) are the real ceiling for what the tool can finish. Files that fail decoding stop the run rather than producing a partial or empty WAV, and the tool reports the error directly.
| Source format | Common iPhone use case | Browser decoding note |
|---|---|---|
| MP3 | Podcast export, music download | Widely supported in modern browsers |
| M4A / AAC | Voice Memos, Music purchases | Container and codec support varies by browser and OS |
| WAV | Lossless recordings, ringtone masters | Decoded natively without a separate codec |
| FLAC | Archive or audiophile rips | Supported where the browser build includes the codec |
| Ogg, WebM | Open-source or screen recordings | Container support varies by browser and OS |
A filename extension is not proof that the audio can actually be decoded. Format support depends on the browser, operating system, and codec build in use. If the decode step fails, swap the file, try a different browser, or re-export from the original recording app into WAV before running the volume change.
When file editing beats the iPhone's volume buttons
Editing the file is the right choice when the playback stage is already at its ceiling and the audio still needs to come up. It is also the right choice for the opposite problem, when a recording is so hot that even the lowest iPhone setting is too loud and you need a softer master. Volume Changer's linear 0% to 400% range covers every common practical case without needing to learn a decibel formula or open a full digital audio workstation.
The same approach helps when the same file has to play across devices with very different playback ranges, when you want a ringtone or alert to sit at a comfortable level on every iPhone in a household, or when a podcast episode needs a consistent loudness pass before distribution. If the situation is specifically about pushing playback past the slider's hardware limit, the same file-editing method is the answer given in change iPad audio volume beyond the buttons, since iPadOS and iOS share the same output stage.
The output is always WAV even when the source is a compressed format, which makes the result broadly inspectable but usually much larger than the original MP3, AAC, or Ogg. Source tags, album art, chapters, loop points, cue markers, encoder metadata, and the original compression settings are not preserved, so keep the original file as the source of truth and treat the WAV as a new derivative. Verify the downloaded duration and channel count in Finder or Music before replacing any production audio, and remember that the download is temporary and disappears when the tab closes or when a new run replaces it. Perceived loudness also depends on frequency balance, dynamics, speakers, and listening conditions, so the tool is not a substitute for a measured mastering workflow on professional projects.
Related reading: Change Audio Speed in After Effects and Export WAV.