Change audio speed in After Effects by applying Time Stretch to the audio layer, or by rendering a new speed-adjusted WAV file locally in your browser and importing the result into the project. After Effects rescales the selected layer in place inside the timeline, so the same source file plays faster or slower without producing a separate clip on disk. The browser-based Audio Speed Changer creates a new WAV file at any playback speed from 0.5× to 2× and saves it to disk as an uncompressed PCM16 file you can drop into any AE composition. Both approaches use playback-rate rendering rather than pitch-locked time stretching, so pitch shifts up when the clip runs faster and shifts down when it runs slower. The choice between the two depends on whether you want the change baked into a fresh file you can archive and reuse, or whether you only need the AE timeline to play back at a different speed while you are still editing. The rest of this article walks through both methods, the math behind the duration change, and the limits each path imposes on the source audio.
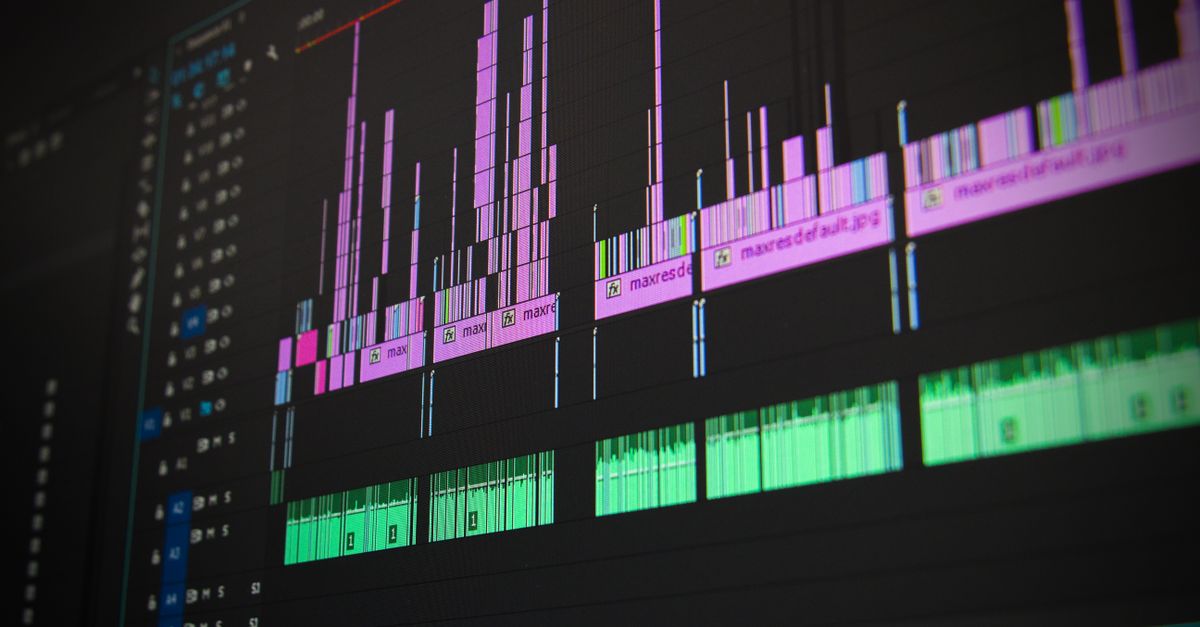
How After Effects changes audio speed
After Effects stores audio on dedicated audio layers in the timeline. Each layer carries a Time Stretch property that controls how its frames and samples are resampled during playback. Setting Time Stretch to a smaller percentage makes the layer play slower and stretch over more frames, while a larger percentage makes it play faster and compress into fewer frames. Because Time Stretch rescales the layer in place, the source clip is never re-rendered to a new file — the change lives in the project and follows the layer through previews and final exports.
For audio, this resampling is a playback-rate operation: the samples are simply consumed at a different rate, so pitch moves with duration. A 50% stretch plays the clip at half speed with everything sounding roughly an octave lower, and a 200% stretch plays it at double speed with the pitch rising about an octave higher. There is no built-in pitch-locking step on plain audio layers, so any speed change you apply to the timeline comes with a corresponding pitch shift. If you need the audio to keep its original pitch at a new speed, you have to pre-process the file in a separate editor before importing it back into AE.
Change audio speed inside After Effects with Time Stretch
Use Time Stretch on the audio layer when you want the change to live inside the project without producing a new file. This is the most direct path when the speed change is part of the edit itself.
- Open the composition that contains the audio layer you want to adjust and confirm the layer is visible in the timeline panel.
- Select the audio layer in the timeline and choose Layer > Time > Time Stretch from the menu bar.
- Enter the new stretch percentage. Type 50 for half speed, 200 for double speed, or any other value that matches the duration you need.
- Click OK. The layer's in and out points shift so the clip fills the new stretched duration, and the timeline now plays back at the new speed.
- Scrub or preview the composition to confirm the new speed and pitch, then re-open Time Stretch if the result needs further tuning.
- Continue editing. Because Time Stretch is a layer property, you can keyframe it later if you want the speed to change partway through the clip.
Change audio speed locally with the Audio Speed Changer
Use the browser Audio Speed Changer when you want a standalone speed-adjusted WAV file that you can drop into any AE composition as a new asset. This path keeps the AE project untouched and produces a portable file you can also share, archive, or hand to another editor.
- Open the Audio Speed Changer in your browser. Decoding and rendering run locally on your machine, so the selected audio file is not uploaded to a server by the tool.
- Choose an audio file up to 25 MB that your browser can decode. Common browser-decodable formats include MP3, WAV, OGG, and M4A. Files larger than 25 MB, longer than 15 minutes, with more than eight channels, above 192 kHz, or that exceed 30 million rendered samples are rejected before rendering, and no output file is produced.
- Wait for the file to finish decoding before picking a speed. After rendering, the page reports the result duration and file size so you can check the outcome before downloading.
- Pick a speed from 0.5× to 2× using the speed control. Faster or slower playback changes pitch along with duration, so a 2× choice produces a shorter clip that sounds higher while 0.5× produces a longer clip that sounds lower.
- Select Change speed and export WAV. The tool routes the decoded buffer through an offline audio renderer at the chosen rate and serializes the result as an interleaved little-endian PCM16 RIFF/WAVE file, following the WAVEFORMATEX structure documented by Microsoft.
- Preview the rendered WAV in the page and check the reported result duration and file size before downloading.
- Click Download to save the WAV. In After Effects, choose File > Import > File, navigate to the saved WAV, and drop it onto the timeline in place of the original audio layer.
What the speed change does to your file
A playback-rate speed change does two things at once to the audio: it rescales the duration and it shifts the pitch. New duration is simply the source duration divided by the chosen speed, and the pitch moves in the same direction because the samples are consumed at the new rate. The browser Audio Speed Changer follows this same relationship across its full range, and the page quotes the result duration and file size after rendering so you can verify the math before saving.
| Speed | 1 minute source becomes |
|---|---|
| 0.5× | about 2 minutes |
| 0.75× | about 1 minute 20 seconds |
| 1× | 1 minute |
| 1.25× | about 48 seconds |
| 1.5× | about 40 seconds |
| 2× | about 30 seconds |
The arithmetic is straightforward. Divide the original duration by the chosen speed:
60 seconds ÷ 0.5 = 120 seconds (the 0.5× result quoted in the product contract) 60 seconds ÷ 2.0 = 30 seconds (the 2× result quoted in the product contract)
The output file is uncompressed PCM16 WAV regardless of the source format, which is why the downloaded file is often larger than the original even when it is shorter. MP3, AAC, OGG, and similar compressed formats use lossy encoding that produces much smaller files, while PCM16 WAV stores raw 16-bit samples per channel. The downloaded WAV does not carry the source codec, bitrate, ID3 tags, artwork, chapters, or any other embedded metadata, and the tool never produces an MP3. Treat the WAV as a clean intermediate you can rename, archive, or hand to another editor.
Because both After Effects Time Stretch and the browser tool rely on playback-rate resampling rather than pitch-locked time stretching, a guide like Change Audio Speed and Pitch and Export WAV Locally is a better starting point if you specifically need to preserve pitch at a new speed.
When to use each method
| Approach | Where it runs | Output | Pitch change |
|---|---|---|---|
| After Effects Time Stretch | Inside the AE timeline | The same source layer at a new playback rate, no separate file | Yes, pitch moves with duration |
| Browser Audio Speed Changer | Locally in your browser, no upload | A new PCM16 WAV file at 0.5× to 2× speed | Yes, pitch moves with duration |
Pick After Effects Time Stretch when the speed change is part of the edit itself and you are happy for pitch to move with duration. It is fast, reversible, and leaves the timeline tidy because no extra files are created. You can keyframe Time Stretch for ramps, and the layer stretches along with any keyframes and effects already on the layer. Use it for narration timing, music cuts to picture, or any preview where you want to hear the clip at a different pace without committing to a new file.
Pick the browser Audio Speed Changer when you want the speed change baked into a separate file. The WAV you download can be imported into AE, sent to a collaborator, dropped into a different project, or archived as a final asset. It also avoids running AE just to render a speed reference, and it keeps the original pitch behavior identical to what Time Stretch would have produced, since both use playback-rate rendering rather than pitch-locked time stretching.
Both paths share the same underlying behavior — playback-rate resampling that changes pitch together with duration — so the decision is really about workflow. Time Stretch keeps the change inside the AE project. The Audio Speed Changer produces a portable WAV you can carry into AE, into another editor, or into a shared folder. Match the tool to the deliverable and the pitch trade-off is the same on both sides.
If you're weighing options, Change Audio Volume Without Losing Original Quality covers this in detail.