To equalize audio in earbuds, apply a three-band peaking EQ centered at 100 Hz, 1 kHz, and 10 kHz with whole-number gains between -12 and +12 dB, preview the result on the same earbuds, and download the processed file as a PCM16 WAV. Earbuds emphasize certain frequencies because their small drivers sit a few millimeters from the eardrum inside a sealed or semi-sealed canal, which often boosts bass through acoustic resonance, suppresses midrange openness, or harshens treble depending on the model and the quality of the tip seal. Adjusting the source file instead of the playback app means the change survives across every player, phone, or computer that plays the file later, and it does not depend on a specific app exposing a usable EQ. The three-band approach trades fine spectrum control for a simple, predictable shape that fits common earbud problems: tame a boomy low end, lift a recessed vocal range, or soften sibilant treble. Treat the result as a permanent rebalance of the file, not a permanent setting on the device.
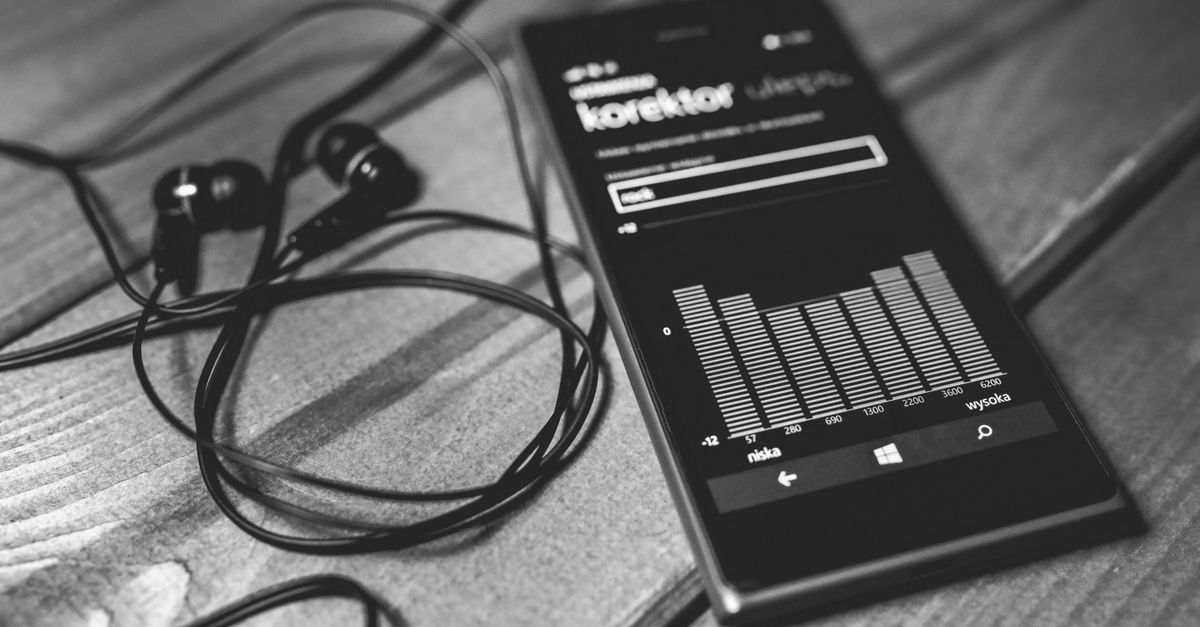
Why Earbud Playback Sounds the Way It Does
Most consumer earbuds reproduce a shaped frequency curve rather than a flat measurement. Drivers are tiny, typically 6 to 12 mm, and they radiate into a 1 to 2 cubic-centimeter canal volume instead of into open air. That geometry boosts low frequencies through acoustic resonance, tends to attenuate midrange openness, and makes treble strongly dependent on seal quality, nozzle angle, and tip material. A loose seal leaks bass and exposes more treble; a deep seal exaggerates bass and can muffle highs. Because of these effects, the same track can sound boomy on one earbud, thin on another, and harsh on a third, even with identical EQ settings in the player.
The position of the driver relative to the ear also changes perceived frequency balance. Speakers rely on the room, but earbuds rely on head-related transfer functions, the resonances and absorptions of the pinna and canal, which further color the signal. None of these effects are defects to fix in the source recording, but they do mean a flat file is not always the most pleasing file on a given earbud. A small EQ curve tailored to the listener's earbuds and seal can compensate for the curve the hardware imposes, which is the practical case for editing the file rather than relying on a global setting.
Which Frequencies the Three Bands Actually Target
The Audio Equalizer exposes three peaking filters with fixed centers and a fixed Q value of 1. Bass is centered at 100 Hz, Mid at 1,000 Hz, and Treble at 10,000 Hz when the decoded sample rate allows it. At low sample rates the treble center drops to 45 percent of the decoded rate so it stays below the Nyquist limit, which keeps the filter mathematically valid. Each band accepts a whole-number value from -12 to +12 dB, and the three sections run in cascade in Bass, Mid, then Treble order using the peaking-EQ biquad equations published in the W3C Audio EQ Cookbook.
| Band | Center | Common Earbud Targets | Example Setting |
|---|---|---|---|
| Bass | 100 Hz | Rumble, thump, masking of mids | Cut 3 dB to tighten a boomy seal |
| Mid | 1,000 Hz | Vocal presence, snare body, clarity | Boost 2 dB to lift vocals that sound buried |
| Treble | 10,000 Hz (or 45% of sample rate) | Air, sibilance, cymbal sheen | Cut 4 dB to soften harsh sibilance |
A peaking filter affects a region around its center rather than every frequency below or above a hard boundary, so a +6 dB bass boost does not double every low frequency, it raises the energy near 100 Hz with a Q=1 shape. Setting all three controls to 0 dB produces a flat pass-through where the tool copies the decoded samples without running a nonzero filter section. Positive values boost energy around a band center, and negative values cut it.
Preparing Your Audio File for the Equalizer
Before opening the equalizer, confirm that your file is something the browser can actually decode and that it fits inside the tool's limits. The tool accepts MP3, WAV, M4A, AAC, Ogg, WebM, and FLAC when the current browser and operating system support the codec inside the container, and decoding follows the Web Audio API AudioBuffer contract. A familiar extension is not a guarantee: containers can hold codecs that a browser cannot read, and a decode failure produces an error without offering a stale download. Files larger than 50 MiB, longer than 5 minutes when decoded, with a decoded sample rate outside 8,000 through 192,000 Hz, or with more than 30 million channel samples are rejected before any filtering happens, and the tool never silently truncates the end of an over-limit file.
Sample rate matters more than people expect. The decoded sample rate determines the treble center, because the tool sets treble to the minimum of 10 kHz and 45 percent of the sample rate. A 44.1 kHz file puts the treble center at 10 kHz as expected, while an 8 kHz voice memo shifts it to 3.6 kHz, which moves the highest band into the upper-mid region instead of the air band. Channel count is also flexible: mono through 7.1 (one to eight channels) are filtered independently with identical settings, and each channel keeps its original sample-frame count. Web Audio may resample while decoding, so the reported output sample rate may differ from the original container rate, and the resulting WAV records that decoded rate rather than claiming the original survived unchanged.
Equalize Your Audio in Earbuds Step by Step
Open the Audio Equalizer in your browser tab and work through the controls in the order below. Everything happens locally, so the source file never leaves your computer. If you want to follow the peaking-filter math behind each slider, the practical three-band walkthrough covers the W3C Audio EQ Cookbook coefficients in more depth.
- Click the file chooser and select a single browser-decodable audio file that fits inside the 50 MiB and 5-minute limits.
- Wait for the decoded duration, sample rate, channel count, and frame count to appear on the page; if decoding fails, pick a different file rather than retrying with the same container.
- Set the Bass slider in whole dB steps from -12 to +12 dB, then the Mid slider, then the Treble slider, in that cascade order.
- Apply the equalizer and read the raw peak, output peak, safety scale, sample rate, and frame count reported by the tool.
- Preview the result and adjust the three sliders until the preview through your earbuds matches what you want; prefer cuts before stacking boosts.
- Click download to save a new PCM16 WAV; the file keeps the original duration and channel layout but does not preserve codec, bitrate, tags, artwork, or container metadata.
A cut is often safer than stacking several boosts, because cascaded boosts can create samples above digital full scale even when the input did not clip. If the safety scale number falls below 1, the tool reduced the entire processed signal uniformly so the output peak lands at 0.99, which prevents the PCM encoder from chopping individual peaks but it also reduces overall level, so re-listen at matched perceived loudness rather than judging only from louder output.
Reading the Safety Scale and What the Reported Peaks Mean
The Audio Equalizer prints five numbers after every apply, and each one tells you something specific about the processed file. Raw peak is the absolute largest sample value across every processed channel before any safety reduction. Output peak is the largest sample value after the safety scale is applied. Safety scale is the uniform multiplier used to bring the output peak to 0.99. Sample rate and frame count describe the decoded audio that will be written into the WAV header using the WAVEFORMATEX field layout.
When does the safety scale kick in? Whenever positive EQ gains stack up enough to push the signal above 1.0 in absolute terms. For example, if the raw peak after EQ is 1.25, the safety scale equals 0.99 divided by 1.25, which is 0.792, and the tool multiplies every processed sample by 0.792 so the loudest one lands at 0.99. This protects the PCM16 encoder from clipping individual peaks, but it lowers the overall level, which is why the page does not call it loudness normalization. The page is explicit that the safety scale does not target LUFS, RMS, replay gain, or any streaming-platform specification. If you need a target loudness, normalize the result afterward or use a full editor with metering.
Listen Critically and Know When a Full Editor Is Needed
The download is a fresh PCM16 WAV that plays on any device, but it is not the same file as your source. Original compression, bitrate, artwork, tags, chapters, and loop markers are not preserved, and the file size will be much larger because uncompressed PCM16 is the most space-hungry common format. Treat the preview and the reported numbers as checks, not as proof of a desirable mix. Listen on the earbuds that matter at a comfortable, matched level against the original, because the safety scale can make the processed file quieter than the source even when it sounds better.
A three-band EQ is enough for many earbud adjustments, but not for every problem. Strong boosts can emphasize existing noise, sibilance, rumble, or distortion, so prefer cuts before boosts. Move to a full audio editor when you need precise center frequencies, adjustable Q, spectrum analysis, automation curves, linear-phase processing, loudness metering, dithering controls, codec selection, or preserved metadata. The Audio Equalizer is a compact, predictable tool with disclosed coefficients, not a mastering processor, not an automatic room correction system, and not a promise that one setting improves every recording.
Related reading: Save Equalized Audio as a WAV with a Three-Band EQ.