To create white noise in Ableton, you do not need a third-party noise plugin; a browser-based white noise generator can stream a bounded random signal with an expected flat power spectrum directly into an audio input or a captured sample, and the whole loop runs locally with no uploads. The approach treats the browser tab as a controllable signal source rather than as a finished audio file, which makes it practical for sound design, filter and dithering tests, and quiet masking while you mix. Because Ableton Live accepts any standard audio source at its input, you can route the browser output through a virtual audio cable, a loopback driver, or capture it to a sample and drop the file onto a track. The generator's controls are deliberately simple: one Start, one Stop, and a 0–100% volume slider that defaults to a conservative 15% so you can match levels without overshooting. None of this requires installing extra plugins or sharing audio with a server, and the signal stays inside your machine from generation through playback.
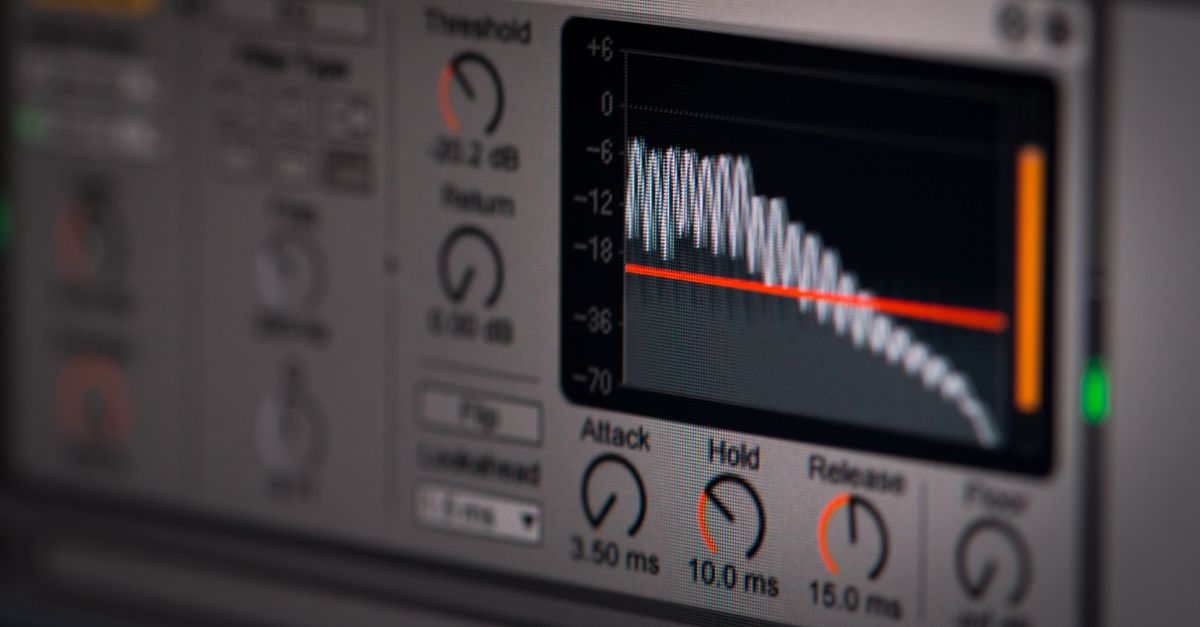
Common Reasons Ableton Users Need White Noise
When producers search for ways to create white noise in Ableton, the underlying reasons usually fall into a handful of production categories, and the right workflow depends on which one applies. Filter and EQ testing is one of the most common: a flat-spectrum source lets you hear exactly how an Ableton filter, EQ Eight, or resonator shapes the sound without the masking effects of a musical signal. Dithering is another, since engineers sometimes audition dither by applying it to a noise-only signal to confirm that the noise floor stays uniform. Sound design with Ableton's Analog, Operator, or wavetable synths often starts from noise as well, and feeding white noise into an envelope-controlled filter can build a classic snare or hat from scratch. Mixing engineers also reach for white noise to mask the hum of an untreated room while evaluating reverb tails, and educators use it as a textbook example of a flat power spectral density. None of these jobs require a perfect mathematical signal; a bounded, band-limited digital approximation that loops locally is enough, which is exactly what a browser-side generator provides.
The table below summarises the jobs that come up most often and the Ableton devices that typically sit between the noise and the final mix.
| Production Use Case | Why White Noise Helps | Typical Ableton Devices |
|---|---|---|
| Filter and EQ testing | Flat input reveals the exact response curve | Auto Filter, EQ Eight, Channel EQ |
| Dithering auditions | Reference signal for low-bit tests | Utility, Limiter |
| Sound design from scratch | Source for envelopes, snares, hats | Simpler, Sampler, Drum Rack |
| Mix masking and room noise | Hides hum in untreated rooms | Return tracks, reverb sends |
| Education and tutorials | Textbook example of flat PSD | Spectrum, Vocoder sidechain |
How to Route Browser White Noise Into Ableton
Because the generator plays locally in your browser, the practical question becomes how to feed that signal into Ableton Live's audio graph. A loopback driver such as VB-Audio Cable, BlackHole, or Soundflower exposes the browser tab's output as an Ableton audio input, and that is usually the cleanest path. The steps below assume that driver is already installed and enabled.
- Open a browser tab and load the White Noise Generator tool. Lower your device output or your monitoring speakers, then leave the volume slider at its 15% default or reduce it further.
- Select Start white noise in the tool and confirm a soft hiss is audible. Use headphones if you want to keep the noise from leaking into a recording microphone.
- In Ableton Live, choose an audio track and set its Audio From dropdown to the loopback input that carries the browser tab's output.
- Arm the track for recording and turn on input monitoring. Watch the track meter while you nudge the tool's 0–100% slider upward only as far as needed to give Ableton a healthy but not clipping signal.
- Press record in Ableton's transport to capture the noise into a clip on the track. You can then edit, freeze, flatten, or resample the clip like any other audio.
- Select Stop on the tool whenever you finish recording, want silence, or need to change settings. Closing the browser tab, navigating away, or clicking Stop all close the underlying audio graph so no stale noise keeps playing.
Working With White Noise Once It Reaches Ableton
Once the signal is on an Ableton track, the noise behaves like any other mono recording, which means you can drop it into a Simpler or Sampler, slice it, freeze it, or process it through the full device chain. A common move is to drag the captured clip onto a Drum Rack pad so each cell holds a fresh copy of the noise, which gives you sixteen independent noise sources that can be enveloped, filtered, and pitched individually. Routing the same clip through Auto Filter with the LFO modulating frequency turns the flat hiss into a swept texture that can sit behind a pad or behind an entire bus. Ableton's Utility device is also worth knowing about here, because it lets you flip the signal's phase, attenuate it precisely, or mute it without leaving the project, which is useful when you want to A/B the noise against your mix. For longer sessions, freezing and flattening the clip turns the noise into a single audio region that uses almost no CPU, leaving headroom for the rest of the arrangement.
Level Matching and Listening Safety
The generator's 0–100% slider controls only the linear GainNode on the page; everything between the slider and your ears still affects the actual sound pressure. Your operating system mixer, browser volume, monitor controller, amplifier, headphones, and the acoustics of the room all stack on top of the slider value, which is why the 15% default is presented as a conservative starting point rather than a measurement. Pressing the slider to 100% does not produce a level the tool considers safe, and lower percentages are not a guarantee of comfort either. Practical habits that protect both the tool's signal and the listener's ears include lowering the OS output before pressing Start, raising the slider in small increments while watching the Ableton track meter, and stopping playback immediately if the noise becomes fatiguing or triggers tinnitus. Headphones with a published safe-listening curve, or monitors at a measured SPL, give you a more repeatable result than guessing from the slider position alone, and they keep the captured Ableton clip at a sensible level for downstream processing.
How the Generator's Signal Behaves
The signal inside the generator is a bounded, uniformly distributed random sequence rather than the textbook ideal of infinite-bandwidth Gaussian white noise. For each Start, the tool draws fresh 32-bit seeds and steps them through the three-shift xorshift32 recurrence originally documented by George Marsaglia, then maps each unsigned output into the half-open interval [-1, 1). Two seconds of mono Float32 samples are filled at the browser's native sample rate (accepted only from 8 kHz through 192 kHz), which caps the allocation at 384,000 samples, or about 1.5 MiB at the highest rate, and the buffer loops through a single GainNode. The expected behaviour of that buffer is easy to state in one worked calculation: for samples drawn uniformly from [-1, 1), the mean-square value equals 1/3, so the root-mean-square amplitude is sqrt(1/3) ≈ 0.577. Applied to the conservative 15% default gain, that yields a linear RMS output of 0.15 × 0.577 ≈ 0.0866, which is a deliberately quiet starting point you can raise toward the 100% ceiling only as needed. MathWorks and National Instruments both describe white noise primarily by its flat power spectral density rather than by its amplitude distribution, which is why uniform bounded noise is accepted as a practical approximation whenever the samples are uncorrelated. The same flatness is what lets Ableton's Spectrum view show a roughly even line across the audible band when you feed the clip straight back into the DAW.
When a Different Approach Makes Sense
A browser signal source is not always the right answer, and knowing when to switch tools saves time. If you want a frozen, reusable noise file that lives inside the Ableton project permanently, generating white noise inside Audacity and dragging the rendered WAV onto an Ableton track is a more durable workflow, and a dedicated Audacity white-noise walkthrough covers that approach in detail. If you want a tighter version of the same browser-to-Ableton routing recipe without the surrounding context, the Ableton-specific quick guide condenses the loopback workflow into a shorter reference. For users who need pink or brown noise, the White Noise Generator is not the right tool because its flat power spectral density defines white rather than pink or brown, and DAW-native generators or dedicated colour-noise devices will be a closer match. In each case, the principle stays the same: pick the signal source that matches the colour you actually need, route it into Ableton once, and let the rest of the session build on a clean, repeatable clip.