White noise is a signal that contains roughly equal acoustic energy at every audible frequency, and inside Ableton Live you can generate it natively using Operator's Noise waveform, the Analog instrument's Noise oscillator, or a Simpler/Sampler loaded with a noise recording. Because it covers the full spectrum at uniform intensity, white noise is commonly used in music production for calibrating monitors, testing reverb and delay tails, layering under snares and cymbals, masking distracting sounds during focus work, and stimulating sleep in noisy environments. For tasks that don't require opening your DAW, a browser-based tool such as the White Noise Generator produces bounded white noise instantly with a 0–100% volume slider and an immediate Stop control, which is useful for quick reference checks, tinnitus relief experimentation, or feeding test signals into an audio interface.
If your goal is to produce white noise directly inside Ableton for a track or sound-design session, the DAW gives you multiple paths that range from a one-click solution to a fully routable patch. If your goal is simply to listen to or capture a quick reference tone without launching Live, a lightweight browser tool is faster and keeps your CPU free for the rest of your project. The rest of this guide walks through both approaches, plus the volume, headphone, and routing habits that keep the experience safe and productive.
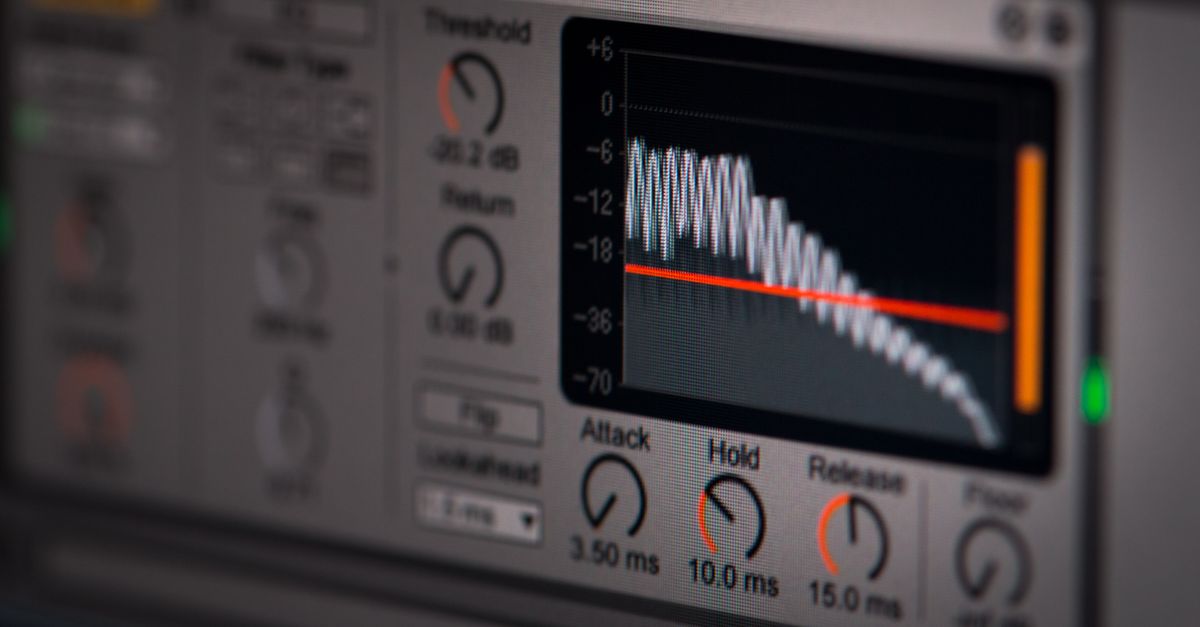
What White Noise Actually Is
White noise gets its name from the way white light contains every visible wavelength. In audio terms, a true white noise signal carries equal power per hertz across the audible range, typically quoted as 20 Hz to 20,000 Hz. Because human hearing is more sensitive to mid and high frequencies, the equal-power-per-hertz property makes unfiltered white noise sound noticeably bright or hissy. Producers often compensate by rolling off the high end with a low-pass filter, which produces the warmer-sounding "pink-ish" tone many people prefer for sleep and focus.
Practically, you don't need to measure spectral density to use white noise well. Just remember that a flat, unfiltered source will expose every flaw in a room, every resonance in a speaker, and every narrow-band ringing artifact in a reverb tail. That's exactly why sound engineers keep a white noise generator nearby — it reveals problems that music masks.
When You'd Reach for White Noise in Ableton
There are several common production scenarios where a noise source earns its place inside an Ableton session:
- Monitor and headphone calibration. A short loop of white noise played at a consistent level helps you compare mixes across speakers, headphones, and rooms. Pink noise, which is white noise filtered to sound flatter to the ear, is often preferred for this task.
- Reverb and delay auditioning. Feeding noise into a reverb lets you hear the tail's full character without melodic content getting in the way, which is the cleanest way to judge early reflections, density, and decay length.
- Layering under drums and cymbals. A touch of filtered noise underneath a snare or hi-hat adds air and grit. Many electronic producers automate a noise burst on snare hits to add crack and sizzle.
- Tinnitus, focus, and sleep experiments. Masking tones are commonly used to reduce the perceived loudness of ringing, traffic, or office chatter. Outside of a DAW, the White Noise Generator offers a no-install way to audition masking sounds before committing to a longer sample.
- Test signals for gear. Sending noise through an analog summing mixer, compressor, or saturation plug-in lets you audition how that hardware or software responds across the full spectrum.
Generating White Noise Directly in Ableton
Ableton ships with several instruments capable of producing white noise as part of their oscillator section. The simplest path is Operator, which is included with Live Suite and available as an add-on for other editions.
- Create a new MIDI track and drop an instance of Operator from the Instruments browser onto it.
- Click oscillator A and change the waveform from sine or saw to Noise. The internal oscillator type label will switch to a noise icon, and the spectrum becomes roughly flat.
- Set oscillator A's level to about -18 dB as a starting point. Full white noise at unity gain is harsh and can surprise downstream compressors, so a conservative default is healthier for your mix bus.
- Press a single key on your MIDI keyboard, or draw a long clip in Session or Arrangement view, to sustain the noise. A one-bar clip with the note held throughout works well for testing.
- Route the track into an Audio Effects Rack and place an EQ Eight after Operator if you want to shape the spectrum. A gentle high cut above 8 kHz quickly tames the hiss.
- If you don't own Operator, use Analog: enable the Noise oscillator, set its level, and combine it with a low-pass filter on the dedicated Filter section for built-in tone shaping.
- For a non-oscillator method, load any short recording of noise into Simpler or Sampler, set the loop mode to Loop, and play a sustained note. Drag the loop braces to cover the entire waveform so playback is continuous.
- Add a Utility device and use its Gain or Phase controls to trim level further or invert polarity for cancellation experiments.
To audition how the noise sounds against your mix, group the new track with a reference bus and use the Solo button on the Operator or Analog track to A/B it against your material. Because noise covers every frequency, it interacts with every other element — soloing in and out is the cleanest way to judge whether a noise layer is helping or muddying the arrangement.
Using a Browser-Based Generator Alongside Ableton
Sometimes you don't need a full Ableton patch. You might be diagnosing a routing issue, testing a new pair of headphones, or simply want a steady masking tone while Ableton is busy rendering a bounce. In those cases, opening a lightweight web tool is faster than building a session.
- Keep your interface output turned down and leave the White Noise Generator at its conservative 15% starting volume (or reduce it further) before you press Start.
- Select Start white noise and adjust the 0–100% slider only as needed. The slider moves in real time, so small tweaks are easy.
- Select Stop before leaving the page or whenever the sound feels uncomfortable. Prolonged exposure to broadband noise at high levels can aggravate hearing fatigue quickly.
- Route the browser's audio output into Ableton if you want to record the noise: enable your browser as an Input Source in Ableton's Audio preferences and arm an audio track on the relevant channel.
One practical trick is to compare the browser-generated noise against an in-session Operator track by ear. If the two sound meaningfully different, your Operator patch may need an EQ Eight band-pass to match the reference tone more accurately, which often reveals room or monitoring problems you couldn't otherwise pinpoint.
Shaping and Routing White Noise in a Session
Once you have a noise source, the way you route it through Ableton's mixer determines how useful it is. The two patterns below cover the majority of production use cases.
| Use case | Recommended routing | Typical processing chain |
|---|---|---|
| Mix bus calibration | Noise track → Return track with EQ Eight only → Master | High-pass at 20 Hz, gentle high cut, Utility for level trim |
| Drum layer | Noise track → Send A (reverb) → Audio track group with drums | EQ Eight band-pass 2–8 kHz, short plate reverb on the send |
| Tinnitus or focus masking | Noise track → Audio track with Utility gain only → Headphone cue | EQ Eight with a low-pass around 6 kHz to soften the top end |
| Gear test signal | External routing from Ableton to the target hardware input | Utility in mono, gain matched to the gear's expected input level |
The calibration case benefits from pink noise rather than white noise, because pink noise compensates for the ear's sensitivity curve and produces a more even perceived loudness across the spectrum. You can convert a white noise source to a pink-ish tone by adding an EQ Eight with a slope of roughly -3 dB per octave above 500 Hz. The exact curve is approximate — if you need a strictly pink signal, point to a calibrated generator tool and treat Ableton's filtered white noise as a quick approximation.
Volume and Listening Safety
Broadband noise is uniquely fatiguing because it never gives the ear a quiet moment to rest. A safe default is to keep the noise at or below 60 dB SPL for sustained listening and to take a break every 15–20 minutes. If you're using headphones, even lower levels are safer because the drivers sit directly next to the ear canal. The browser tool's 15% starting volume is a sensible reference point: it's loud enough to be useful, quiet enough to leave room to push the slider upward only if you actually need more masking or signal level.
Always use the Stop control before navigating away from the generator page or closing the browser tab. Many audio engines will keep streaming a noise source even after the visual interface is gone, which can lead to a sudden loud blast the next time the tab regains focus. Building a habit of clicking Stop before you switch contexts removes that risk entirely.
Troubleshooting Common Noise-Source Issues
Even a simple oscillator can produce surprising behavior when dropped into a busy session. The list below covers the problems that come up most often when producers first add white noise to a project.
- Noise is too loud and pushes the master into clipping. Lower the oscillator level, drop a Utility before the master, or freeze and flatten the track at -6 dBFS as a safety measure.
- Noise sounds duller on headphones than on monitors. This usually means a high-frequency response difference between the two playback systems. Use EQ Eight to compare the two environments and decide whether the noise itself needs more air.
- Reverb tail sounds muddy when fed noise. Add a high-pass around 200 Hz on the reverb's return track so the noise in the low end doesn't accumulate. This is the same technique used when adding reverb to drum groups.
- Browser noise doesn't show up in Ableton's input. Check Ableton's Audio preferences, enable the browser or loopback driver as an Input Device, and confirm the track's Input Channel is set to match.
- Noise keeps playing after closing the tab. Always click Stop on the White Noise Generator before navigating away, or close the tab entirely rather than just minimizing it.
Putting It All Together
White noise is one of the most underrated tools in a producer's toolkit. Inside Ableton, Operator and Analog give you a clean source with full routing flexibility; outside Ableton, the White Noise Generator offers a fast, install-free alternative that pairs well with any DAW. Keep your levels conservative, shape the spectrum with EQ Eight when you need a softer tone, and remember that the goal of white noise is usually to be useful rather than to be heard. Done well, it sits underneath a mix like steady weather — felt more than noticed, and missed the moment it's removed.
See also: How to Generate White Noise in Your Browser.
Related reading: How to Change Audio Pitch in CapCut: Complete Walkthrough.