Comparing approaches to using an audio equalizer means lining up four practical methods — hardware units, DAW plug-ins, operating-system sound panels, and browser-local tools — against the file you actually have, the output you need, and how much install effort you are willing to spend. Each path changes the audio in a different way: a hardware unit or DAW plug-in can rewrite the master file at full bit depth with detailed filter parameters, an OS-level panel applies a system-wide effect that does not produce a new file at all, and a browser-local tool decodes the source in your tab and exports a new PCM16 WAV without installing anything. The right comparison is not which approach is universally best but which one matches the listening problem, the sample rate, the channel count, and the time available. A quick, transparent side-by-side test on the same file, with the same three gain values, makes the differences audible and measurable rather than theoretical.
Four Common Ways People Use an Audio Equalizer
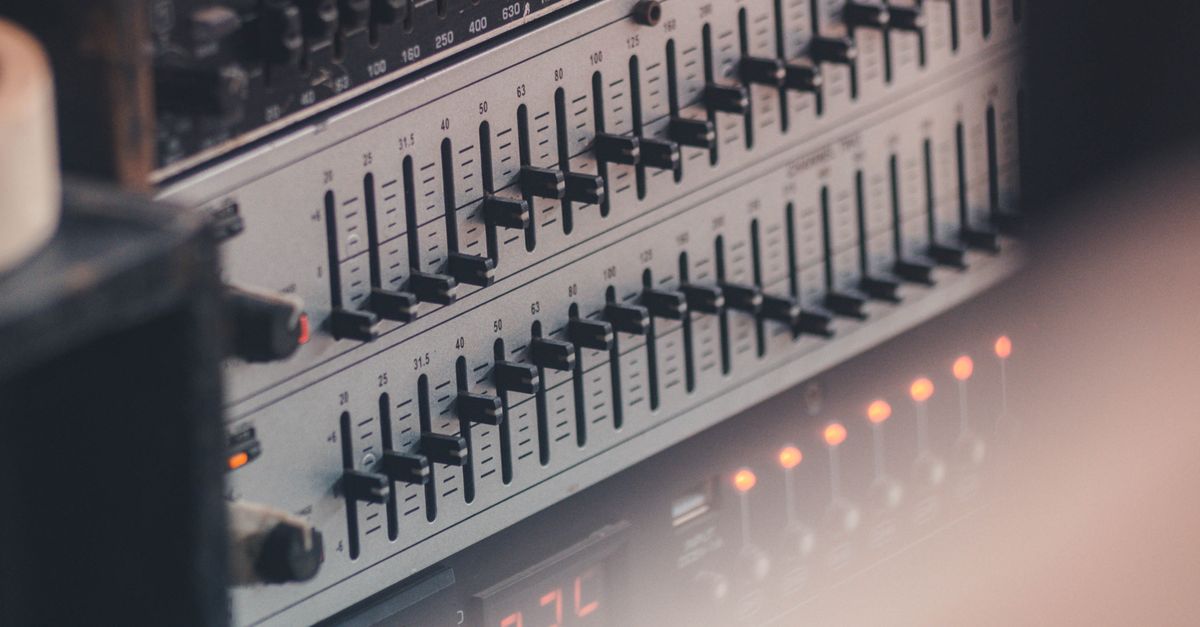
Comparing approaches to use an audio equalizer starts with naming the four buckets almost every practical EQ decision falls into. Hardware units — rack EQs, analog channel strips, and outboard parametric processors — run on dedicated circuitry before the analog-to-digital or after the digital-to-analog stage, which is why many engineers still treat them as the reference for transparency. DAW plug-ins live inside a digital audio workstation such as Reaper, Logic, Pro Tools, or a free editor like Audacity; they load into a track, process the project audio non-destructively, and write a new file on export. Operating-system sound panels and media-player equalizers (the Windows enhancements tab, the macOS Audio MIDI Setup, VLC audio effects, foobar2000 DSP chain) apply a system-wide or per-application filter that changes what you hear through the speakers but does not produce a new audio file by itself. Browser-local tools sit inside a single tab, decode the file with the Web Audio API, run the filter math on the decoded samples, and hand you a downloadable result without installing an application or plug-in host.
The reasons people choose one bucket over another usually come down to four questions: where the audio already lives (a project file, a downloaded MP3, a system stream), how much install weight they will tolerate, what output format they need, and how reproducible the filter coefficients have to be. A mastering engineer working inside a 96 kHz, 24-bit session will not get the same answer from a system-wide bass boost as from a properly designed peaking biquad at 100 Hz, and a podcast editor who needs a clip-safe WAV delivered in five minutes has very different constraints from a mix engineer chasing linear-phase crossovers. Putting those questions side by side is the actual work of comparing approaches.
What Each Approach Actually Changes in Your File
Once the four buckets are visible, the next step in comparing approaches is to look at what each one does to the audio data and to the file you end up with. The table below is a side-by-side comparison of the four practical approaches, drawn from the typical behavior of each category rather than from any single product.
| Approach | Where it runs | Install required | Output | Best fit |
|---|---|---|---|---|
| Hardware EQ unit | External analog or digital hardware in the signal chain | Yes, plus cabling and routing | Audio passes through to the next stage; no file produced by the EQ itself | Live sound, tracking sessions, audiophile listening rigs |
| DAW plug-in | Inside a project on a specific track or bus | Yes, plus a host application | New file written on export at the project bit depth and sample rate | Mixing, mastering, sound design inside a project |
| OS or media-player EQ | System sound pipeline or playback application | Built into the OS or the player | No new file; effect applies during playback only | Quick listening tweaks, accessibility adjustments |
| Browser-local tool | A single browser tab, decoding and filtering in memory | None | New file downloaded from the page, format depends on the tool | One-off edits, file-based comparisons, privacy-sensitive files |
The comparison makes a clear pattern visible: only DAW plug-ins and browser-local tools produce a new file you can keep, and of those two, only the browser tool can run on a file you cannot or do not want to load into a project. Hardware and OS-level approaches change what you hear but leave no artifact you can hand to someone else or compare against next week on different speakers.
A Practical Approach for Quick Side-by-Side Comparisons
When the goal is to compare approaches on the same file rather than commit to a permanent mixing decision, a browser-local tool has three practical advantages. It runs without installing anything, it processes the actual decoded samples of the file you select, and it produces a new file you can label, share, and reopen later. The Audio Equalizer is one of these tools, and its design is built around the comparison task: three peaking-filter bands, fixed at Q = 1, with centers at 100 Hz (Bass), 1,000 Hz (Mid), and 10,000 Hz (Treble) when the decoded sample rate allows it, integer gains from -12 dB to +12 dB, and an explicit peak-safety step so the resulting WAV does not clip.
The filter math is taken from the W3C Audio EQ Cookbook peaking-EQ biquad equations, normalized so a0 = 1, and applied as three cascaded second-order sections in Bass, Mid, Treble order. The implementation is deterministic — the same input file and the same three gain integers always produce the same filtered samples — which is the property that makes a side-by-side comparison meaningful. A reader who wants a longer view of the same three-band idea in plain language can read the three-band equalizer walkthrough; the comparison here focuses on which approach to use in which situation.
How to Compare Approaches Using the Audio Equalizer
The comparison workflow uses the Audio Equalizer as the reference implementation because every step is disclosed on the page and every reported number comes from the processed samples rather than from a hidden estimate.
- Pick one browser-decodable audio file that fits inside the disclosed limits: up to 50 MiB in size, no more than five minutes of decoded audio, one to eight channels, a sample rate between 8,000 Hz and 192,000 Hz, and no more than 30 million channel samples. Save a copy of the original before you start, so you can A/B the result against the source on the same speakers at a matched level.
- Load the file into the Audio Equalizer and leave all three controls at 0 dB. Apply the equalizer once with every band flat. This produces a flat-path file that the tool builds by copying the decoded samples without running a nonzero filter section, which gives you a clean baseline against any boosted or cut version.
- Set Bass, Mid, and Treble to the integer values you want to test, between -12 and +12 dB on each band, then apply the equalizer again. Repeat for each combination of settings you want to compare, naming the downloaded files in a way that records the gains you used.
- For every result, read the four reported numbers: raw peak (the largest absolute sample across all channels before scaling), output peak (the value the safety step actually produced), safety scale (the uniform multiplier applied when raw peak exceeded 0.99), and the decoded sample rate and frame count. The Web Audio AudioBuffer reference defines what those sample values mean in the decoded data.
- Preview each file in the page player, then download the WAV. The download is a fresh PCM16 WAV with a complete RIFF header: the actual channel count, sample rate, byte rate, block alignment, bit depth, and data length are all written from the processed buffer. Original compression, bitrate, tags, artwork, chapters, and loop markers are not carried over — the file format follows the WAVEFORMATEX layout rather than the source container.
- Compare the results on the same speakers or headphones at a matched perceived level. Listen first to the flat-path baseline, then to each EQ setting, and note which combination produced a smaller safety scale (meaning less automatic attenuation was needed) and which sounded best in context.
This workflow treats each setting as a separate experiment on the same source. Because the filter coefficients, the Q value, the band centers, and the safety scale are all fixed and disclosed, the only thing that changes between runs is the three gain integers — which is exactly what a fair comparison needs.
Numbers the Page Reports and What They Mean
The interface reports a small set of numbers that together describe how the approach behaved on your file. They are defined values from the tool, not computed estimates, so they can be compared across runs.
| Field | What it is | When it changes between runs |
|---|---|---|
| Raw peak | Largest absolute sample value across all processed channels, before any safety scaling | Reflects the combined effect of the three band gains on the input signal |
| Output peak | Largest absolute sample value after the safety step | Stays at or below 0.99 by construction |
| Safety scale | Uniform multiplier applied to every processed channel when raw peak exceeds 0.99 | Lower than 1.0 only when the combined boost would clip |
| Sample rate | Decoded sample rate of the result, written into the WAV header | May differ from the container rate if Web Audio resampled during decode |
| Frame count | Number of sample frames per channel after filtering | Same across all channels and equal to the decoded length |
These numbers are the practical comparison surface. If you run the same file through the same settings twice, every field above will match exactly, which is the property that makes the tool usable as a reference rather than as a one-shot effect.
When a Heavier Approach Is the Right Answer
A disclosed three-band peaking EQ is the right comparison tool, but it is not always the right production tool. If your task needs precise center frequencies instead of 100 Hz, 1,000 Hz, and 10 kHz; an adjustable Q instead of the fixed Q = 1; linear-phase processing; spectrum analysis; automation over time; LUFS or replay-gain normalization; dithering controls; or the original codec and metadata preserved on export, then a full audio editor or DAW plug-in is the heavier approach that fits. The same is true for source files that exceed the disclosed limits — longer than five minutes, more than eight channels, or larger than 50 MiB — because the tool rejects an over-limit file before filtering rather than silently truncating the end. Treat the Audio Equalizer as the fast, transparent reference against which you check those heavier approaches, not as a replacement for them.
If you're weighing options, Compare Approaches to Use Reverse Audio in Your Browser covers this in detail.