Planning the steps to convert video to audio reduces the job to three ordered phases — prepare the source, extract the audio track in your browser, and verify the output — each taking only a moment on a short clip. The plan starts with confirming the video actually has an audio track, that it sits inside the supported container and size limits, and that you have the right to reuse the sound. Extraction then means selecting the file in a local browser tool, keeping the tab open while playback is captured in real time, and downloading the resulting Opus WebM audio. Verification means checking the reported duration and file size, opening the file in a player that recognizes the WebM container, and confirming the timeline is finite and the audio actually plays. Once the checklist is in place, the conversion is a one-shot operation rather than a guessing game.
Most failed conversions don't fail at the extraction step. They fail earlier, when somebody tries to extract audio from a stream they don't control, from a clip with no audio track, or from a file that is far longer or larger than the tool can hold in memory. Treating the job as a short plan rather than a single click is the simplest way to avoid those wasted attempts.
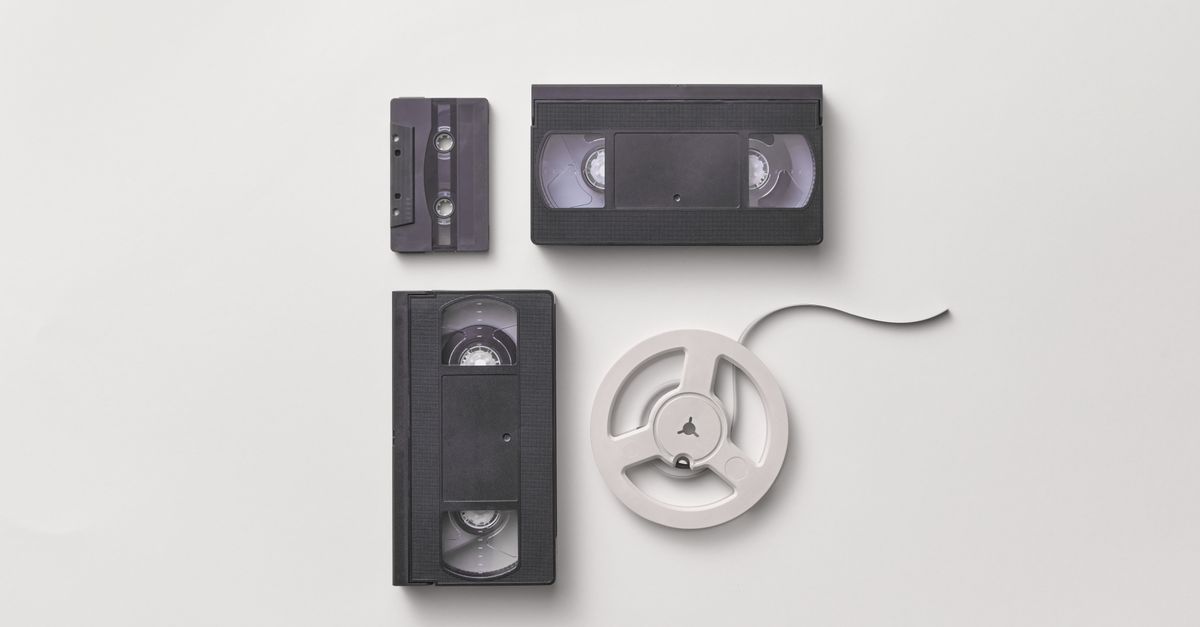
What "Planning the Steps" Means
A plan for converting a video to audio is not a script or a recipe. It is a sequence of yes/no decisions that confirm the job is feasible before you commit time to it. The decisions fall into four groups:
- Source check — does the file exist locally, contain an audio track, and sit inside the tool's size, duration, and resolution limits?
- Rights check — are you allowed to extract and reuse the audio under copyright, platform terms, and any local rules that apply to the content?
- Output check — what container, codec, and sample rate do you need, and will Opus in WebM meet that need, or do you have to plan for a second tool?
- Verification check — what will you measure after the conversion to confirm the output is usable?
Writing these four checks on a sticky note is enough. The point is not the document — it is the habit of asking each question once before the file is loaded.
Phase 1: Confirm the Source Video Is a Candidate
The first planning step is a quick eligibility review. A filename or MIME type only confirms the container; the browser still has to decode the actual codecs inside it. Two files with the same extension can behave very differently, so verify the substance of the file before you queue it.
For the Video to Audio Converter, the eligibility rules are fixed and easy to check from your file manager. The tool accepts one local video at a time and the limits are listed below.
| Limit | Maximum value | Why it matters |
|---|---|---|
| Container format | MP4, WebM, MOV, M4V, or Ogg | Outside these wrappers the browser cannot decode the file |
| File size | 500 MiB | Bounded to keep memory and playback predictable |
| Decoded duration | 5 minutes | Extraction is real time, so very long clips take very long to process |
| Longer side | 4096 pixels | Prevents oversized frames from exhausting browser resources |
| Total pixel area | 3840 × 2160 (about 8.3 megapixels) | Complements the per-side cap for very wide or very tall video |
| Audio track | At least one required | A silent video fails the extraction with an explicit message |
When a clip falls outside one of these limits, the planning phase is the right place to trim or re-encode first. The Video Trimmer can shorten a long clip and the Video Compressor can shrink a large file before you queue it for audio extraction. Running those steps in sequence keeps the extraction itself a one-shot operation.
Phase 2: Decide What Output You Actually Need
The browser path produces a specific artifact: a WebM container holding a single Opus audio track at 128 kbps. That format is broadly supported by modern players and is a sensible default for speech, music, ambient sound, and reference tracks. Before you start, it helps to ask two short questions:
- Will the receiving software play WebM with Opus directly? Most current desktop players, browsers, and podcasting tools do.
- Do you need a lossless, multichannel, or production-grade master? If yes, plan for a dedicated desktop audio editor after the browser step.
Re-encoding to Opus changes quality and file size compared to the original compressed packets. If the original audio was already a heavily compressed track, the Opus output may actually sound cleaner. If the original was already a high-bitrate recording, expect a small quality shift. Either way, planning the output means planning for one verification pass after the file is written.
It also helps to decide on a filename and a destination folder before the extraction starts. Downloads that arrive with browser default names often get renamed in a hurry, and a clear name such as interview-2026-03-04.opus.webm is much easier to track than audio.webm.
Phase 3: Run the Conversion in Your Browser
Once the source has been checked and the output decided, the actual extraction is a short, ordered set of actions. Keep the browser tab open for the entire job — extraction happens during playback, so closing the tab or switching to another tab that throttles timers can pause the capture.
- Open the Video to Audio Converter in a current desktop browser and choose one supported local video with an audio track.
- Select Extract audio and keep the tab open while the video is processed in real time. A progress label follows playback time, and Cancel stops the current job if you need to abort.
- Wait for the preview to finish playing. The preview is muted during processing, but the captured stream still contains the video's audio when the browser supports media-element capture (see MDN — HTMLMediaElement captureStream).
- Check the reported duration and file size displayed by the tool.
- Download the Opus WebM audio file to your chosen folder. The generated container is patched with the known media duration so compatible players report a finite timeline.
Because the browser plays the media stream while MediaRecorder captures only the exposed audio track, a one-minute video normally takes about one minute to process. Plan for the wall-clock cost to match the source duration rather than the file size — the two are very loosely related.
Phase 4: Verify the Output Before You Commit
A plan that ends at the download step is incomplete. The verification phase is short, but skipping it is the most common reason an audio file turns out to be silent, truncated, or stamped with an "infinity" duration.
- Open the downloaded file in any player that recognizes WebM and confirm the timeline shows a finite length in seconds, not infinity or "live".
- Listen to the first five seconds and the last five seconds. Those are the points where capture issues are most likely to surface.
- Compare the file size shown by the tool with the size on disk. They should match.
- Spot-check the duration against the original video. A significant mismatch usually means the browser patched a different timeline than expected.
If the verification fails, the source file itself is the most likely cause: a container with a codec the browser cannot decode, an audio track that is actually a silent stub, or a file with damaged metadata. The tool surfaces each of these cases with a visible message rather than producing a corrupted file, which makes the failure mode recoverable.
When to Skip the Browser Path
Planning also includes knowing when not to use the browser tool. The local extraction path is built around reasonable constraints: a single short clip, a single audio track, and a WebM/Opus output that the receiving software can play. Move on to a desktop editor or a specialized command-line workflow when the job includes any of the following:
- Recordings longer than five minutes, where the real-time playback cost becomes prohibitive.
- Multichannel audio, surround mixes, or ambisonic content that should not be downmixed to a single track.
- Lossless delivery targets such as WAV or FLAC, where re-encoding to Opus is unacceptable.
- Precise trimming, fade-in or fade-out editing, or noise reduction that happens after extraction.
- Source material that is protected, remote, or behind access controls — the browser tool does not bypass DRM or download remote streams.
For background reading on what the browser actually does under the hood, the local extraction explainer walks through the same MediaRecorder path in more detail. Use it alongside a desktop editor when the production step needs more control than a browser tab can offer.
Putting the plan down on paper before opening the converter turns a multi-minute guessing game into a checklist of three or four short decisions. Confirm the source, decide on the output, run the extraction in the browser, and verify the file before treating it as final. That sequence covers the vast majority of video-to-audio jobs without needing a heavier toolchain.
If you're weighing options, How Do I Make Sure I Convert Video to Audio Correctly covers this in detail.