The four-step plan to trim a video is: confirm your browser can decode the source, read the file's actual duration, choose start and end timestamps in seconds with the end after the start, then cut and download a new clip without uploading the original. Treating those four checkpoints as a deliberate plan, not a freeform experiment, is what separates a one-minute trim from a half-hour debugging session, and it is exactly the order Video Trimmer is built to follow: it accepts one local file, waits for duration to populate, takes your start and end values, and produces a finite-duration WebM you can download.
Planning is the part most guides skip. They hand you a button to click before they hand you a way to decide what to click it on. This article focuses on that earlier step: what to gather, what to verify, and what to expect, so the cut itself becomes a single, repeatable action rather than a sequence of guesses.
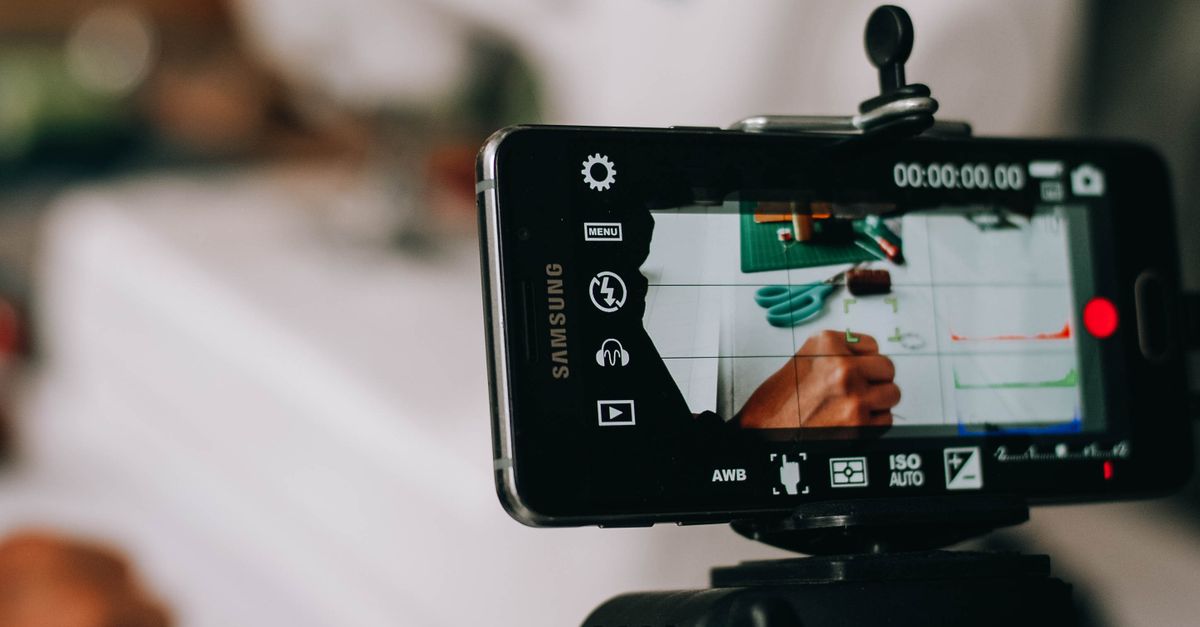
Map the Trimming Workflow Before You Open Any Tool
A trimming plan does not start with the tool. It starts with three questions that gate everything else: what is the source, what is the range I want, and where will the output go. Answer those first and the rest of the cut becomes mechanical. Skip them and you end up re-encoding twice, troubleshooting codecs that were never going to decode, or producing a clip that does not match the platform you are publishing to.
Most trimming problems trace back to one of three planning gaps:
- Choosing an in-point and out-point by guessing instead of by measuring the source duration.
- Assuming a familiar file extension means the browser can decode the codecs inside the container.
- Picking a target duration without checking whether the chosen tool's input limits allow it.
Each gap costs more time than the planning step that would have prevented it. The sections below walk through the planning checklist in the order that produces the fewest surprises.
Information You Must Gather Before Trimming
Before you open a trimmer, gather four pieces of information about your source file. Skipping any one of them turns the trim into guesswork.
- Actual decoded duration. Open the file in a browser or a player that displays total length down to the fraction of a second. The trimmer's time inputs are numeric, and the end value cannot exceed the decoded duration, so a rough "about two minutes" estimate is not good enough.
- Container and codec. A file ending in .mp4 might still wrap a codec your browser cannot decode. Plan to treat the extension as a hint, not a guarantee, and be ready to remux or re-encode if decoding fails.
- Resolution and pixel area. Note the width and height of the source, because some browser-based trimmers impose ceiling limits on each dimension and on the total pixel count.
- Target use. The platform, chat app, or player where the trimmed clip will live, because that choice determines whether a WebM file is acceptable or whether you need a different container afterward.
Plan Around the Tool's Real Limits
Planning only matters if it respects what the chosen tool can actually do. Video Trimmer has a defined set of inputs and limits, and designing your plan around them prevents the most common "why did this fail" moments.
| Limit or property | Value | Why it matters in your plan |
|---|---|---|
| Accepted containers | MP4, WebM, MOV, M4V, Ogg | Extensions are accepted, but the browser must still decode the codecs inside the container. |
| Maximum file size | 500 MiB | Anything larger is rejected before trimming starts. |
| Maximum decoded duration | 5 minutes | Longer sources are refused regardless of how small the file is. |
| Maximum single dimension | 4096 pixels (width or height) | Exceeding this on either side blocks decoding. |
| Maximum pixel area | 3840 × 2160 | Total pixel count above this is also refused. |
| Minimum clip length | 0.1 seconds | A range shorter than this is treated as invalid. |
| Time input precision | Milliseconds allowed | Fractional inputs are valid, not only whole numbers. |
| Output container | WebM (VP9 or VP8 with optional Opus) | If you need MP4 or another container, plan a second conversion. |
| Edit accuracy | Playback-time capture, not frame-accurate | The last encoded frame may land a small fraction around the requested boundary. |
| Processing location | Local browser tab only | Nothing is uploaded, so the plan also covers privacy by default. |
If any of those values would reject your source, the plan changes. For example, a twelve-minute screen recording fits the file size limit but exceeds the decoded duration cap, so trimming in-browser is not on the table, and the plan has to call for a desktop editor instead.
Choose Video Trimmer and Enter Your Time Range
Once the plan is in place, the cut itself is a fixed sequence. Video Trimmer exposes a single visible pipeline: pick file, enter your time range, trim, download. Walking it in order removes the temptation to start experimenting with controls mid-cut.
- Open Video Trimmer in your browser. Leave the source video on your local disk; nothing leaves the current tab.
- Choose one supported local file (MP4, WebM, MOV, M4V, or Ogg, up to 500 MiB) and wait for the tool to populate its decoded duration. If duration does not appear, the browser cannot decode the codecs inside the container, and you need a different source file before continuing.
- Enter the start and end values, with the start at zero or later, the end later than the start, and both inside the populated duration. Milliseconds are allowed, so an in-point of 12.5 and an out-point of 48.25 are valid inputs. Reversed or out-of-range values fail visibly rather than being silently clamped.
- Select Trim video. The tool seeks the media element to your start, captures the playback stream, and records until the requested end. While it runs, you can use Cancel to stop the active work.
- Review the reported clip duration and file size, then download the generated WebM. The output has the selected duration patched into its Segment Info, so compatible players report a finite timeline rather than the source's full length.
The output is a real-time re-encode (see MDN — MediaRecorder), not a packet-level lossless cut, so dimensions are preserved while quality, keyframe placement, color metadata, audio layout, and file size may all differ from the source. Plan any further steps, such as compression, resizing, or format conversion, on top of the new WebM rather than on top of the original file.
Verify the Output Before You Move On
The plan does not end at the download button. Two short checks catch the cases where the cut looks fine but is not actually what you intended.
- Read the reported duration. The UI shows the requested clip duration after trimming. If the number does not match what you entered, for example you typed 35 seconds and the tool reports 35.4, the playback-time capture rounded slightly. Decide whether that drift matters for your target use before you ship the file.
- Play the clip in a WebM-aware player. Open the downloaded file in a browser, VLC, or another player that reads WebM Segment Info correctly. Confirm the timeline starts where you expect and ends at the requested boundary rather than at the source's full length.
If either check fails, re-run the trim with adjusted start and end values before replacing any working files. If both pass, the trimmed WebM is ready for whatever you planned next in the workflow.
When Planning Means Choosing a Different Tool
A good plan also names the cases where trimming in-browser is the wrong choice. Video Trimmer is honest about what it is not, and your plan should reflect that.
- You need frame-accurate cuts. Playback-time capture can land a fraction of a second off the requested boundary. For broadcast delivery or exact keyframe-aligned edits, plan to use a dedicated desktop editor and inspect its exported timeline.
- You need MP4 output. The tool always produces WebM. If the destination requires an MP4 container, plan a follow-up step with a local converter rather than expecting it from the trim.
- You need subtitle, multitrack audio, or full metadata preservation. Re-encoding in-browser keeps dimensions but does not promise every metadata field carries over, so build that assumption into the plan from the start.
- The source is longer than five minutes, wider than 4096 pixels on a side, or larger than 500 MiB. The plan has to call for a desktop editor, since the browser path will reject the file before trimming begins.
- The video is DRM-protected or remote. The tool does not fetch remote media or bypass DRM, so it is not a valid step in that plan.
Recognising those cases during planning is what keeps the workflow short. If the source is a local file under five minutes that your browser can decode and the destination accepts WebM, the plan above is enough. If any of those conditions are missing, swap in the right tool before you start rather than after you have already tried.
Bringing the Plan Together
A trim is short because the planning is short: confirm the browser can decode the file, read its real duration, enter start and end values with the end after the start, then cut and download the WebM. Video Trimmer executes exactly that pipeline in the current tab without uploading anything. If the source or the destination breaks any of the tool's documented limits, the plan adjusts first, through a different file, a different container, or a desktop editor, and the cut becomes the last step instead of the first guess.
For a deeper look, see How to Repeat the Same Result When You Trim a Video.
For a deeper look, see How Do I Troubleshoot a Problem When I Trim Video Locally?.