Getting started with video compression means choosing a browser-decodable source no larger than 500 MiB, five minutes, or 3840 × 2160 pixels, picking a width-and-frame-rate preset, and letting a local browser encoder re-encode the file as a WebM while the source plays in real time. That loop is the entire starting point: select a file the browser can actually decode, choose Small, Balanced, or Quality, leave the tab open while the source plays, then read the actual output dimensions and signed byte change before downloading the WebM. The source bytes, the decoded frames, and the encoded output remain in the current tab, so a first run requires no account, no upload, and no server round-trip. Because encoding happens at playback speed rather than as a fast batch job, a two-minute clip takes about two minutes rather than finishing in seconds — that timing is the most common surprise for first-time users. Once that mental model is in place, every other detail — preset choice, why an output can grow, what to verify, when to switch tools — becomes a smaller decision built on top of the same starting loop.
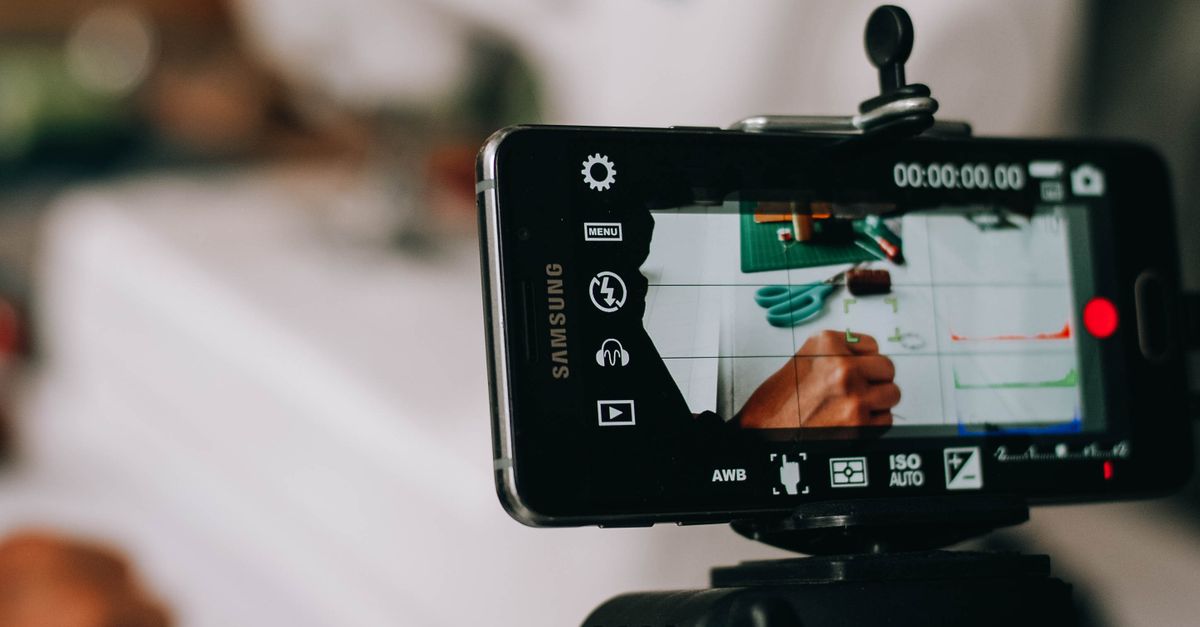
What a First Compression Run Actually Looks Like
Beginners usually arrive at this question with one of three backgrounds: a clip too large to email, a video that exceeds an upload cap on a chat service or slide deck, or a folder of footage taking too much disk space. All three reduce to the same first move — produce a smaller file from the original — but the "best" compression depends on the destination, so a starting workflow should optimize for visibility and verifiability rather than for the smallest possible output.
The Video Compressor is built around that starting workflow. It re-encodes one browser-decodable file into WebM locally, draws each played frame into a bounded Canvas, and records that Canvas with the browser's WebM codec while the source plays. The result reports output dimensions, input bytes, output bytes, and the measured percentage change — calculated only from the two actual Blob sizes — so a first-time user can compare real numbers against the original instead of trusting a vague "reduced" label.
Because the encoder observes the Canvas stream at playback speed, the page also tracks progress from source playback time and stops the recording tracks when the source ends. That timing model is the difference between this utility and a desktop encoder: it is bounded by browser media support, by the WebM container, and by the input limits listed below, but it requires no install, no codec hunt, and no upload wait.
The Limits That Shape a First Run
Before touching a preset, a beginner should know the input ceiling the tool enforces, because the validation either succeeds and you compress, or fails and you get an error with no download. The page validates five input facts in order:
- File extension or MIME looks like a media file — MP4, WebM, MOV, M4V, or Ogg names are accepted, but a valid extension does not make an unsupported codec decodable.
- Positive whole byte size up to 500 MiB.
- Decoded duration above zero and at most 300 seconds.
- Each side at most 4096 pixels, and decoded area at most 3840 × 2160 pixels.
If any of those checks fails, the tool reports an error rather than silently truncating the input. An invalid file, an unsupported decoder, an over-limit duration, an over-limit frame, a missing Canvas stream, or an unavailable WebM recorder all produce an error and no download. Knowing that up front turns "why did nothing happen?" into "which bound did my file cross?" — a much easier question to answer.
The same bounds also govern memory, Canvas allocation, and real-time work, which is why a five-minute clip at 4K is the practical ceiling rather than an arbitrary marketing cap. Files may be named MP4, WebM, MOV, M4V, or Ogg, but successful decoding still depends on codecs installed in the current browser — a renaming never unlocks an unsupported codec.
How to Use the Video Compressor for a First Local Run
- Open the Video Compressor page in a current desktop browser and choose a file that fits the 500 MiB / 5 minute / 3840 × 2160 envelope.
- Pick a preset — Small caps width at 640 pixels and targets 24 fps; Balanced caps width at 1280 pixels and targets 30 fps; Quality caps width at 1920 pixels and targets 30 fps.
- Start the compression and leave the tab open while the source plays; the recorder runs at playback speed, so a two-minute source takes about two minutes.
- When the source ends, read the reported output dimensions, the input and output bytes, and the signed percentage change.
- Download the WebM and play it fully in a separate tab or player before deleting the original file.
Choosing a new file, changing presets, canceling, or leaving the page mid-run invalidates the active job and releases temporary Object URLs, so a beginner does not need to "clean up" between attempts. The encoder also clamps its requested bitrate between 180 kbps and 8 Mbps using a bounded bits-per-pixel heuristic, though compression is still content dependent — a low-motion animation may become much smaller, and noisy footage, grain, camera shake, rapidly changing detail, or an already efficient source can produce a similar or larger file, so inspect the bytes after every run.
Reading the Output: Dimensions, Bytes, and Change
The output panel is the part of a first run most beginners skip, and it is the part that decides whether the result is fit for the destination. The tool reports four values:
- Output width and height — the actual dimensions the Canvas produced, after aspect-ratio preservation and even-pixel rounding, never enlarged past the source.
- Input bytes — the actual size of the file you chose.
- Output bytes — the actual size of the recorded Blob.
- Signed percentage change — calculated only from those two actual Blob sizes.
That last value is the one to read carefully. The percentage is not a marketing claim and the tool does not promise that every result is smaller. Compression depends on motion, noise, source codec, browser encoder, and the preset you picked, so a noisy action clip on the Small preset can come out close to or even larger than the source if the source was already efficient. The tool never labels a larger file as a reduction; the number reflects the actual delta.
When the result does not suit the destination, the right move on a first run is to try another preset and re-check the panel rather than to abandon the workflow — see how to choose the right approach for video compression for the broader decision logic behind that swap. The recorder tries VP9, then VP8, then generic WebM in that order, so the same preset and source can produce slightly different bytes between browsers.
Choosing a Preset on a First Run
The three presets are transparent product choices, not promises of a universal optimum, and the differences between them are visible in the table below.
| Preset | Maximum width | Target frame rate | Bitrate band | What the output will look like |
|---|---|---|---|---|
| Small | 640 px | 24 fps | 180 kbps – 8 Mbps | Lower-resolution copy with reduced frame rate |
| Balanced | 1280 px | 30 fps | 180 kbps – 8 Mbps | Mid-resolution copy at standard frame rate |
| Quality | 1920 px | 30 fps | 180 kbps – 8 Mbps | Higher-resolution copy at standard frame rate |
All three presets preserve the source aspect ratio, never enlarge the source, and round the output dimensions down to even pixel values for broader codec compatibility. The bitrate the recorder asks for is the same 180 kbps – 8 Mbps band in every preset; the preset changes the canvas size and frame rate, which feeds the bits-per-pixel heuristic that picks the final bitrate. So picking a preset is really picking a resolution and frame rate first, and trusting the heuristic to land on a reasonable bitrate for that combination.
Verifying the Result Before You Replace the Original
A first compression is not finished when the download button appears. The tool deliberately stops short of claiming that the WebM matches the source in every container feature, so a beginner should run three checks before deleting the original file:
- Play the downloaded WebM from start to finish in a separate tab and confirm duration, picture, and sound match the destination's needs.
- Compare the reported output bytes against the input bytes — if the file is larger, try another preset rather than overwriting the original.
- Confirm that the destination accepts the WebM container; for MP4-only pipelines, use a maintained desktop encoder such as FFmpeg with a reviewed command.
Audio is included only when the browser exposes a capturable audio track through HTMLMediaElement captureStream, so a silent download on a clip that clearly has sound is a signal to retest in a browser that exposes the track — the underlying capture API is documented at MDN's HTMLCanvasElement.captureStream(). The recorder itself is described in the MDN MediaRecorder reference, which is the same API the tool calls.
Subtitles, chapters, attachments, rotation tags, color metadata, HDR signaling, and many container features are not preserved — the WebM container is the only output because MediaRecorder support for browser-generated MP4 remains inconsistent across browsers. Volume is not normalized, tracks are not mixed, and corrupt media is not repaired. For archival masters, professional delivery specifications, exact codec profiles, two-pass rate control, fixed keyframe intervals, subtitle preservation, or deterministic cross-platform output, the contract points to FFmpeg with a reviewed command rather than to this browser utility.
Finally, keep the original. Source bytes, decoded frames, and output bytes all stay in the current tab and Lizely receives no video, thumbnail, duration, file name, codec, or result — but a first run is also a calibration step, and the original is the only artifact you can compare the new file against.
If you're weighing options, Troubleshoot Video Compression Problems in Your Browser covers this in detail.