Adding text in DaVinci Resolve is a one-step drag from the Effects panel to the timeline followed by typing into the title generator on the Edit page, and the cleanest result comes when each label is the same number of characters so that lower thirds, slates, and chapter markers line up along a consistent baseline. DaVinci Resolve ships with two built-in titles called Text and Text+, both of which are real generators you place on a track rather than overlay layers, and any string pasted into either generator is rendered exactly as typed with no automatic alignment, no width correction, and no padding. That last behavior is what trips up editors who want a column of identical-width labels, because a five-character name and a fifteen-character title occupy different horizontal real estate and break the rhythm of a fixed layout. Text Padder solves this by extending a string to an exact Unicode code-point length with a repeating pattern on the left, right, or both sides, so every label pasted into the title generator starts with the same character count and lines up the same way in the viewer. Everything runs in the browser tab, the preview is deterministic, and the result downloads as a UTF-8 TXT file that you paste straight into DaVinci Resolve.
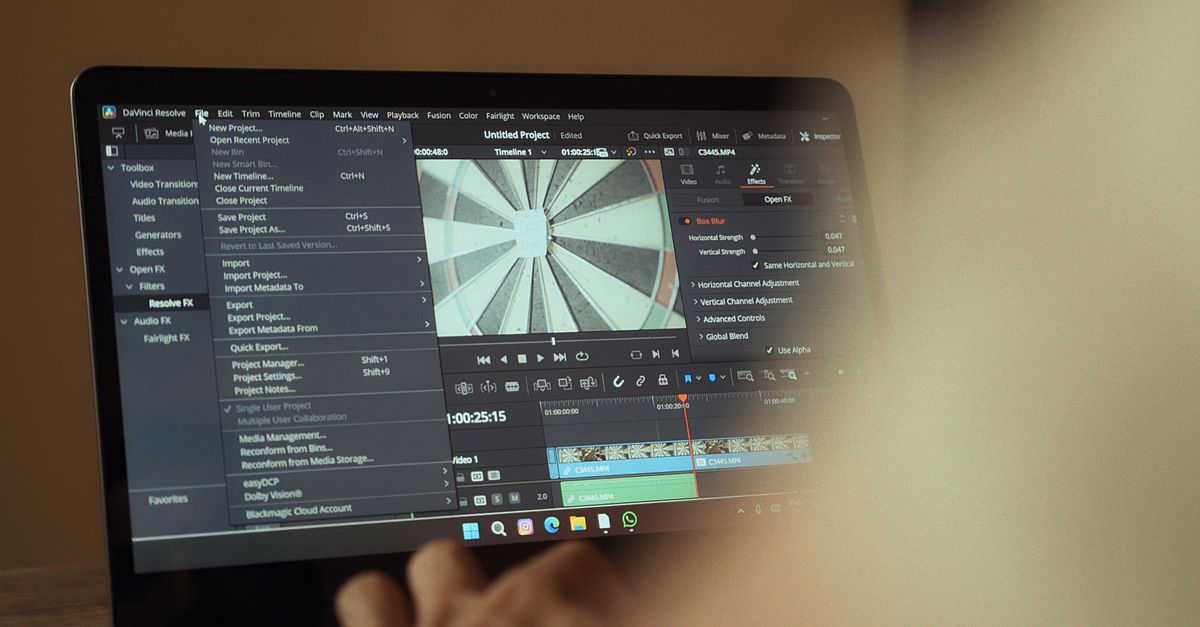
The Standard Way to Add Text in DaVinci Resolve
DaVinci Resolve treats text as a generator effect, not a media clip. The fastest path from an empty timeline to a typed title is the same in Resolve 18 and 21, and the steps are explicit because the toolbox layout is fixed.
- Open the project on the Edit page and click the Effects panel in the top-left corner.
- Expand Toolbox, then open the Titles subfolder.
- Drag either Text (basic, single-line, system font) or Text+ (full Fusion-style control with outlines, shadows, and animation) onto a video track above your clip.
- Move the playhead onto the title clip, open the Inspector panel, and double-click the title's text field in the viewer to type or paste your label.
- Adjust font, size, color, alignment, and safe-area position in the Inspector before rendering or exporting.
The text you enter is rendered verbatim. Resolve will not pad, truncate, or align it for you, and there is no built-in way to enforce a fixed character count across a stack of title cards.
Why Exact-Length Labels Help DaVinci Title Cards
Three common DaVinci Resolve jobs benefit from labels that all share the same length.
- Lower thirds and name slates in talking-head sequences need identical column widths so the colon, dash, or separator lines up across cuts.
- Episode markers and chapter titles that scroll or list vertically read more cleanly when every line ends at the same right margin.
- Test fixtures and version-stamp strings used in motion-graphics templates depend on a fixed length so the layout box does not reflow when the payload changes.
Without padding, a shorter label such as REC sits at the left edge while a longer label such as RECORDING IN PROGRESS pushes against the right safe boundary, and the whole row drifts as new labels are added. Padding the strings to the same target length fixes the visual rhythm before the title generator ever sees the text.
Pad Labels to a Fixed Length with Text Padder
The Text Padder tool extends text to a chosen target by adding a repeating pattern on one or both sides. The target is measured in Unicode code points, the pattern repeats from its first character and is truncated exactly at the target, and the result is previewed before download. A one-million-code-point ceiling bounds memory use, preview rendering, and download creation.
- Open Text Padder and paste your source label into the editor (for example, REC).
- Enter the target length in Unicode code points. For a five-character label type 5; for a fifteen-character column type 15.
- Type a nonempty padding pattern. A common choice is " - " or a centered dot, but any string works, including emoji and multi-character patterns.
- Choose a side: left, right, or both. Right padding keeps the original label at the start and adds characters after it; left padding adds characters before it; both splits the missing length between the two edges, with the right side receiving the extra code point when the count is odd.
- Click the action to pad the text, then read the reported length in the result panel and verify the preview matches the column shape you want.
- Download the TXT output, or copy the previewed string, and paste it into the DaVinci Resolve Text or Text+ generator on the Edit page.
The same accepted source, target, pattern, and side always produce the same string, so a column of labels can be regenerated identically after any edit.
Worked example: padding the source cat (length 3) to a target of 8 with the pattern "-_" on both sides gives a missing length of 5; with the odd-remainder rule the left receives 2 code points and the right receives 3, producing the string "-_cat-_-". Verified by counting: dash, underscore, c, a, t, dash, underscore, dash totals 8 code points.
| Side | Where the pattern is added | Behavior when missing length is odd |
|---|---|---|
| Left | Only before the source | All padding goes to the left |
| Right | Only after the source | All padding goes to the right |
| Both | Split between the two edges | Right side receives the extra code point |
Insert a Padded Label into DaVinci Resolve
With a padded string ready, the DaVinci side is just the standard title workflow.
- On the Edit page, drop a Text+ generator on a video track above the clip that needs the label.
- Open the Inspector and double-click the text field in the viewer.
- Paste the padded string from Text Padder directly into the text field; Resolve accepts the spaces, dashes, dots, or emoji as ordinary characters.
- Switch the font to a monospaced family such as Roboto Mono, Source Code Pro, or a system monospace so every code point occupies the same visual column; proportional fonts will still vary.
- Position the title inside the action safe area, then duplicate the title clip down the timeline and swap the text field for the next padded label.
Because each label now shares the same code-point count, the start position in the viewer is identical for every title clip and the whole column reads as one aligned block.
How Text Padder Counts Length
Length is measured with the JavaScript string iterator, which counts Unicode code points rather than UTF-16 code units, bytes, or visible glyphs. A single emoji such as 😀 is one code point and therefore counts as one character. A combining mark still counts separately from its base character, and a multi-code-point emoji sequence such as a flag or a family cluster counts as several code points even though it shows as one image on screen. The result panel states the code-point model explicitly so the number is not confused with bytes, words, or grapheme clusters.
If the source already meets or exceeds the target, Text Padder returns it unchanged. The tool never truncates text to force a shorter result; a larger target is required when padding is actually wanted. A target of zero is accepted but leaves nonempty source text unchanged under the same no-truncation rule. The string iteration behavior is documented in the MDN string iterator reference.
Where Code-Point Length Does Not Match Display Width
Code points are not pixels, and a fixed code-point count does not guarantee a fixed visual width in DaVinci Resolve's viewer. East Asian wide characters, emoji, tabs, and combining sequences all occupy widths that do not match their code-point count, and proportional fonts vary the width of ordinary letters. Treat the padded string as a length guarantee for text-level logic such as sort keys, identifiers, and test fixtures, and use a monospaced font in Resolve when the visual alignment matters.
The padding text must not be empty when characters need to be added. Spaces, line breaks, punctuation, emoji, and multi-character patterns are all accepted because they are ordinary visitor-supplied text. The target must be a non-negative whole number; decimal, negative, missing, and nonnumeric values are rejected. The download creates a temporary Blob URL only when clicked, starts the browser download, and schedules immediate revocation, so the padded file does not linger in memory beyond the click that produced it. No text is uploaded to a server, no network request is made, and the original input stays in the editor for comparison.
Related reading: How to Add Text in iMovie With Exact-Length Labels.