A keyboard tester is a free browser tool that lights up a matching on-screen key the moment you press a physical one, so you can verify every key on your keyboard works without installing any software. To use one, click or tab into the on-screen keyboard so it becomes the active element on the page, then start pressing your physical keys one by one; each press makes the corresponding on-screen key glow and stay marked as tested, and a last-key panel displays three labelled values describing that press. After running your fingers across the whole board, any keys that never lit up are your dead or failing suspects, and any key that stays glowing after you release it is sticking or chattering. The whole process takes a few minutes, requires no sign-up, no extension, and works in any modern browser on Windows, macOS, Linux, and Chromebooks.
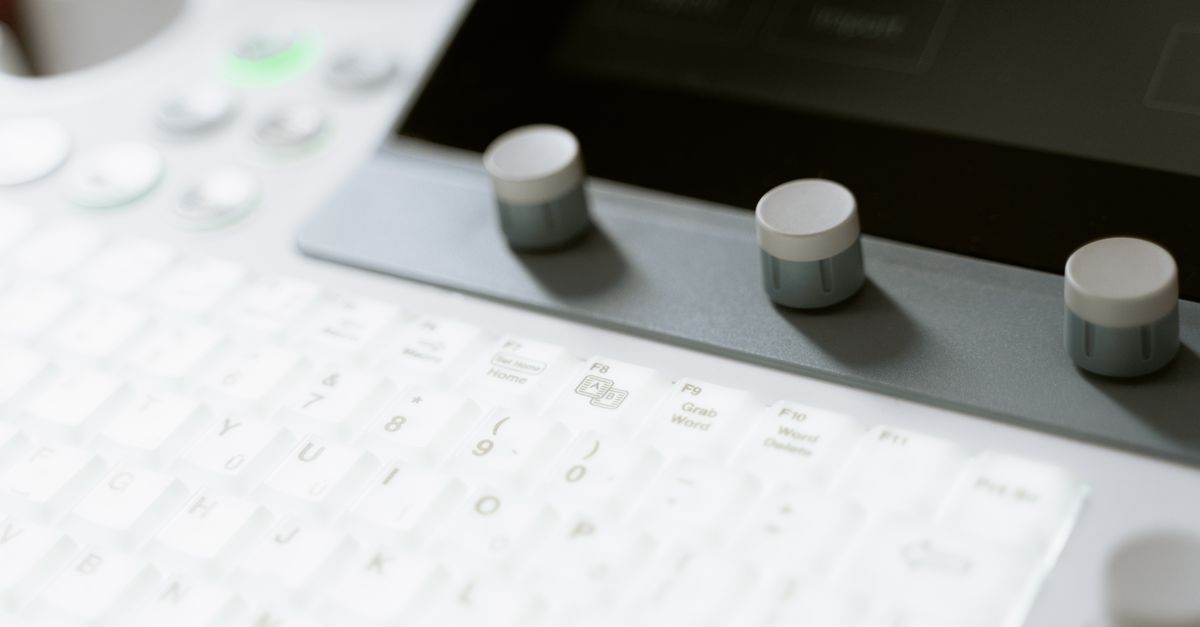
When you actually need to test keyboard keys
Keyboard problems tend to show up quietly at first. A letter you typed might disappear, a spacebar might fire twice, or a key might stop responding entirely after a spill. Before you replace the keyboard or send a laptop back for service, it pays to confirm exactly which keys are misbehaving, and to do it without installing anything. A free browser-based keyboard tester turns every key press into a visible mark on an on-screen layout, so you can spot the failing keys in a single sweep.
The most common situations where this kind of test earns its keep are:
- Second-hand or refurbished laptops. You just bought a used machine and the return window is closing. Running through the full keyboard before that window shuts gives you hard evidence if anything is faulty.
- Liquid or debris incidents. A splash of coffee, a few crumbs under the keycaps, or dust wedged into a switch can all change how a key behaves. Testing before and after a clean confirms whether you actually fixed the problem.
- Warranty and support claims. When you need to describe a fault to a manufacturer, being able to point at a specific key and its captured event makes the claim harder to dismiss.
- Gaming and rollover checks. Some keyboards silently drop presses when several keys are held together — a behaviour called ghosting. Pressing a chord of keys and watching which ones register tells you whether your board can keep up with the game.
- Layout and remapping issues. If pressing the key you think is "Z" produces a "W", the problem is software rather than hardware, and a tester shows the actual character your operating system is sending.
What the browser-based tester shows you
The Keyboard Tester is a single page with three pieces of information: an on-screen QWERTY layout that mirrors a physical keyboard, a last-key readout that updates with every press, and a Reset button that clears the board for a fresh pass. The on-screen layout is the main visual — when you press a physical key, the matching on-screen key lights up. Held keys stay glowing while you keep them down, and every key you press remains permanently highlighted as tested until you Reset, so a single glance at the board shows you which keys never responded.
The last-key readout updates with each press and contains three labelled values: the key, the code, and the keyCode. They look similar but mean different things, and understanding the difference matters for developers, gamers, and anyone remapping shortcuts. You don't need to memorise the values, but knowing what they represent helps you read a captured event correctly.
Everything runs locally in your browser. The page listens for key events but never records, stores, logs, or uploads what you press, so there is no network traffic carrying your keystrokes. That makes it safe to test even when you would normally worry about sensitive text, and when you close or refresh the tab, every mark and readout disappears. Keys that would otherwise scroll or navigate the page away, like Space, Tab, Backspace, the arrow keys, and the function keys, are held in place only while the on-screen keyboard is focused, so your testing session is not interrupted by the page jumping around. You can always press Escape or click away to leave.
How to test every key on your keyboard
- Open the tester and focus the on-screen keyboard. Click anywhere on the on-screen layout, or press Tab until it becomes the active element on the page. Detection only runs while the keyboard is focused, so if you click outside it, the page stops capturing presses until you click back in.
- Press each physical key one at a time. Work your way across the board methodically — the top row of numbers, the QWERTY rows, the bottom row of modifiers, the arrows, and the function keys. Each press should make the matching on-screen key light up and stay marked as tested.
- Watch the last-key panel. After each press, the panel shows the key, code, and keyCode reported for that event. This is your way to confirm that the right key was captured and to see exactly what the browser is reporting under the hood.
- Hold several keys at once to check for ghosting. For chord-style gameplay or fast typing combinations, press three or four keys simultaneously and watch whether all of them register. Keys that drop out of the chord are affected by rollover limits.
- Note any keys that never lit up. After a complete pass, the keys that remain dark are the ones to investigate. They may be physically dead, dirty, disconnected, or intercepted by the operating system before reaching the browser.
- Click Reset for a clean second pass. If you cleaned under a key, swapped the keyboard, or just want to start fresh, hit Reset to clear every tested mark and the last-key readout.
Reading the key, code, and keyCode values
Each press produces three values that look redundant but actually answer different questions. The table below summarises what each one represents and why it matters.
| Value | What it is | Example | Why it changes (or doesn't) |
|---|---|---|---|
| key | The character or named action the key produces | a, Enter, ArrowUp | Changes with your keyboard layout and modifier keys (Shift, Caps Lock, AltGr) |
| code | The fixed physical position of the key on the board | KeyA, Space, ArrowUp | Stays the same across language layouts because it identifies the position, not the character |
| keyCode | An older numeric identifier kept for compatibility | 65 (for the "A" key) | Remains attached to the physical key regardless of layout; still used by some software and games |
The practical takeaway: if you are debugging a remap, compare the key values across layouts. If you are checking whether a game will recognise your movement keys, the code value tells you which physical position is being hit. If a piece of legacy software expects a specific number, the keyCode is what it reads. Seeing all three together turns one captured press into a complete picture of what your operating system is reporting.
Spotting dead, sticky, and ghosting keys
A "dead" key is the easiest failure to catch — press it and nothing lights up. The fault can sit anywhere along the chain: the keycap may have popped off, the switch under it may be physically broken, debris may be blocking the contact, or the operating system may have intercepted the press before the browser saw it. The first sanity check is to confirm the on-screen keyboard is focused. The second is to test the same key in a plain text field to see whether the issue is local to the page or to the keyboard itself.
A sticky or chattering key behaves the opposite way. It stays lit after you release it, or it fires multiple times from a single tap. Both are classic switch problems — usually wear, residue, or a failing membrane — and they justify either a deep clean under the keycap or a repair. While you are diagnosing, the stuck glow also tells you precisely which physical key is at fault, which is useful when the layout you type on is different from the layout printed on the keys.
Ghosting is subtler. It only shows up when you hold several keys at once, and the symptom is that one or more of the pressed keys never registers. Some keyboards are designed with anti-ghosting circuitry that guarantees common gaming combinations work, while cheaper boards may silently drop presses. The way to test is to hold down three or four keys at once — for example, W, A, S, and D, or a movement-plus-action chord — and confirm every key on the screen stays lit. Any key that goes dark during the chord is being filtered out by the keyboard's hardware.
If a key produces the wrong character entirely — for example, the key under your finger prints "Z" when you expected "Y" — the hardware is probably fine. The mismatch usually lives in your operating system's input layout, an active remap tool, or a stray modifier key stuck in a toggled state. Switching layouts off and on, or rebooting, often clears the cause before you touch the keyboard itself.
After the test: what to do next
The marks on the on-screen layout are a working list, not a diagnosis. Once you know which keys are misbehaving, the next move depends on what you found.
For a single dark key, the most common cause is debris under the keycap. Pop the cap carefully, clean under it, snap it back, and run Reset to start a fresh pass. If the key still won't light, the switch itself is likely the problem.
For multiple dead keys in the same region of the board, the cause is more often a cable or connection issue, and the tester helps you localise it to a row or column rather than to individual keys.
For sticky or chattering keys, the fix is the same deep clean, repeated on each affected key. If cleaning does not resolve the chatter, the switch is worn out.
For ghosting, the tester tells you which chords your keyboard cannot handle, and you can either adjust the keys you use in games, replace the board with one rated for full n-key rollover, or accept the limit.
To track how often specific keys are actually pressed, a separate key-press counter running in your browser can capture per-key frequencies while you type, which is useful for building ergonomic profiles or validating a remap.
For a quick read on the captured event values, the Keyboard Tester page displays all three of them together on every press, and Reset clears everything when you want a clean board for the next pass.
If you're weighing options, How to Test Keyboard on Laptop: Find Dead Keys Fast covers this in detail.