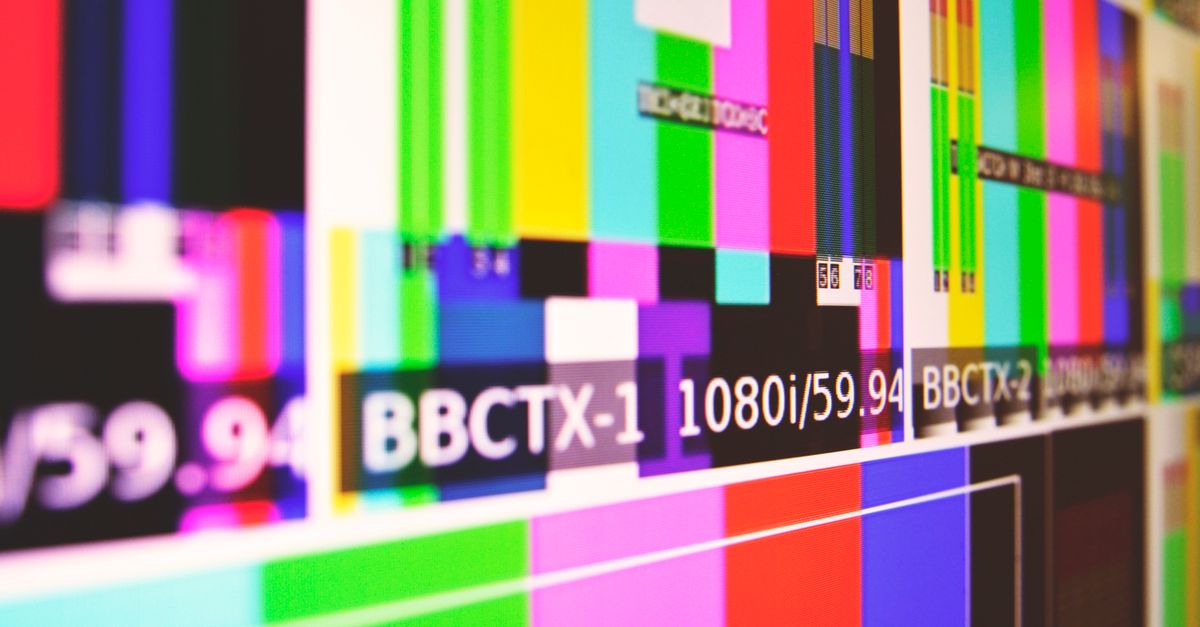
To run a dead pixel test for Mac, open the Dead Pixel Test in any browser on macOS, press Start fullscreen test, and cycle through eight solid sRGB colors — black, white, red, lime, blue, cyan, magenta, and yellow — while looking for any pixel that does not match its surrounding field. The test runs entirely in the browser, makes no upload, and runs as a generic browser-based panel test on macOS displays. macOS adds a few extra steps compared to a generic monitor check: True Tone, Night Shift, and any active display profile can shift what you see, so they should be turned off before you judge a stationary spot. The browser panel still works even if macOS or your browser denies fullscreen, and the Escape key returns you to normal mode the same way it does in every other Mac app, without locking the system or changing brightness.
Why a Mac Display Needs a Specific Visual Check
A Mac display is not a generic monitor, and the differences matter when you are hunting for pixel-level faults. Apple ships Retina and Liquid Retina XDR panels with hardware color management that operates on top of whatever the browser requests. macOS applies a color profile, an HDR tone-mapping curve, an optional True Tone white point, and (when enabled) a Night Shift amber tint to every pixel the browser renders. Each of those layers sits between the requested CSS color and the light that actually leaves the panel, which is why the Dead Pixel Test documents its stimulus rather than claiming a measured output.
That documentation matters more on a Mac than on most other platforms. On a MacBook, the same browser page can look noticeably different from one model to the next because of the panel gamut and the local-dimming zones on larger screens. A pixel that stays bright on black might be a true stuck subpixel on one Mac and a local-dimming artifact on another. Visual checks are still useful, but only when you control for the variables macOS introduces. The visual check itself remains the same: render eight solid sRGB fields and look for any point that does not match the field around it.
The Dead Pixel Test also keeps everything on the Mac itself. No screenshot, color profile, navigation history, or display identifier leaves the tab, and the current pattern index resets as soon as you reload. That local-only behavior matters because some Mac users are checking used or refurbished hardware they are about to return, and they want a check that does not phone home with serial-number-adjacent data.
macOS Settings to Turn Off Before You Start
macOS has three features that actively change how every color looks on the panel. Each one should be off before you begin the Dead Pixel Test, or you risk misreading what is actually a software tint as a hardware defect.
- True Tone — System Settings → Displays → True Tone. True Tone warms or cools the white point based on ambient light. A pure-white field will not look pure white while it is on, and a "stuck" white pixel can blend right into the shifted background.
- Night Shift — System Settings → Displays → Night Shift. Night Shift pulls the entire image toward amber and is normally scheduled by time of day. Disable it manually or move the schedule to "Off" for the duration of the test.
- Auto-Brightness and "Adjust brightness based on ambient light" — System Settings → Displays. Both will dim or brighten the backlight while you cycle colors and make consistent judgment harder.
Two more macOS behaviors are worth pinning down before you start. First, the display's color profile is usually set to the panel's native space and does not need to be changed, but any custom ICC profile downloaded for print or photo work should be switched back to the default Apple profile for the test. Second, Mission Control and the standard macOS green-window "maximize" button are different from true browser fullscreen — the Dead Pixel Test only requests true fullscreen from the Start button, and the browser either grants it or falls back to the in-page panel.
How to Run the Dead Pixel Test on a Mac
- Clean only the outer display surface using the manufacturer's safe procedure (a dry microfiber cloth for most Mac screens, never a spray directly on the glass).
- Open the Dead Pixel Test in any browser and select Start fullscreen test. The browser will request fullscreen permission, which you accept once; if the browser refuses, the in-page panel still cycles through every color.
- Inspect black, white, red, lime, blue, cyan, magenta, and yellow in order. Click the panel, press Space, or use the arrow keys to move forward and backward. Navigation wraps around at either end so no pattern is skipped.
- Read the progress line at the top of the panel — it names the current pattern, its position, and the exact hexadecimal sRGB value, so you know exactly which stimulus you are looking at.
- Spend at least a few seconds on each color, scan all four edges and the corners, and move your gaze slowly rather than staring at one spot. Stationary mismatches that survive several fields are the ones worth noting.
- Press the Escape key when you finish. macOS returns you to normal window mode without forcing a quit, and the browser resumes its previous state.
If your Mac is connected to an external display, run the test against each screen separately by dragging the browser window between displays or by selecting the target monitor in the fullscreen strip. The pattern is the same on every panel; the variable is the panel itself.
The Eight Solid Colors and What Each One Exposes
Every field on the Dead Pixel Test is an explicit sRGB color value rather than an approximate theme shade. The fixture follows the W3C CSS Color Module Level 4 named-colors reference and the matching MDN named-color page. Knowing what each field is supposed to look like makes any deviation much easier to spot.
| # | Pattern | sRGB value | What a stationary mismatch often suggests |
|---|---|---|---|
| 1 | Black | #000000 | Bright or tinted points may be stuck-on subpixels or backlight bleed along an edge. |
| 2 | White | #ffffff | Dark points may be dead subpixels or dust that survived cleaning. |
| 3 | Red | #ff0000 | Surviving green or blue subpixels stand out as magenta or yellow specks. |
| 4 | Lime (full green) | #00ff00 | Drives the green channel only; CSS "green" (#008000) is darker and is intentionally not used. |
| 5 | Blue | #0000ff | Reveals stuck red or green subpixels as magenta or cyan dots. |
| 6 | Cyan | #00ffff | Combined green + blue; a red subpixel that is stuck on becomes obvious here. |
| 7 | Magenta | #ff00ff | Combined red + blue; a green subpixel that is stuck on becomes obvious here. |
| 8 | Yellow | #ffff00 | Combined red + green; a blue subpixel that is stuck on becomes obvious here. |
Different solid fields expose different visual mismatches. A point that stays dark on white, on the primaries, or on the secondaries is failing to emit when expected. A point that stays bright on black or shows an unexpected component on a primary field is emitting when it should not. Cycling through every channel and checking edges and corners gives each defect a chance to appear against at least one background.
How to Judge a Suspicious Spot on macOS
A visible mismatch is not automatically a dead pixel. On macOS, the most common look-alikes are:
- Dust or lint — a dark spot that moves when you wipe the outer glass with a microfiber cloth.
- Reflections — small bright spots that follow the room lighting rather than the panel.
- Image retention or burn-in — a faint ghost of a previous window, usually temporary.
- Subpixel rendering artifacts — caused by macOS display scaling at non-integer factors on some external displays.
- Cable or GPU faults — repeating lines or bands that change when you wiggle the cable or switch ports.
A screenshot helps separate content-generation problems from panel problems only when read carefully: a physical defect on the panel generally does not appear in a screenshot, while a rendering artifact might. Take a screenshot of any color field that looks suspicious and compare the file to what your eyes see. If the spot is in the file, the problem sits between the browser and the screenshot tool. If the spot is on the panel only, it is closer to the hardware — and outside the scope of any visual aid to fix. The Dead Pixel Test accuracy guide walks through the same caveats in more depth.
Do not apply pressure, tap the panel with a stylus, run rapid flashing patterns, install pixel-fixing utilities, or heat the screen based on what the test shows. The Dead Pixel Test deliberately avoids strobe patterns and seizure-risk animations, and it does not promise to repair anything. If the display shows spreading damage, electrical symptoms, impact marks, or anything that looks like a safety concern, stop using it and follow Apple's official guidance.
When Apple Diagnostics Should Take Over
Use the visual check to confirm that a stationary spot survives across several color fields, that cleaning the outer glass does not remove it, and that the same spot appears on more than one color background. Once those three things are true, the next step is hardware-level confirmation rather than another visual pass. Apple's built-in Apple Diagnostics (formerly Apple Hardware Test) can flag display issues on many Mac models, and an Apple Store or Authorized Service Provider can run a more detailed panel test under controlled lighting.
Manufacturer diagnostics and Apple's warranty policy remain the authority for any repair or replacement decision, including the well-known "acceptable number of bright or dark subpixels" rules that differ between MacBook, iMac, and Pro Display XDR lines. Keep the Dead Pixel Test as the first quick check on any Mac you own, are buying, or are evaluating for return. For deeper panel calibration after the test passes, macOS includes a Display Calibrator Assistant in System Settings → Displays → Color Profile → Calibrate, which is a separate workflow from pixel inspection.