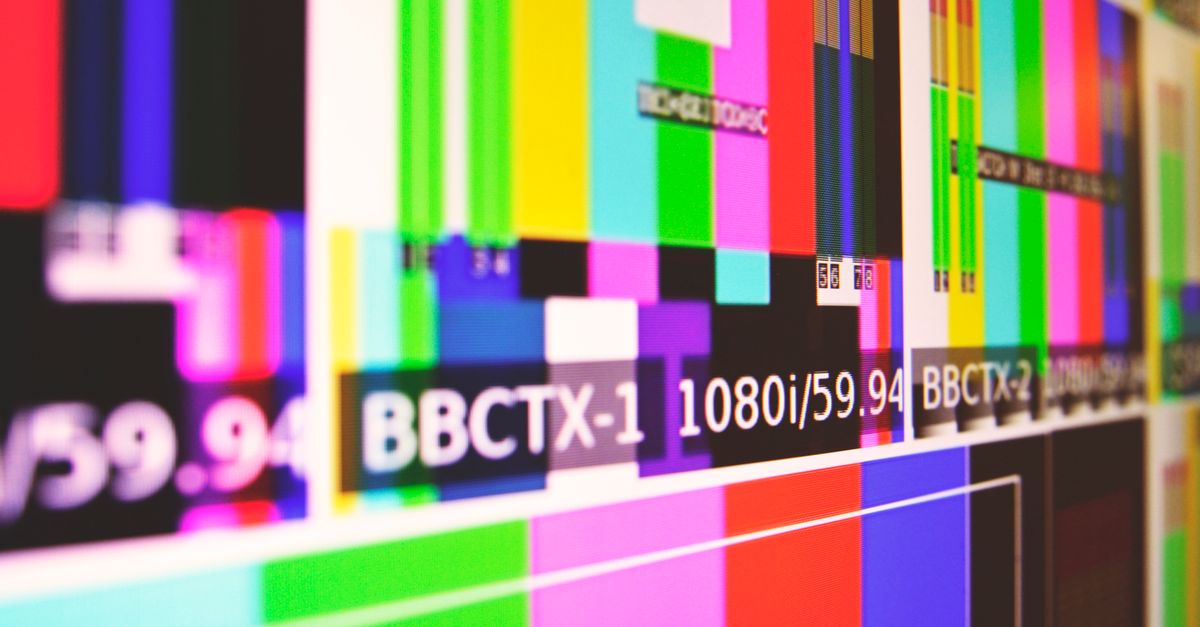
A dead pixel test for camera screens is a visual check that fills the display with solid colors one at a time so any pixel that fails to match the surrounding field stands out as a dot of a different color or brightness. Photographers usually run it on the rear LCD, the EVF, an external field monitor, or the laptop screen they edit on, because those are the surfaces where a single dead or stuck pixel can hide behind a thumbnail or quietly skew a color judgment in post. The check does not measure pixel health the way a sensor hot-pixel map does, and a single bright dot on the LCD is not the same problem as a hot pixel on the imaging sensor. What it does give you is a clean comparison field: black, white, red, green, blue, cyan, magenta, and yellow, each rendered as one exact CSS sRGB value, each repeated long enough to scan the whole panel including edges and corners. That comparison is the fastest way to separate dust from a panel defect, and a panel defect from a rendering quirk, before you decide whether to escalate to the manufacturer. The Dead Pixel Test renders exactly those eight fields in a large focusable panel so a photographer can move through them with a click, the Space key, or the arrow keys.
What a Dead Pixel Test for Camera Screens Actually Checks
Camera displays are small, high-density panels that are easy to misread. A single dust speck on the protective glass looks identical to a single dead subpixel until you change the background underneath it. The test works by replacing the whole field with a uniform stimulus, so any stationary point that fails to track the color is exposed as a mismatch. The check is designed to find three classes of visible mismatch: a subpixel that stays dark when the field is bright, a subpixel that stays bright when the field is dark, and a subpixel that shows a hue component the field does not contain, such as a red dot inside a pure green field. None of those observations is by itself a diagnosis. The test separates visual anomalies from the panel surface, separates panel anomalies from rendering anomalies, and produces a checklist of what to bring to the manufacturer before any repair or warranty conversation.
Why a Browser Color Cycle Works on Camera Displays
The camera workflow already happens around browsers: tethering software, web-based raw converters, gallery apps, and reference monitors driven over the network. A browser-based test fits that workflow because it needs nothing more than a current tab and the display you already have in front of you. The fixture is built from the W3C CSS Color Module Level 4 named colors, and the eight values are pinned to specific identifiers rather than approximate theme colors, which is why the green field is the CSS named color lime at #00ff00 and not the darker #008000 that CSS also calls green. Each value, its identifier, and the surrounding metadata are independently asserted in the test fixture, so the panel always cycles through the same eight stimuli in the same order. That consistency is what makes the result repeatable across a rear LCD today and an external monitor tomorrow.
For a deeper look at how the eight colors were chosen and what can shift the perceived result, see the accuracy guide on color management, viewing angle, and panel gamut.
Run the Test on a Camera LCD, EVF, or External Monitor
The procedure is the same whether the panel you are checking is the swiveling LCD on the back of a DSLR, the EVF in a mirrorless body, or the external field monitor on a video rig. Take the steps in this order and resist the urge to skip the cleaning step, because a fingerprint on the glass will follow the panel through every color and look exactly like a defect.
- Clean only the outer display surface by the manufacturer's safe method — a microfiber cloth and any cleaner the manual explicitly permits — then power the camera or monitor on at a normal viewing brightness and disable any auto-brightness or screen dimmer that would shift during the test.
- Open the Dead Pixel Test in the browser attached to that display and select Start fullscreen test to request a larger presentation; if the browser denies the request, the in-page panel still cycles through all eight fields.
- Inspect black, white, red, green, blue, cyan, magenta, and yellow in order; click the panel, press Space, or use the arrow keys to move forward and backward, and read the progress line for the current pattern name and its exact hexadecimal sRGB value.
- Scan the entire field on each color, paying extra attention to the edges and corners where manufacturing defects are most common, and note any stationary point that does not match the surrounding field across several colors.
- Exit fullscreen normally using the browser's standard Escape behavior, then run the manufacturer's own display diagnostic — usually buried in the setup menu — before drawing any conclusion about repair.
The Eight Color Fields and What Each One Reveals
The sequence is fixed and the values are exact, which makes each field useful for a different kind of mismatch. Use the table below as the reference card while you scan; the hex column is the value the panel is asked to render, and the cue column describes the failure mode each field is best at exposing.
| Index | Color | Hex value | What a mismatch on this field can suggest |
|---|---|---|---|
| 1 | Black | #000000 | A subpixel that stays bright or shows an unexpected hue stands out immediately. |
| 2 | White | #ffffff | A subpixel that stays dark appears as a single off-color dot in a uniform field. |
| 3 | Red | #ff0000 | Stuck green or blue subpixels appear as unexpected hue components because those channels are off on this field. |
| 4 | Lime (full green) | #00ff00 | Stuck red or blue subpixels appear as unexpected hue components because those channels are off on this field; labeled lime because #00ff00 is the CSS named color lime, not green. |
| 5 | Blue | #0000ff | Stuck red or green subpixels appear as unexpected hue components because those channels are off on this field. |
| 6 | Cyan | #00ffff | A stuck red subpixel appears as an unexpected hue component because the red channel is off on this field. |
| 7 | Magenta | #ff00ff | A stuck green subpixel appears as an unexpected hue component because the green channel is off on this field. |
| 8 | Yellow | #ffff00 | A stuck blue subpixel appears as an unexpected hue component because the blue channel is off on this field. |
Move through the full sequence at least once, and a second time if you saw something suspicious on the first pass, because some mismatches only register after the eye adapts to the new field.
Reading a Mismatch on a Camera Screen
A visible mismatch is a starting point, not an ending point. Dust, reflections, a screen protector, a pressure mark from the camera bag, image retention from a previous menu screen, a stuck subpixel, browser zoom artifacts, GPU output scaling, a loose HDMI or USB cable, and remote-display compression can each produce a different symptom that looks like a dead pixel to the eye. The single most useful follow-up is a careful screenshot interpretation: a physical defect on the panel generally does not appear inside the screenshot because the screenshot only captures what the GPU sent, while a rendering or scaling artifact on the camera's output does. Read that distinction gently, because GPU and panel are not perfectly separable on every camera body, and a screenshot is never a substitute for the manufacturer's diagnostic. What the screenshot can do is move a suspected defect one step closer to either "the panel" or "the signal chain," which is the question the manufacturer needs answered.
It is also worth remembering that the requested CSS color and the light the panel actually emits are not guaranteed to be identical. Browser color management, the operating-system color profile, HDR modes, panel gamut, scaling, subpixel layout, viewing angle, local dimming, image enhancement, burn-in protection, and hardware calibration can all shift what reaches the eye. The fixture documents the stimulus it asked for, not a measured color from the panel, so any conclusion about the panel itself should come from the manufacturer's diagnostic and not from the test alone.
Before You Contact the Manufacturer
When the test is complete, exit fullscreen normally, write down the color, approximate location, and behavior of any mismatch, and run the camera or monitor's built-in diagnostic. Do not apply pressure, tap, heat, rapidly flash the panel, or install untrusted repair software because of a visual finding, and do not chase any claim that a software cycle can repair a physical subpixel. If the display is showing spreading damage, electrical symptoms, impact damage, or any safety concern, stop using the device and follow the manufacturer's qualified guidance. Warranty and repair decisions belong to the manufacturer; the test exists to give you clean, repeatable observations to hand over.