To split an image into a grid, divide one picture into uniform rows and columns of separate PNG tiles while assigning every decoded source pixel to exactly one tile. For a beginner, the practical sequence is to choose a grid shape, load one local image, generate the tiles, and verify their dimensions before downloading.
The Image Grid Splitter handles that basic task. It accepts one local JPG, PNG, or WebP, lets you set one to ten rows and one to ten columns, and produces numbered PNG downloads. File decoding, pixel extraction, PNG encoding, and download creation happen inside the current browser tab, and the source image is never uploaded to Lizely.
Choose a grid that matches the job
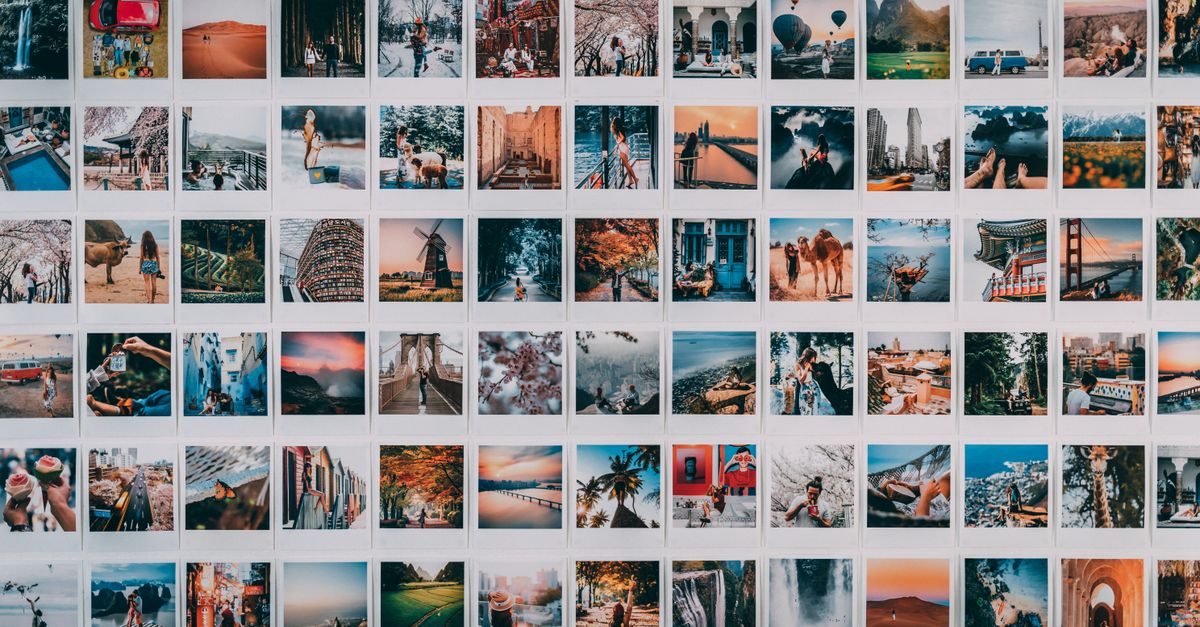
Rows divide the source into horizontal bands stacked from top to bottom. Columns divide it into vertical bands arranged from left to right. One row count and one column count apply across the entire image, so the result is a uniform rectangular grid rather than a set of independently detected panels. The splitter does not identify separate panels or allow you to vary individual slice widths by hand.
For a familiar nine-tile arrangement, set both fields to 3. The individual tile proportions still follow the source image's dimensions, so the same grid values can produce wide tiles, tall tiles, or square tiles depending on the original aspect ratio. Choose the row and column counts based on the shape and purpose of the finished tiles rather than the number alone.
| Planning choice | Supported setting | What it changes |
|---|---|---|
| Rows | 1–10 | Number of horizontal bands and the row number in each filename |
| Columns | 1–10 | Number of vertical bands and the column number in each filename |
| Source | One local JPG, PNG, or WebP | The single image divided into the grid |
| Output | Separate PNG files | One downloadable file for every grid cell |
| Order | Top-to-bottom, left-to-right | The sequence used to list and name the results |
Because the layout is fixed, changing either value creates a different grid. The maximum is 100 tiles when both dimensions are set to 10. If you only need a few large pieces, start with lower values; if you need many small components, increase the counts while staying within the supported range.
Split the image in three steps
- Choose the source file. Select one local JPG, PNG, or WebP and check the displayed file and pixel limits before continuing. The splitter handles one image at a time, so start a new operation for each separate source.
- Enter the grid values. Set the number of rows and columns, each between 1 and 10, then select Split image. Keep the values unchanged unless you intend to replace the resulting tiles with a new grid.
- Check the results and download what you need. Review every numbered tile's width, height, and approximate encoded size. Each tile has an individual download link, so download the PNG files required for your project rather than treating the result as a ZIP archive.
The tiles are listed in reading order: the first row runs from left to right before the next row begins. Output names include the original base name followed by the row and column, such as photo-row-2-column-3.png. This makes the files easier to sort and removes ambiguity when a final row or column is one pixel larger than the others.
If you change the source image or either grid value, the old output is invalidated. Download the finished files before replacing the result or closing the tool, because temporary browser links are revoked when they are replaced or the tool closes.
Check dimensions and uneven cuts
The split uses the image's natural pixel dimensions rather than the size of a scaled preview. Each tile is rendered on a natural-size offscreen canvas, and the browser copies only that tile's source rectangle. The source region is not stretched, interpolated, filtered, given a border or padding, or recompressed into a lossy format.
When a source dimension does not divide evenly by the selected count, the tool calculates proportional integer boundaries. Tile widths can differ by at most one pixel, and tile heights are handled independently in the same way. Every source pixel still belongs to one tile, and no narrow strip is discarded. Adjacent tiles meet exactly, so a small difference between neighboring dimensions is expected rather than evidence of missing content.
Worked example: For a 1200 × 900 source, use 3 rows and 4 columns. The column width is 1200 ÷ 4 = 300 pixels, the row height is 900 ÷ 3 = 300 pixels, and 4 columns × 3 rows = 12 tiles, so the result is 12 files measuring 300 × 300 pixels each.
For an uneven source, check the dimensions printed beside each result rather than assuming every tile is exactly the same size. The displayed measurements are based on the source pixels, so they are the authoritative values to compare when checking a split.
Download and identify each PNG tile
Every output is PNG. That format can represent sharp tile boundaries and decoded transparency without adding the lossy compression used by JPEG. It also means you should judge the result by the listed dimensions and visible pixels rather than by the source file's original compressed byte size.
There is an important distinction for JPG and WebP sources: the browser decodes those files and re-encodes the extracted regions as PNG. The visible pixel region is preserved, but source metadata and the original compression bytes are not retained. The source file itself is not an untouched copy of the downloaded tile.
The approximate encoded size shown beside each tile is informational. The splitter does not optimize PNG files, so smaller source-file size does not automatically translate into smaller output tiles. Keep the PNG format when a project depends on transparency or precise boundaries between neighboring images.
Understand limits and error handling
File and pixel limits determine whether the browser can complete the split safely. Inputs must be browser-decodable JPG, PNG, or WebP files, and decoded images must stay within the supported dimensions. These limits protect the browser tab from unexpectedly large canvas allocations.
| Check | Supported limit or behavior |
|---|---|
| Source type | One browser-decodable JPG, PNG, or WebP |
| Source file size | Up to 25 MiB |
| Decoded image length | Up to 20,000 pixels per side |
| Decoded image area | Up to 40 megapixels total |
| Grid values | 1–10 rows and 1–10 columns |
| Maximum result | 100 PNG tiles |
| Processing location | Inside the current browser tab; the source is not uploaded to Lizely |
| Download package | Individual tile links, not a ZIP archive |
A grid that would create a zero-pixel tile is rejected. Invalid file types, empty files, decode failures, unavailable canvas support, invalid grid values, and failed PNG encoding also produce a visible error instead of partial or falsely successful output. If this happens, correct the source or grid settings and run the split again.
Know when a basic grid is not enough
This focused splitter is intended for a straightforward, uniform row-by-column grid. It does not detect faces, automatically find panels, create overlapping slices, add bleed, reconstruct a panorama, or optimize the PNG files. It also does not create a downloadable ZIP containing the complete set.
For print production, social-network templates, or layouts with custom guides and gutters, use an editor that supports manual slice positions. The Image Grid Splitter is better suited to straightforward tiles, component images, or a nine-part layout where each cell can follow the same row-and-column structure.
Finish with a quick quality check
- Confirm that the selected row and column counts match the layout you intended.
- Review the exact width and height shown for every tile you plan to use.
- Check the row-and-column filenames before downloading so the tiles remain in the correct sequence.
- Keep the PNG outputs when transparency or precise tile boundaries matter.
- Remember that JPG and WebP metadata and original compression bytes are not carried into the PNG files.
- Use a manual-slice editor instead if you need custom guides, gutters, bleed, or overlapping pieces.