Pixel art from an image can be created in the browser as a blocky PNG by pixelating the whole picture or a selected rectangle while keeping the source image’s natural dimensions.
Use Pixelate Image for that block-style conversion: choose a JPG, PNG, or WebP, set the area and block size, then download the result. It is a raster pixelation workflow, so it creates a retro grid of sampled color blocks rather than a hand-cleaned, color-limited sprite. For stylized avatars, retro game mockups, and low-resolution artwork studies, that distinction matches the intended creative result.
What this pixel-art workflow creates
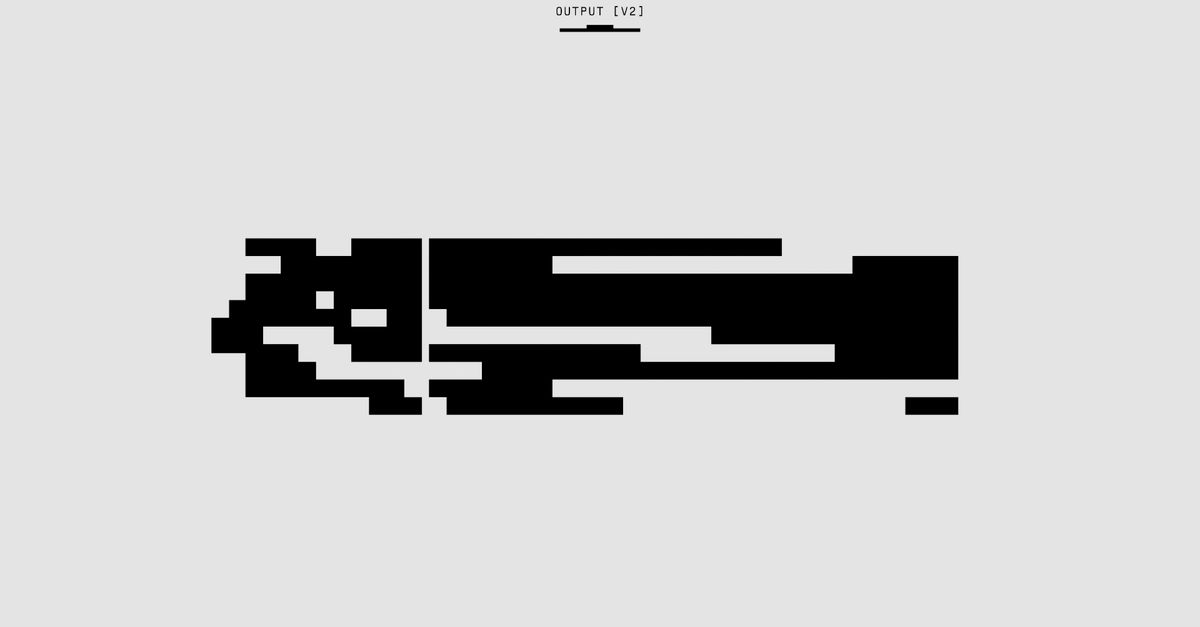
The tool divides the selected area into a fixed grid measured in the source image’s natural pixels. It samples the visible colors in each grid cell, enlarges those samples over the same area, and turns off image smoothing so the result has hard block edges. This produces a deliberate pixelated appearance rather than a smoothly blurred or resized image.
The PNG retains the original picture’s natural width and height. That means a large image can still be pixelated without being quietly exported at the smaller size shown in a fitted preview. The composition stays in place, but large areas of color replace fine detail as the block size increases.
This is different from producing a finished sprite for a game. The supported workflow does not add palette reduction, edge tracing, sprite-sheet generation, or editable vector shapes. Its output is best understood as a natural-size PNG with a retro block treatment.
Choose the whole image or one rectangle
Whole-image mode applies one consistent effect everywhere. It suits a complete avatar, presentation graphic, visual placeholder, low-resolution artwork study, or retro mockup. Rectangle mode is more selective: it can treat a logo, face, screen name, license plate, or another localized feature while leaving the rest of the picture unchanged.
| Mode | Best fit | Processing result |
|---|---|---|
| Whole image | A consistent retro style across the complete picture | The block effect covers the entire natural-size image |
| Rectangle | One logo, face, text area, or background detail | Only the selected rectangle is replaced; the surrounding image remains unchanged |
Create the pixel-art PNG step by step
- Choose a source file. Select a JPG, PNG, or WebP image from your device. Check the source dimensions displayed beside the filename because the rectangle controls use those natural pixel coordinates.
- Select the processing scope. Choose Whole image for a consistent effect across the picture. Choose Rectangle when the block effect should apply to only one defined area.
- Adjust the block size. Move the block-size slider. Smaller blocks retain more recognizable detail, while larger blocks create fewer and more obvious color blocks.
- Create the result. Select Pixelate image to apply the chosen scope and block size.
- Inspect the output. Check the preview and read the result summary, which reports the final clipped rectangle that was actually processed.
- Download the PNG. Save the finished file. The download refers to the natural-size output canvas, not the smaller preview scale displayed to fit the page.
Target a rectangle precisely
Rectangle values use the source image’s natural pixel coordinates. X measures from the left edge, and Y measures from the top edge. Width and Height determine how much of the picture to affect, so tight values are usually better than a broad selection around the intended feature.
A rectangle extending beyond the right or bottom edge is safely clipped to the pixels that actually exist. Clipping does not change the output dimensions. A rectangle placed entirely outside the image is rejected rather than being attached to an edge pixel. After processing, the summary gives the final clipped rectangle so you can confirm the real target.
The remainder calculation follows the same natural-pixel grid. In one example, divide the rectangle’s width and height by the block size and record the remainders: with a 17 × 9 pixel region and an 8-pixel setting, 17 ÷ 8 gives two full columns with a 1-pixel remainder, while 9 ÷ 8 gives one full row with a 1-pixel remainder. The result contains two full 8-pixel columns plus a narrow 1-pixel edge column, and one full 8-pixel row plus a narrow 1-pixel edge row. Those edge blocks keep their true size rather than stretching the entire grid or dropping pixels.
Refine the blocks and check the export
Start with the source dimensions and the intended visual purpose. For a subtle texture-like effect, use a relatively small block size and verify that the subject remains recognizable. For an obvious retro treatment, increase the size until the major shapes read as blocks without losing the composition entirely.
Make adjustments from the original file rather than repeatedly pixelating an already pixelated download. Otherwise, each pass can sample the coarse blocks created by the previous pass and make the image progressively less detailed.
Open the downloaded PNG at full size instead of relying only on the fitted browser preview. Inspect the affected area, its edges, and the unchanged region around a rectangle. These checks help reveal whether the block grid was too fine, too coarse, or positioned too loosely.
Understand the privacy and redaction boundary
The source image stays on your device. Decoding, transformation, preview creation, and PNG export all happen in the current browser without posting the file to an upload service. This local workflow reduces the need to transfer a personal picture to a remote processor.
Local processing does not make pixelation suitable for hiding confidential information. Enlarged blocks still contain averaged or sampled visual information. Familiar shapes, text length, surrounding context, repeated frames, machine analysis, or another copy of the original image may allow someone to infer what was underneath.
Do not rely on this effect to remove passwords, account numbers, private messages, identity documents, medical details, financial data, faces requiring legal protection, or other sensitive information. Pixelation is a visual effect, not secure redaction.
For a genuinely confidential image, remove the sensitive pixels entirely with a trusted redaction workflow, flatten the result, and inspect the exported file before sharing. A solid opaque replacement is generally safer than a treatment that can still reveal underlying visual patterns.
Check format and export behavior
Pixelate Image accepts common browser-decodable JPG, PNG, and WebP files up to 25 MB. It also applies a 40-megapixel safety ceiling to prevent unexpectedly large canvas allocations from freezing a phone or modest laptop. Animated WebP input is accepted for processing, but the canvas export contains one still image and does not preserve the animation.
The downloaded file is PNG. It preserves the generated pixel effect without adding another lossy JPEG compression pass, although the lossless PNG may be larger than the original. Camera details, GPS information, color profiles, animation timing, and other metadata are not copied into the canvas export, so keep the source file when that information matters.
Technically, the browser draws the original bitmap into a separate output canvas at its natural dimensions, samples the selected grid area, and enlarges it over the exact same region with smoothing disabled. MDN’s imageSmoothingEnabled documentation explains the browser setting responsible for keeping enlarged block edges from being blended. The natural-size PNG is then encoded from the canvas, as described in MDN’s HTMLCanvasElement.toBlob documentation.
For the best result, use Whole image for a consistent retro look, or enter a tightly bounded rectangle when one feature needs the effect. Adjust the block size, review the reported processing area, and inspect the full-size PNG before using it in an avatar, mockup, presentation, placeholder, or low-resolution artwork study.
Related reading: Text to ASCII Code: Codes vs. ASCII Art.
Related reading: Extract Images From .docx Files on Mac: Browser Workflow.