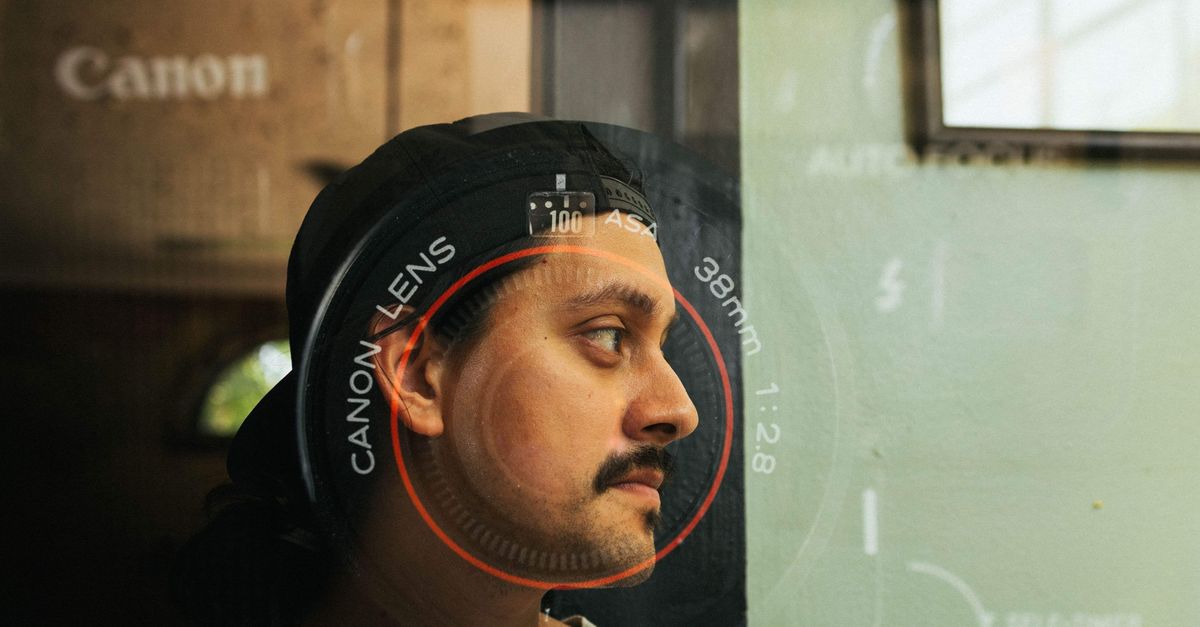
Overlaying images means placing one image above another while keeping the base image’s original pixel dimensions in the final PNG. For a first project, the base is the background or photograph, and the second image is the logo, badge, or graphic you want on top.
The Image Overlay tool combines both files directly in your current browser tab. Neither source image nor the generated result is uploaded, and no account or external processing service is required.
Pick the base and overlay
Choose the base for the part of the composition that should fill the finished canvas. It defines the output width and height and is never resized to match the screen or an export limit. Choose the overlay for the element that should appear above it.
- Base image: Use the photo, background, or full graphic that needs to remain visible around the overlay.
- Overlay image: Use a logo, watermark graphic, badge, frame detail, corner label, or centered texture.
- Source files: Each file can be JPG, PNG, or WebP, with a maximum compressed size of 25 MiB, or 26,214,400 bytes, per file.
GIF, SVG, AVIF, and other formats are outside the tool’s scope. After browser decoding, each image must also fit within 40,000,000 total pixels and 20,000 pixels on either side. These decoded limits prevent a compact file from expanding into an oversized browser canvas buffer.
Transparency depends on the file format. PNG and WebP can contain transparent pixels, while JPEG cannot. A transparent base remains transparent wherever neither source contributes color.
Plan the layout
Before creating the result, decide which image should control the canvas and how much of the overlay you want visible. The available controls are deliberately limited, which makes them straightforward to learn.
| Control | Defined behavior | Beginner-friendly approach |
|---|---|---|
| Base | Defines the full output canvas | Choose the image whose original dimensions matter |
| Overlay | Is the only image that changes size | Make sure its content will work at the selected position |
| Position | Center or one of four corners | Pick the placement that matches the intended design |
| Scale | 10%–200% of the overlay’s natural dimensions | Use 100% to preserve the overlay’s original size |
| Opacity | 0%–100% | Reduce it when a stronger mark would obscure the base |
| Output | PNG at the base’s natural width and height | Keep the base if its dimensions must not change |
Scale is not an automatic fit-to-base setting. A scale of 100% uses the overlay’s own natural width and height; lower values reduce both dimensions proportionally, while higher values enlarge them proportionally.
Create the composition in five steps
Once your files and settings are ready, the browser tool follows a short, repeatable process.
- Choose the base image. Select the JPG, PNG, or WebP that should define the canvas. Confirm that it is no larger than 25 MiB and that its decoded dimensions fit the stated pixel limits.
- Choose the overlay image. Select the second JPG, PNG, or WebP file. The tool clears the previous image for that role before validating and decoding the new selection.
- Select a position. Choose center, top left, top right, bottom left, or bottom right. These are fixed placements; there is no free dragging or arbitrary coordinate entry.
- Set scale and opacity. Adjust the overlay size from 10% to 200%, then choose an opacity from 0% to 100%. Scale is relative to the overlay’s original dimensions, not the base.
- Create, inspect, and download. Create the full-base-size PNG, examine the preview, and download the result when the placement, transparency, and visible content look correct.
The on-page preview may be constrained to fit the layout, but that display size does not change the rendering or downloaded pixel dimensions. Replacing an image or changing position, scale, or opacity removes the previous result, so run the creation step again before downloading.
See exactly where the overlay lands
Positioning follows fixed coordinate rules based on the base width, base height, scaled overlay width, and scaled overlay height. This makes every placement predictable.
| Position | Horizontal coordinate | Vertical coordinate |
|---|---|---|
| Top left | 0 | 0 |
| Top right | Base width minus overlay width | 0 |
| Bottom left | 0 | Base height minus overlay height |
| Bottom right | Base width minus overlay width | Base height minus overlay height |
| Center | Half the remaining width | Half the remaining height |
If the scaled overlay is larger than the base, its calculated coordinate can be negative. Any part outside the base canvas is clipped rather than causing the base to expand or shrink. Center placement can also produce half-pixel coordinates when the remaining dimensions are uneven, keeping the overlay mathematically centered.
If important content disappears beyond an edge, reduce the scale or edit the overlay source before creating the composition again. The fixed base-size canvas will not grow to accommodate an oversized overlay.
Fine-tune scale and transparency
Scale and opacity solve different visual problems. Scale changes the overlay’s footprint, while opacity changes how strongly its pixels contribute to the result.
| Goal | Setting | Result |
|---|---|---|
| Keep natural dimensions | 100% scale | The overlay uses its original width and height |
| Make it smaller | Below 100% scale | Both dimensions shrink by the same factor |
| Make it larger | Above 100% scale, up to 200% | Both dimensions grow by the same factor |
| Hide the overlay | 0% opacity | The overlay is fully transparent, but a base-size PNG is still produced |
| Keep the overlay’s own transparency | 100% opacity | Existing alpha values are unchanged |
| Create a partial effect | Between 0% and 100% opacity | The overlay’s contribution is reduced globally |
Transparent pixels already present in a PNG or WebP remain transparent. Browser interpolation is used whenever the scale is not 100%, so reducing or enlarging the overlay can soften its edges. For a crisp result at a nonstandard size, edit or resize the overlay source first rather than relying on browser scaling.
Inspect the full-size PNG
Use the preview to check the composition, then open the downloaded PNG at full size for the final review. The page preview is visually fitted for readability, while the exported file retains the base image’s natural width and height.
- Check that the overlay’s intended edges and text remain inside the canvas.
- Confirm that the level of transparency works with the base beneath it.
- Verify that the downloaded image has the same pixel dimensions as the base.
- Look closely at scaled edges, since interpolation can make them less sharp.
PNG output can preserve transparency, but re-encoding does not promise to retain EXIF or camera metadata, animation, embedded text, or the original compression. Keep both source files in case you need to adjust the composition later.
Know what this workflow cannot do
Image Overlay is designed for one predictable top image over one fixed base. It supports a single layer rather than a general multi-image editing system.
- There is no rotation, free dragging, arbitrary coordinates, or margin control.
- There are no blend modes, masks, background removal, or repeated tiling options.
- The overlay is never fitted to the base automatically, and the base canvas never changes to accommodate it.
That makes the tool well suited to a logo, badge, watermark graphic, frame detail, corner label, or centered texture. More complex layered artwork needs a different editing workflow.
Fix first-project problems
Most problems come from an unsuitable source file, a scale that is too large, or a preview that is mistaken for the export size. Address the visible cause rather than repeatedly exporting the same arrangement.
- “Unsupported” or rejected file: Use a JPG, PNG, or WebP that is not empty and does not exceed 25 MiB. Also check the decoded edge and total-pixel limits.
- Overlay is cut off: Lower its scale or adjust the overlay source so important content fits within the selected position.
- Edges look soft: Return to 100% scale when possible, or prepare the overlay at the intended dimensions before importing it.
- Preview looks smaller than expected: Remember that the on-page preview is fitted to the interface; the downloaded PNG follows the base dimensions.
- Downloaded file reflects an older choice: Recreate the composition after every file or control change, because the previous result is removed when those inputs change.
If decoding, drawing, PNG encoding, or downloading fails, the tool reports a recoverable error and removes stale output. Correct the underlying file or browser issue, then create the composition again.
For a deeper look, see Resize Image for Beginners: A Simple Practical Guide.