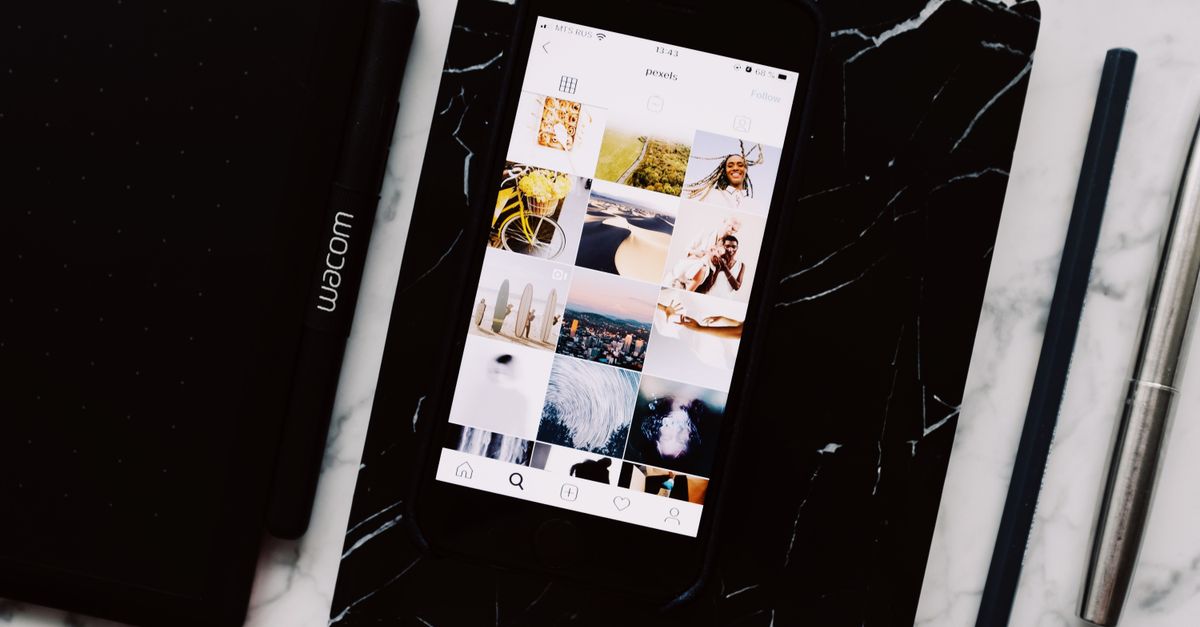
An image splitter for Instagram is a tool that cuts a single photo into a rectangular set of separate tiles so each tile can be posted as its own image in a carousel or as a multi-post grid on your profile. The most common Instagram split is a 3 by 3 grid, which produces nine tiles that Instagram arranges across the profile view, but the same approach works for 2 by 3, 1 by 3, or any other rectangular layout you choose. Each tile must be exported at a square aspect ratio, since Instagram profile posts render as 1:1 squares and the original photo should be sized so the grid divides cleanly into those dimensions. A browser-based image splitter such as Image Grid Splitter handles the slicing locally, which means your source photo is not uploaded to any server and you keep full control over the order and naming of the tiles before posting them.
Popular Instagram Grid Layouts
Instagram grids come in a handful of standard shapes, each used for a different kind of post. The 3 by 3 grid is the classic puzzle layout that spans an entire profile row when posted in the correct order. A 1 by 3 strip is essentially a panoramic banner that fits inside one row of the profile as three side-by-side squares, popular for landscape photos and reveal-style posts. A 2 by 3 layout stacks two rows of three tiles, leaving the top half of the profile view open to other content. Other configurations such as 2 by 2, 3 by 4, or wider grids are occasionally used for fashion shoots, event announcements, or storyboard storytelling.
| Grid Size | Total Tiles | Typical Use |
|---|---|---|
| 3 by 3 | 9 | Puzzle reveal across the full profile row |
| 1 by 3 | 3 | Single-row panorama or banner |
| 2 by 3 | 6 | Tall reveal that respects profile spacing |
| 3 by 4 | 12 | Wider storytelling across the full profile |
| 2 by 2 | 4 | Compact square reveal inside one quadrant |
Why Split Locally in Your Browser
Uploading a private photo to a website, even for a few seconds, introduces a small but real privacy trade-off. A local splitter keeps the entire pipeline inside the current browser tab: decoding the source file, computing grid boundaries, encoding each tile, and creating the download links. Image Grid Splitter works this way, so the source JPG, PNG, or WebP never leaves your computer. Beyond privacy, local splitting is fast because there is no upload queue or server response to wait on, and each tile is generated against the image's natural pixel dimensions rather than a scaled preview, so the math used to produce the tiles matches the actual output.
Every tile is exported as PNG, which preserves sharp boundaries and source transparency without adding lossy JPEG compression to each extracted region. A JPEG or WebP source is decoded and re-encoded during the split, so original metadata and original compression bytes do not survive into the tiles even though the visible pixel region is preserved exactly. Inputs above the 25 MiB file size limit or the 20,000 pixel per side and 40 megapixel decoded limits are rejected so the tab does not lock up, which protects you when working with multi-layer exports from an editor.
How to Split Your Image for Instagram
The splitting workflow for an Instagram grid is short once your source image is ready. The steps below describe the exact behavior of the assigned splitter and keep you within its supported limits.
- Choose a local JPG, PNG, or WebP file that fits within the displayed file and pixel limits. Decoding, slicing, encoding, and download creation all happen inside the current browser tab, so the source never leaves your device.
- Enter the number of rows and the number of columns that match the Instagram layout you want, then select the Split image button. The tool accepts 1 to 10 rows and 1 to 10 columns, for a maximum of 100 tiles in total.
- Check each numbered tile in the result list, look at the reported width and height for that tile, and download the PNG files you need. The tile that turns out one pixel wider or taller than its neighbors is still the right size for an Instagram square post.
- Post the tiles in the order shown by the tool, which is top-to-bottom and then left-to-right. This reading order is what makes the assembled profile grid reproduce the source image correctly.
Getting Your Source Image to the Right Shape
Before splitting, the source image has to match the grid you intend to post. For a 3 by 3 grid on a standard square profile, the cleanest source is 3240 pixels square if you want the largest tiles possible, but anything from 1080 by 1080 upward will render well after Instagram's own resizing. For a 1 by 3 panorama, a wide rectangle such as 3240 by 1080 keeps each tile at exactly 1080 by 1080. A simpler rule is that the source dimensions should be evenly divisible by your chosen number of rows and columns so each tile ends up a clean square at full resolution.
When the source dimensions are not evenly divisible, a precise splitter uses integer boundaries rather than rounding. Dividing a 10 pixel width into four columns, for instance, creates tile widths of 2, 3, 2, and 3 pixels. The widest and narrowest differ by exactly one pixel, the four widths still add up to ten, and no source pixel is lost or duplicated. That behavior matters when your source image is, say, 1081 by 1080 and you want a 3 by 3 split: the columns will be 360, 360, and 361 pixels wide, not all collapsed to 360 with the leftover column dropped. The same rule is applied independently to the height.
If a grid would create a zero-pixel tile, such as three rows from an image only two pixels high, the splitter rejects the input with a visible error rather than producing partial output. This guard catches misconfigurations early and keeps the result list honest.
How Tiles Are Ordered After Splitting
The reading order of your tiles is what makes the assembled profile grid reproduce the source image. The splitter walks the image top to bottom and left to right, and named files like photo-row-1-column-1.png through photo-row-3-column-3.png make that order obvious when you sort by file name. Posting the tiles in row-major order on Instagram — tile 1 first, then 2 and 3, then 4 through 6, and so on — keeps the grid intact, because Instagram fills the profile row by row from the left, just like words on a page. If you post them in a different order, the profile view will show a scrambled version of the image until you delete and repost, which is tedious.
The naming scheme also removes ambiguity when the last row or column is one pixel larger than the rest. The reported width, height, and approximate encoded size for each tile confirm what you are about to upload, and changing the source or either grid value invalidates the previous result list so you cannot accidentally download stale tiles.
When a Simple Grid Splitter Is Not Enough
A focused grid splitter produces one rectangular set of tiles with no extras. It does not detect faces, automatically find panel positions, create overlapping slices, add bleed for print, package downloads as a ZIP, reconstruct a panorama, or optimize the PNG files. If your image needs a non-rectangular layout, custom gutters between tiles, overlap for crossfades, or print-ready bleed, an editor with manual slice positions is the right next step. For most Instagram profiles, however, a clean top-to-bottom, left-to-right grid of tiles produced by a local splitter is exactly the workflow that works, and the resulting PNGs feed straight into your carousel uploader.