Canva's blur effect is a slider inside the built-in image editor that softens any photo on a design canvas from 0 (no change) to 100 (heavy softening), and the same visual result is available in a focused browser tool that processes the file locally without an upload. To use blur in Canva, you click the image, open the image-editing panel, and drag the Blur slider under Adjust or Effects until the picture reaches the softness you want, then export the whole design as a PNG, JPG, or PDF. Higher numbers produce heavier softening, lower numbers produce a subtle camera-style haze, and the change is applied to the selected photo rather than to individual pixels inside it. This works well inside a Canva project, but it ties the blurred image to a Canva file, requires an active Canva session, and runs the file through Canva's servers.
For anyone who just wants a blurred PNG that they can drop into a slide deck, a social post, a draft mockup, or a private document, a focused browser tool like Blur Image offers the same visual result with one important difference: the file never leaves the local browser tab. Below is a walkthrough of how the Canva blur effect actually works, when it makes sense to use Canva, and a step-by-step path for the browser alternative when you want a full-resolution PNG without signing in.
Finding Canva's Blur Effect Inside the Editor
The Canva blur effect is not a top-level menu item; it is one slider inside an image-specific panel. Knowing where it lives saves time when you only want to soften a single asset rather than re-style an entire design.
- Open your Canva design or create a new one at the size you need.
- Drag a JPG, PNG, or WebP onto a blank canvas, or pick one from the Photos panel.
- Click the image once to select it, then click "Edit image" at the top of the editor.
- In the side panel that opens, look under "Adjust" or "Effects" for the Blur slider. Canva reorganizes these panels periodically, so the exact label can vary by account type and template.
- Drag the Blur slider — values typically range from 0 (no change) to 100 (heavy softening). Lower values give a subtle camera-style haze; higher values give a milky, dreamlike look.
- Click anywhere outside the image to commit the change, then use the top-right export control to download the design as PNG, JPG, or PDF.
The blurred result is baked into the Canva project. To use the same softened image outside Canva, you export the entire design and crop it in another tool, or place the photo as a single full-bleed slide before exporting. That extra step is one of the reasons people look for a faster route.
When Canva's Blur Effect Makes Sense (and When It Doesn't)
Canva's blur effect is the right choice when you are already building a multi-element design. A background photo inside a poster, social graphic, or presentation slide can be softened directly in the project, lined up with text overlays, and exported once. The slider gives quick visual feedback and sits next to other Canva adjustments such as Brightness, Contrast, and Tint, so the entire visual treatment can happen in one session.
It is less convenient when the goal is just a blurred standalone file. Every export pulls in the full design at the design's pixel dimensions, not the photo's natural resolution, so a 4000-pixel photo placed on a 1080-pixel Instagram template exports at 1080 pixels. The blurred image is also saved inside the Canva project, which means retrieving the exact softened asset later depends on finding the original design. Editing the same file again requires an internet connection and an active session.
| Situation | Use Canva's Blur | Use a Browser Tool |
|---|---|---|
| Softening a background inside a multi-element Canva design | Best fit, one workflow | Adds an extra round trip |
| Producing a blurred standalone PNG for slides, docs, or social posts | Exports the full design, not the photo alone | Exports the file at its natural dimensions |
| Working offline or on a file that should not leave the device | Not supported, file goes to Canva's servers | Runs entirely in the local browser tab |
| Blurring only one rectangle inside a larger photo | No built-in rectangular selection for blur | Rectangle mode with pixel coordinates |
| Iterating quickly on radius and area for design review | Server round trip per change | Local regeneration in the browser tab |
How to Apply a Canva-Style Blur in Your Browser Step by Step
When you want the same visual softness without opening Canva, Blur Image applies a blur to the whole picture or to one precise rectangle. It accepts the same input formats Canva uses — JPG, PNG, and WebP — and exports a PNG that keeps the file's natural pixel dimensions.
- Open Blur Image in a browser tab on the device that holds the photo.
- Upload a JPG, PNG, or WebP file. The tool shows the displayed pixel dimensions as soon as the file is loaded.
- Decide whether you want the blur across the whole image or only inside a rectangle. For a partial blur, enter the X and Y coordinates plus the width and height in original-image pixels, using the displayed dimensions to stay inside the file.
- Set the blur radius. Low values produce a gentle softening; higher values produce a much stronger blur. Adjust the value until the preview looks right.
- Click "Blur image." The tool renders the result at the file's natural pixel dimensions on a separate offscreen canvas — not on the smaller preview canvas — so the download is not limited by what you see in the browser window.
- Inspect the preview and the reported output dimensions, then download the PNG.
If the rectangle runs past any edge of the photo, the tool clamps it to the available image area rather than expanding the output or failing. This means you can paste rough numbers and still get a clean partial blur without doing the math yourself.
Choosing Between Full-Image and Rectangle Blur
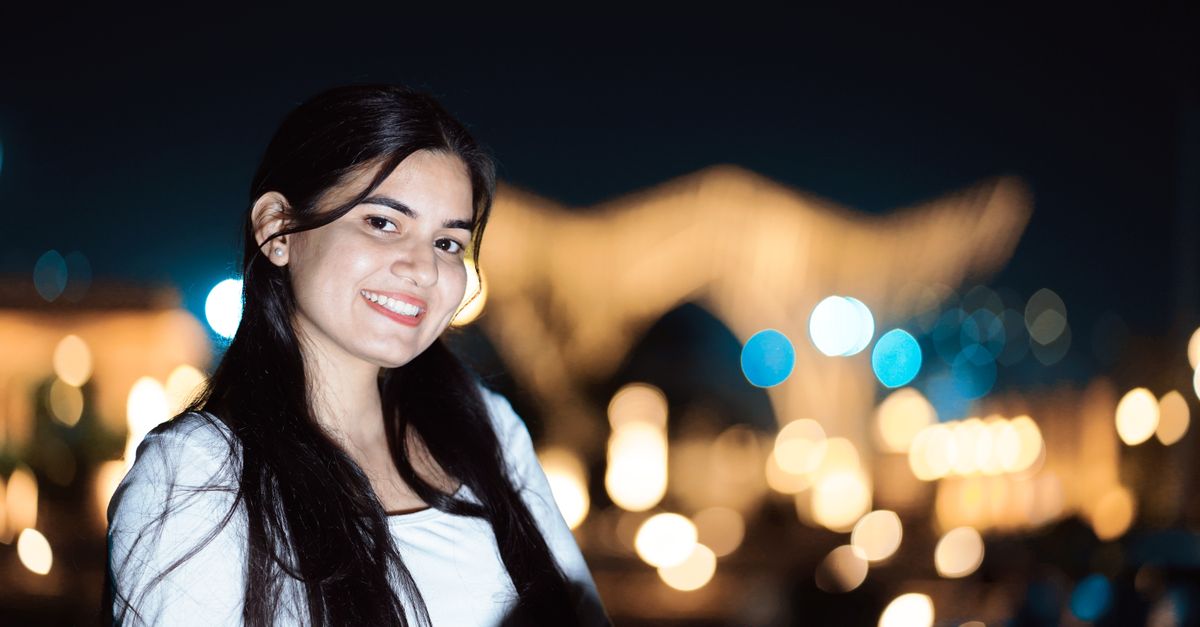
The two modes solve different problems. Full-image mode is the fastest path when you want an evenly softened background, a privacy screen over an entire snapshot, or a subtle dreamy look across a hero image. One radius value covers the whole canvas, and the change is symmetric, so you cannot accidentally over-soften one corner.
Rectangle mode is for partial blur. It is the right choice when you want to keep one face, one product label, or one URL sharp while softening everything around it. The rectangle is drawn on top of the original image; outside pixels are untouched. Inside the rectangle, the blur kernel samples neighboring pixels, so colors and shapes very close to the boundary can blend slightly into the softened area. This is normal blur behavior, and it is most visible at hard selection edges. Increasing the rectangle size or the radius gives the filter more surrounding context, which produces a smoother transition.
The displayed pixel dimensions are the source of truth for both modes. If your photo is 4000 by 3000 pixels, a rectangle starting at X = 1200, Y = 800 with width 1600 and height 1100 covers roughly the middle of the frame. Coordinates do not need to be exact, but they should be planned against the displayed dimensions before generating, because every regeneration replaces the previous browser download object.
File Limits, Output Quality, and What the Download Actually Is
Blur Image accepts JPG, PNG, and WebP files up to 25 MB and applies a separate decoded-image budget of 40 megapixels, because compressed file size does not tell the browser how much memory a canvas will need to draw. Files outside those limits are rejected with a specific message before any blur is generated, so you do not have to wait for an oversized image to fail mid-process.
The on-page preview canvas is reduced when the source file is large, so a 4000-pixel photo remains practical to inspect in the browser window. The downloadable PNG is not made from that reduced preview. The browser creates a separate offscreen canvas at the source image's natural pixel width and height, draws the original pixels there, and applies the selected blur at that full resolution. The result text reports those output dimensions before download, so you can confirm the export will not silently shrink. PNG is used because canvas can produce it consistently without asking the server or installing a format-specific encoder.
| Aspect | What Blur Image does | What you should check |
|---|---|---|
| Accepted inputs | JPG, PNG, WebP | Confirm format and size before upload |
| File-size limit | Up to 25 MB | Resize or compress first if larger |
| Decoded-pixel limit | Up to 40 megapixels | Reduce pixel dimensions for huge panoramas |
| Output format | PNG | Open at 100% zoom to verify softness |
| Output dimensions | Matches source image | Compare reported output dims to original |
| Processing location | Local browser tab | No upload, no account, no server copy |
Blur Is a Visual Effect, Not Secure Redaction
This is the most important caveat when a blur is used to hide something sensitive. A blurred face, address, account number, license plate, document field, or private message can remain recognizable, recoverable, or inferable from context. Modern deblurring techniques and well-informed viewers can reconstruct details that a slider was meant to hide, especially when the surrounding image carries hints about the content.
For material that must be disclosed safely, the correct workflow is to remove or cover the source pixels with a verified redaction tool and to confirm the exported file, its metadata, any hidden layers, and the surrounding context. Blur Image is a focused utility for visual softness and casual privacy, not a certification of anonymization, de-identification, or irreversible deletion. For design work, slide backgrounds, draft graphics, and everyday snapshots, it is a fast, private way to get the same look Canva's slider produces, with the bonus of a full-resolution local PNG at the end.
A Reliable Workflow for Repeatable Results
For partial blurs, the safest habit is to keep the original file untouched, upload a working copy, choose the area and radius, generate the PNG, and open the download at 100 percent zoom. Check the selection boundary, the output dimensions, and any text or faces that motivated the edit. If the area is wrong, update its pixel coordinates and generate again. Each new generation replaces the previous browser download object, while changing files or leaving the page releases temporary object URLs.
The tool deliberately avoids automatic face detection, cloud analysis, or claims about what the image contains, because every image is different and every use case is different. The browser performs only the pixel operation you request, on the file you chose, in the tab you already have open — which is one way to get a Canva-style blur effect without signing in to Canva.
For a deeper look, see How to Use the Blur Effect in InShot and Browser Tools.
For a deeper look, see How to Use a Blur Effect on CapCut Projects.