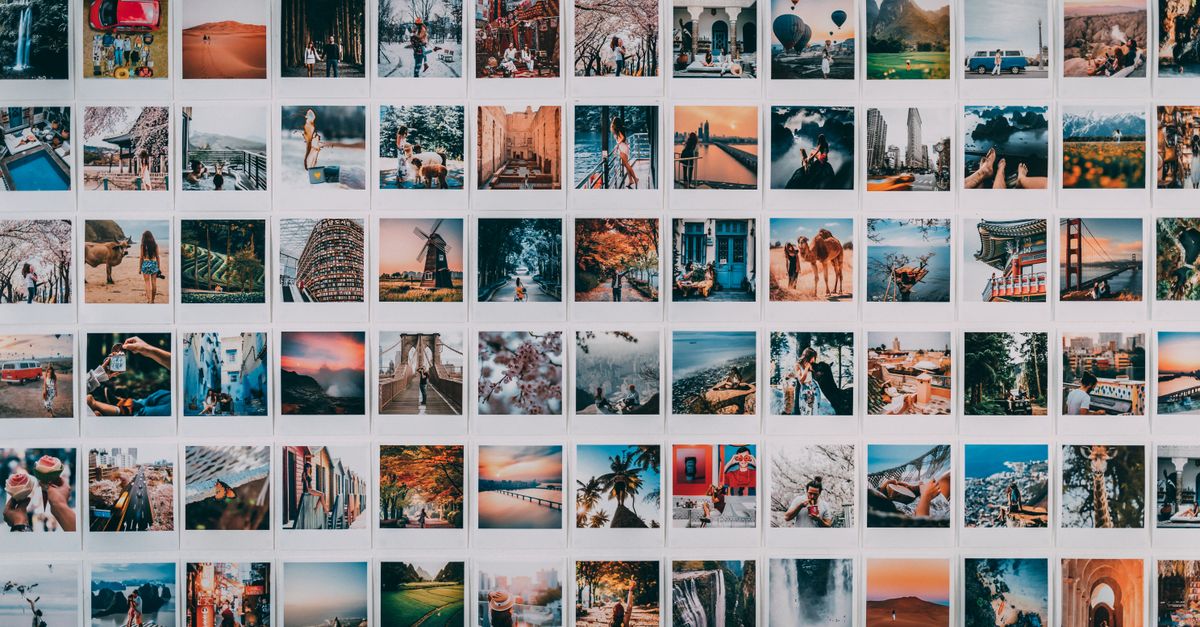
Instagram grid posts are created by cutting one image into a rectangular set of tiles and then uploading each tile as a separate post in a fixed reading order, so the pieces reassemble into the original picture on your profile. The effect is purely visual: Instagram displays your most recent posts in a 3-column feed, and any tile you publish simply takes the next available slot in that grid. To build a multi-tile post you decide how many rows and columns you want, split the source into that exact count of tiles, and publish them in top-to-bottom, left-to-right sequence without leaving any other post in between. Because the order, the row count, and the column count are entirely up to you, the same source photo can become a tall portrait, a wide panorama, or a classic nine-tile square depending only on the grid you choose before splitting. The only constraint is that every tile must remain sharp at Instagram's display size, which usually means a source image large enough to divide cleanly into 1080-pixel pieces per slot.
How the Instagram Grid Post Actually Works
Your Instagram profile is a fixed 3-column grid of square thumbnails. Each time you publish a post, it occupies the next available slot, starting at the top-left, filling one row of three at a time, and wrapping to the next row. A grid post is a strategy where you prepare several tiles in advance and publish them in order so that, when a viewer scans your profile, the tiles line up into one larger image. The grid is entirely cosmetic on Instagram's side: nothing about your photo tells the platform that the posts are related, so the work of "splitting an image for your Instagram grid" happens entirely on your end, before you ever open the app.
The work is really two jobs. First, you choose how many rows and columns your final composite should have. Second, you cut the source image into that exact number of full-resolution tiles. The tiles themselves do not need to be square, although square tiles are common because they match Instagram's slot shape. A landscape source usually becomes more columns than rows, while a portrait source usually becomes more rows than columns, and a near-square source typically becomes a 3 × 3 nine-tile layout.
Two details matter more than people expect. The reading order of the tiles must match the order in which you publish them, and you must publish without leaving other posts in between, because any unrelated post inserted into the sequence will push the rest of the tiles into the wrong slots.
Picking a Row × Column Layout for Your Photo
Choosing the grid is really choosing a shape. The row and column counts you enter before splitting are the only thing that determines how the final composite will look on your profile. The table below lists common layouts and what kind of source photo each one suits best.
| Layout | Total tiles | Best for |
|---|---|---|
| 3 × 1 | 3 | Tall portraits or vertical posters that read clearly one column wide |
| 1 × 3 | 3 | Wide hero banners where height is the natural bottleneck |
| 2 × 3 | 6 | Short, wide composites that fit in two rows |
| 3 × 2 | 6 | Tall composites that fit in three rows but only two columns |
| 3 × 3 | 9 | The classic square nine-tile post, the most common grid layout |
| 4 × 3 | 12 | Wide panoramic sources such as city skylines or group photos |
For a 3 × 3 grid of nine 1080 × 1080 tiles, the source image should be at least 3240 × 3240 pixels so each tile stays sharp on retina displays. The Instagram pixel-size guide has the exact tile dimensions for each layout if your source is smaller and needs to be upscaled first.
How to Split an Image Into an Instagram Grid
The fastest way to produce nine numbered tiles is to use Image Grid Splitter, which divides one local JPG, PNG, or WebP into a rectangular grid of up to 100 full-resolution PNG tiles directly in your browser tab.
- Open Image Grid Splitter and choose a local JPG, PNG, or WebP from your device. Make sure the file is within the displayed size limits — the tool accepts supported browser-decodable images up to 25 MiB and up to 20,000 pixels per side or 40 megapixels total after decoding.
- Enter your chosen rows and columns in the two grid fields. For the classic nine-tile Instagram post, type 3 for rows and 3 for columns. Both values must be between 1 and 10, and the product cannot exceed 100 tiles.
- Select Split image. The tool reads your source's natural pixel dimensions, divides the width and height using integer boundaries, and rejects the request if the chosen grid would create a zero-pixel tile.
- Review the list of numbered tiles. Each entry shows the exact tile width and height in pixels, plus the encoded file size, so you can confirm the grid before downloading.
- Download the PNG files you need. Tiles are listed in reading order — top-to-bottom, left-to-right — and named after the original file plus the row and column number, for example photo-row-2-column-3.png.
- Upload the tiles to Instagram one at a time, in the same reading order, without inserting any other post between them.
Because every step happens in your current browser tab, the source image is never uploaded to a server. Decoding, pixel extraction, PNG encoding, and download creation all run locally, and temporary browser URLs are revoked when they are replaced or the tool closes.
Reading Order and Posting Sequence
Reading order is the silent requirement that determines whether your grid reassembles correctly. Image Grid Splitter numbers tiles row by row, so tile (1, 1) is the top-left corner, tile (1, 2) is the next column to its right, and so on until the last tile, which is the bottom-right corner. Publishing them in any other order, or skipping a slot, will leave your profile grid looking scrambled even though every tile was cut perfectly.
A simple workflow avoids this trap: download all the tiles into a single folder on your phone, then open Instagram and post them in the order they appear in your gallery sorted by filename. Because the filenames encode the row and column numbers, sorting by name gives you the correct reading order automatically, and there is no ambiguity about which tile comes next even when the last row or column is one pixel larger than its neighbours.
You also need to publish consecutively. If you post tile 1, then a different photo, then tile 2, the second tile will land in the wrong slot. The safest approach is to prepare every tile in advance and queue them up so nothing breaks the sequence. If you must post other content first, post the entire grid in one uninterrupted batch later, starting with the top-left tile.
Limits, Edge Cases, and What to Double-Check
The tool's limits are worth checking before you start, because the most common reason a grid split fails is a source image that is too large or too small for the requested grid. Files must be JPG, PNG, or WebP, no larger than 25 MiB, and no larger than 20,000 pixels per side or 40 megapixels total after decoding. Inputs that exceed those bounds are rejected with a visible error rather than producing partial or falsely successful output.
Pixel dimensions that are not evenly divisible by your row and column counts are handled deliberately rather than rounded. Adjacent tiles will differ in size by at most one pixel, every source pixel is covered exactly once, and no narrow strip is dropped or padded. A 10-pixel width split into four columns, for example, becomes columns of 2, 3, 2, and 3 pixels — the four widths sum to 10 and the tiles meet exactly. The same rule is applied independently to the height, so an image whose width and height are both not exact multiples of your row and column counts still produces a clean grid with no missing pixels.
If your image's pixel dimensions are too small for the requested grid, the tool rejects the request to avoid producing a zero-pixel tile. Three rows from a two-pixel-tall image, for instance, will fail rather than silently create empty downloads. Changing the source or either grid value also invalidates the previous output, so the tile list always reflects what the current inputs would produce.
The tool does not bundle the tiles into a ZIP, so you will need to download each PNG individually. That trade-off keeps the splitter focused on a single image at a time and avoids the larger browser memory footprint of pre-packaged archives.
When a Different Tool Is the Better Choice
Image Grid Splitter is a focused splitter: one image in, a uniform row-by-column grid of PNG tiles out. It does not detect faces, automatically find panels, add gutters or bleed between tiles, package the downloads as a ZIP, reconstruct panoramas, or optimize the PNG files. It also always exports PNG, which is the right format for tiles but means a JPEG or WebP source will be re-encoded and lose its original metadata even though the visible pixel region is preserved exactly.
For print production, social-network templates with bleed and crop marks, or grids with custom guides and gutters, an editor that supports manual slice positions is the better choice. For the everyday case of splitting one photo into a 3 × 3, 2 × 3, or 3 × 2 Instagram grid, the splitter's exactness, local processing, and row-and-column numbered outputs are usually all you need.