
Lightroom Classic rotates a photo through the Photo menu, where Rotate Left 90°, Rotate Right 90°, and Rotate 180° operate directly on the catalog preview and write the new orientation back to the file — a 90° turn swaps the width and height of the image, while a 180° turn keeps the same dimensions and simply flips the orientation upside down. The Photo menu command updates the preview shown in Loupe, Library, and Develop immediately, while the underlying pixels of a JPEG, PNG, or WebP that you later export from the catalog are re-encoded with the new orientation. The keyboard shortcuts mirror the menu: Ctrl+[ / Ctrl+] on Windows or Cmd+[ / Cmd+] on macOS step a single photo through quarter turns. For batch rotation, select multiple thumbnails in Grid view and apply the same menu item — Lightroom rotates each selected image in turn. Because the orientation is stored as a flag on the catalog preview rather than as a destructive pixel edit, removing the rotation later is just as easy as applying it.
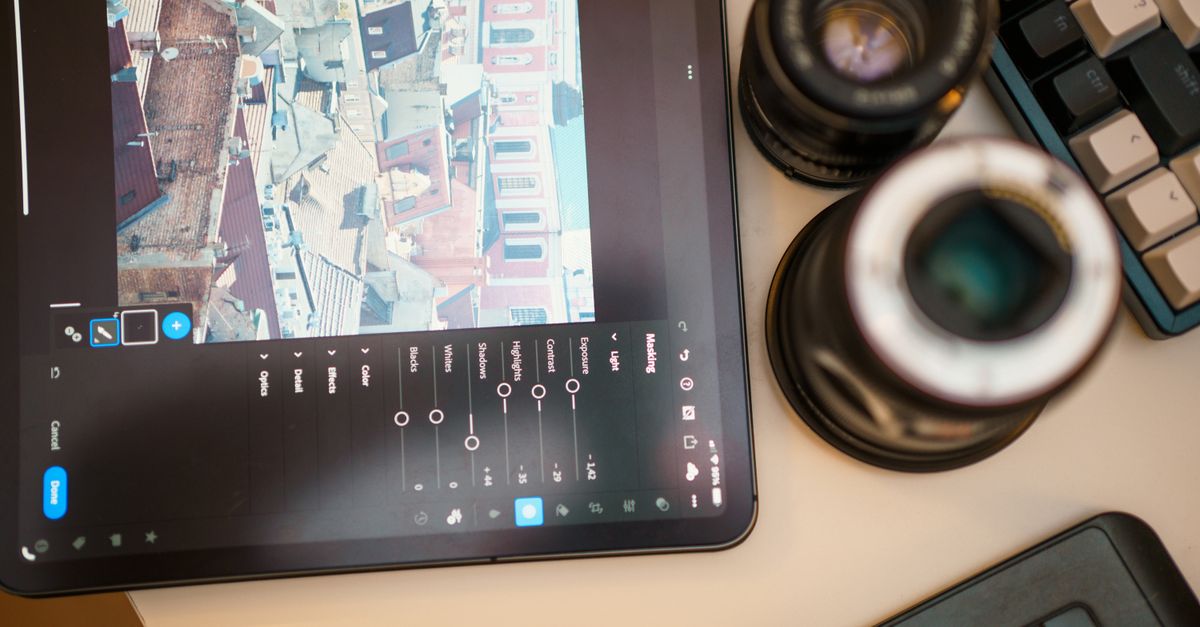
The Lightroom Classic way to rotate an image
If your search landed here because Lightroom Classic is your everyday photo editor and you want the fastest path to a rotated file, the built-in route is short. Lightroom Classic treats rotation as a metadata-level edit, so you can change orientation without re-rendering pixels until you export. Here is the standard sequence for a single image.
- In the Library module, click a single photo thumbnail so it is selected in the filmstrip.
- Open the Photo menu in the top menu bar.
- Choose Rotate Left 90° or Rotate Right 90° for a quarter turn, or Rotate 180° for a half turn.
- Confirm the change in the Loupe view — the preview updates immediately.
- If you need a flattened, rotated file, go to File > Export, choose JPEG, TIFF, PNG, or the original format, and save the rotated copy to disk.
The keyboard shortcuts are Ctrl+] and Ctrl+[ on Windows, or Cmd+] and Cmd+[ on macOS, and they apply to whatever is selected in the filmstrip. To rotate an entire batch, switch to Grid view, Ctrl-click or Shift-click multiple thumbnails, then choose the same Photo menu command — Lightroom iterates the rotation over every selected image. The orientation flag is stored in the catalog, so re-importing the same source files later without that catalog will not preserve the rotation.
When a local browser tool is a better fit
There are times when opening Lightroom Classic for a one-image rotation is more friction than the job deserves. A quick screenshot from a phone that came in sideways, a scanned page that scanned upside down, or a design asset a collaborator sent as a flat PNG are all common cases where a browser-based rotator is more direct. The trade-off is that Lightroom Classic gives you a catalog-aware, non-destructive workflow, while a local browser tool gives you a one-shot, full-resolution PNG download with no catalog, no module switching, and no sign-in.
A browser tool also helps when the original image is not part of a Lightroom catalog — for example, a standalone PNG downloaded from a stock site or a WebP exported by another app. In that situation, you do not need Lightroom Classic's library and develop pipeline; you only need a deterministic rotation that swaps the axis for a quarter turn and keeps dimensions intact for a half turn, then hands you a new file. The Image Rotator is built around exactly that narrow workflow.
Rotate an image with Image Rotator in three steps
- Choose a JPG, PNG, or WebP file up to 25 MB and confirm the displayed pixel dimensions match what you expect.
- Select Rotate left 90°, Rotate right 90°, or Rotate 180°.
- Inspect the reported orientation and output dimensions, then download the full-resolution PNG.
All image work happens in the current browser tab. The browser validates the MIME type and compressed file size, decodes the image through a temporary object URL, and rejects invalid dimensions, either side above 20,000 pixels, or decoded images above 40 megapixels before drawing anything. The decoded source is drawn at its natural pixel dimensions into an output canvas planned specifically for the chosen angle, and the canvas is exported as a PNG using HTMLCanvasElement.toBlob from the MDN Canvas API. The on-page preview is visually constrained by CSS only; the downloadable PNG comes from the full output canvas rather than from a reduced preview, so what you download is the natural-size result.
How the geometry changes with each rotation
Rotation in Image Rotator is deterministic. The chosen angle decides both the output canvas size and the affine transform applied to the source. The table below shows how a 1200×800 source becomes a different rectangle for each available choice.
| Source dimensions | Action | Output dimensions | Visual effect |
|---|---|---|---|
| 1200 × 800 | Rotate left 90° | 800 × 1200 | Landscape becomes portrait; top edge moves to the left |
| 1200 × 800 | Rotate right 90° | 800 × 1200 | Landscape becomes portrait; top edge moves to the right |
| 1200 × 800 | Rotate 180° | 1200 × 800 | Dimensions stay the same; the image is upside down |
| 800 × 1200 | Rotate left or right 90° | 1200 × 800 | Portrait becomes landscape; the chosen edge becomes the new top |
A clockwise turn maps the source top edge onto the output right edge; a counterclockwise turn maps it onto the output left edge; a half turn maps opposite corners to one another without exchanging the axis. The production renderer and the isolated tests share the same rotation plan, including output dimensions and canvas affine-transform values, so what you see in the preview and what you download agree.
Supported formats, size limits, and output behavior
The accepted input formats are JPEG, PNG, and WebP. SVG is deliberately excluded because an SVG can refer to external content and is not simply an ordinary decoded bitmap. The maximum compressed file size is 25 MB, the decoded image is limited to 40 megapixels, and neither side may exceed 20,000 pixels. These are explicit safety limits rather than silent caps: an unsupported, empty, oversized, over-budget, or unreadable file produces a clear message, and no stale result remains on screen. Compressed size alone does not predict canvas memory, which is why both file bytes and decoded pixel dimensions are checked.
| Item | Value |
|---|---|
| Accepted input formats | JPEG, PNG, WebP |
| Excluded input format | SVG |
| Maximum compressed file size | 25 MB |
| Maximum decoded image | 40 megapixels |
| Maximum side length | 20,000 pixels per side |
| Output format | PNG (lossless) |
| Processing location | Local browser tab only |
PNG is used for every download because it gives the browser a consistent, lossless bitmap output after rotation. The PNG may therefore be larger than the original JPEG or WebP even though its pixel dimensions are unchanged or swapped — that is normal, because JPEG and WebP often use lossy compression while PNG preserves the canvas pixels losslessly. Rotation also does not promise to preserve the original file container, EXIF metadata, camera orientation tag, color profile, animation, or embedded text fields. The output is a newly encoded static PNG containing the browser-decoded visual pixels.
Privacy is built into the workflow rather than added on. The selected file is represented by a temporary local object URL only long enough for browser decoding, and that URL is released. The generated PNG receives its own temporary download URL, which is replaced and released when you rotate again, choose another file, or leave the page. No image content, filename, rotation choice, or output is sent to Lizely, so this is a practical option for ordinary photos, draft designs, scans, and screenshots. If you later need a mirrored image rather than a turn, the rotate an image left, right, or 180 degrees guide points to the matching flip tool, and if the orientation is right but the dimensions are not, an image resizer is the next step rather than a rotation. For a dependable result, keep the original, rotate a working copy, download the PNG, and open it in the app where you intend to use it.
For a deeper look, see Add a Photoshop-Style Shadow to an Image Locally.