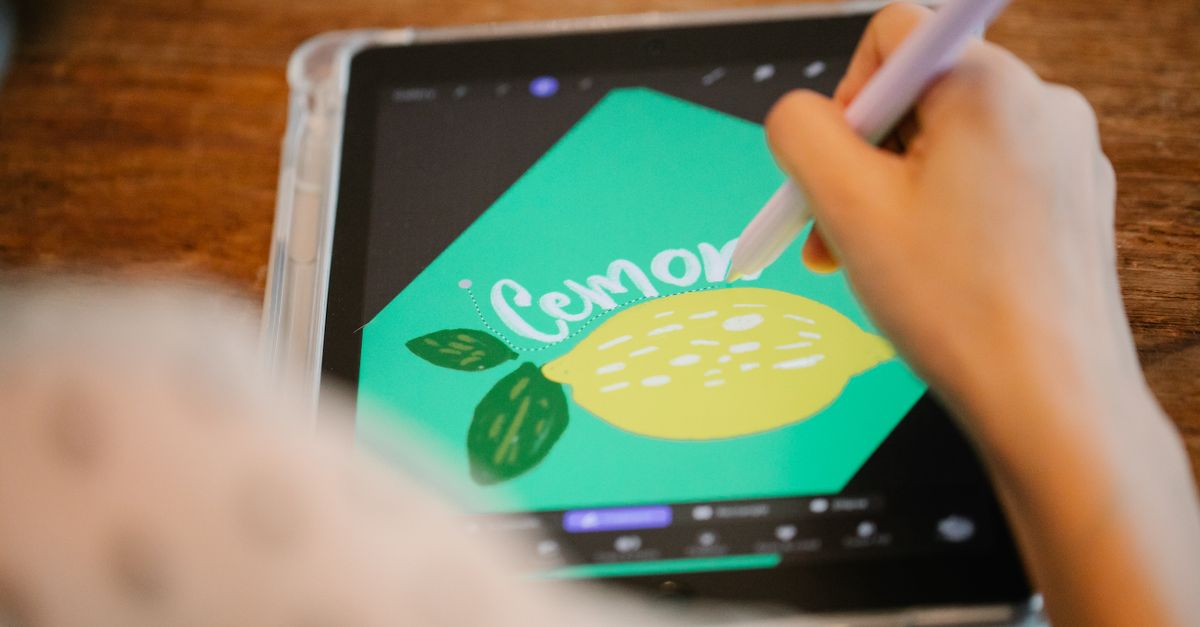
Procreate does not ship with a dedicated, one-step pixelate filter that takes an existing photo and replaces it with chunky color blocks, which is why searches for how to pixelate an image in Procreate tend to return pixel-brush tutorials instead. Procreate is genuinely powerful for pixel art that is drawn stroke by stroke with a Pixel Brush, but that workflow assumes the goal is to author artwork from scratch rather than transform a finished picture. When the actual goal is to turn a JPG, PNG, or WebP file into a blocky mosaic for an avatar, a retro game mockup, a stylized placeholder, or a casual obscuring of a small background detail, the shortest path runs outside Procreate, inside a browser tab. The Pixelate Image tool decodes the file locally, applies a fixed natural-pixel block size to either the whole picture or one rectangle you specify, and exports a PNG at the source's natural dimensions, with everything happening in your current tab and nothing uploaded to an image server.
What Procreate Can and Cannot Pixelate
Pixelation in the traditional sense means breaking an image into a coarse grid and stretching it so each square covers many original pixels. Procreate works in the other direction: it gives artists tools to place each pixel deliberately with brushes whose stroke spacing, minimum size, and pressure curve produce clean, square pixels on a freshly chosen, low-resolution canvas. That is the right tool for designing a sprite or a tile from zero, but it is not the same operation as taking a 4000 by 3000 pixel photograph and turning it into a 250 by 187 block mosaic. Procreate does have blur, noise, gaussian, and other adjustments under its Adjustments menu, and it has Liquify and various transform tools, yet none of those perform a true block-pixelate effect on a raster layer. Importing a photo and trying to reproduce that effect by hand would mean selecting and averaging every grid cell, which is impractical at any size above a few hundred pixels.
Why a Browser Tool Solves the Photo Pixelation Problem
The Pixelate Image tool exists precisely for the situation Procreate does not cover. It accepts a JPG, PNG, or WebP file from your device, draws the original bitmap onto an internal canvas at its natural width and height, and divides the area you choose into a fixed grid measured in those natural pixels. Each cell of the grid is downsampled and then enlarged back over the same tile with smoothing disabled, so the screen pixels stay sharp instead of blending. The result is a downloadable PNG that preserves the source's dimensions, not a fitted preview. Because everything happens in your current browser, the image is never posted to an upload service, which removes the privacy friction that usually comes with online converters.
How to Pixelate an Image in Procreate Using Your Browser
- Open Pixelate Image in your browser and choose a JPG, PNG, or WebP file from your device using the file picker.
- Note the source dimensions shown beside the filename so you can target the right rectangle if you only want to pixelate part of the picture.
- Pick a mode: choose Whole image for a single consistent effect everywhere, or choose Rectangle to pixelate only a specific area such as a face, logo, license plate, or username.
- If you picked Rectangle, enter the X (pixels from the left edge), Y (pixels from the top edge), width, and height in the source image's natural pixels. A rectangle that runs past the right or bottom edge is safely clipped, and a rectangle entirely outside the image is rejected rather than silently snapping to a corner.
- Adjust the block-size slider. A small block size keeps more recognizable detail; a larger block size produces fewer, more obvious color blocks.
- Select Pixelate image and wait for the result summary, which reports the final clipped rectangle so you can confirm what was actually processed.
- Open the on-page preview to inspect the blocky result, then select Download PNG to save the natural-size output.
Whole Image vs Rectangle — Picking the Right Mode
The two modes serve different goals, and picking the right one early prevents wasted renders. The table below summarizes the practical difference.
| Mode | Best For | Rectangle Coordinates |
|---|---|---|
| Whole image | Stylized avatars, retro game mockups, low-resolution artwork studies, presentation graphics, visual placeholders | Not applicable; every natural pixel of the source is included |
| Rectangle | One localized feature such as a face, logo, license plate, screen name, or unimportant background detail | X from left edge and Y from top edge, then width and height, all in source-image natural pixels |
When you choose Rectangle, the rest of the picture is drawn unchanged and only the selected rectangle is replaced by pixel blocks. That is the cleanest way to keep a sharp subject and only obscure the area you intend to obscure. When you choose Whole image, every region follows the selected natural-pixel block size together, which produces the uniform look that works well for a single-style avatar or game mockup.
Choosing a Block Size That Actually Looks Good
The block-size slider works in the source image's natural pixels, so the numbers do not need to be translated. For a roughly 4000 pixel wide photograph, a value near 24 to 40 produces a clearly mosaic look without turning people into cubes. For a 600 pixel wide web graphic, a value in the 8 to 16 range usually gives a recognizably pixelated result while still leaving a clear subject. Larger values push the image toward a few dozen visible color blocks per row, which is the territory of abstract placeholders and the heaviest retro effect. Smaller values approach the original, which is useful when you want a subtle "low-resolution artwork study" feel rather than obvious pixelation. If the first pass looks too fine, increase the size; if the subject becomes unreadable for a harmless creative use, reduce it. Re-run on the original file each time rather than repeatedly processing an already pixelated download, since stacking the effect only sharpens the same blocks instead of exposing new detail.
Privacy, Limits, and What the Output Preserves
The tool keeps the file local: image decoding, canvas processing, preview creation, and PNG export all happen in your current browser, so your picture is never posted to an upload service. The output canvas uses the image's natural pixel width and height; only the on-page preview is fitted to the available space, which is why the Download PNG link always refers to the natural-size canvas and never to a quietly resized version. Files are limited to common browser-decodable JPG, PNG, and WebP images no larger than 25 MB, and there is a 40-megapixel ceiling that stops the tool from allocating unexpectedly large canvases on modest devices. Animated WebP input is not preserved as an animation because browser canvas exports one still image. Metadata such as camera details, GPS information, color profiles, and animation timing is not copied into the canvas export, so keep the original file when any of that information matters. The finished file is PNG, which preserves the generated pixels without adding another lossy JPEG compression pass, although it can be larger than the original.
Pixelation Is a Visual Effect, Not Secure Redaction
It is worth being explicit about what pixelation does and does not do. The enlarged blocks still contain averaged or sampled visual information, and familiar shapes, text length, context, repeated frames, machine analysis, or a second copy of the image may allow someone to infer what was underneath. That is fine for stylistic choices such as a chunky avatar or a retro presentation graphic, but it is not safe for hiding passwords, account numbers, private messages, identity documents, medical details, financial data, faces requiring legal protection, or any other sensitive material. For a genuinely confidential image, remove the sensitive pixels entirely with a trusted redaction workflow, flatten the result, and inspect the exported file before sharing; a solid opaque replacement is generally safer than a reversible-looking visual treatment.
Practical Uses for a Pixelated PNG
A pixelated PNG is useful in more situations than it first appears. A blocky avatar gives a recognizable, low-bandwidth profile image that reads well at small sizes. A retro game mockup benefits from the deliberate low-resolution look without the trouble of redrawing each tile. Presentation graphics can use pixelation to suggest privacy or distance on a slide without making the slide look broken. Visual placeholders can carry the rough color shape of a missing asset so a layout still has visual weight. Background details such as bystanders, license plates, or screen names can be obscured while the main subject stays sharp. In each case the workflow is the same: choose the file, choose the mode, set the block size, render, and download the natural-size PNG.
Workflow Tips for a Clean Result
A few habits make the output more predictable. Start by checking the source dimensions shown beside the filename so you can plan rectangle coordinates in actual pixels. Use Whole image for a retro style or set Rectangle values that tightly surround the intended area, leaving a small margin so you do not accidentally clip the feature you wanted to pixelate. Move the block slider, create the output, and read the reported pixel rectangle in the result summary to confirm what was actually processed. Open the downloaded PNG at full size rather than relying on the on-page fitted preview, and inspect both the affected region and its edges. If the blocks are too fine, increase the size; if the subject becomes unreadable for a harmless creative use, reduce it. Repeat on the original file rather than repeatedly processing an already pixelated download. Following these habits keeps the geometry explicit and the look consistent, which is what turns a Procreate-search detour into a clean final image.