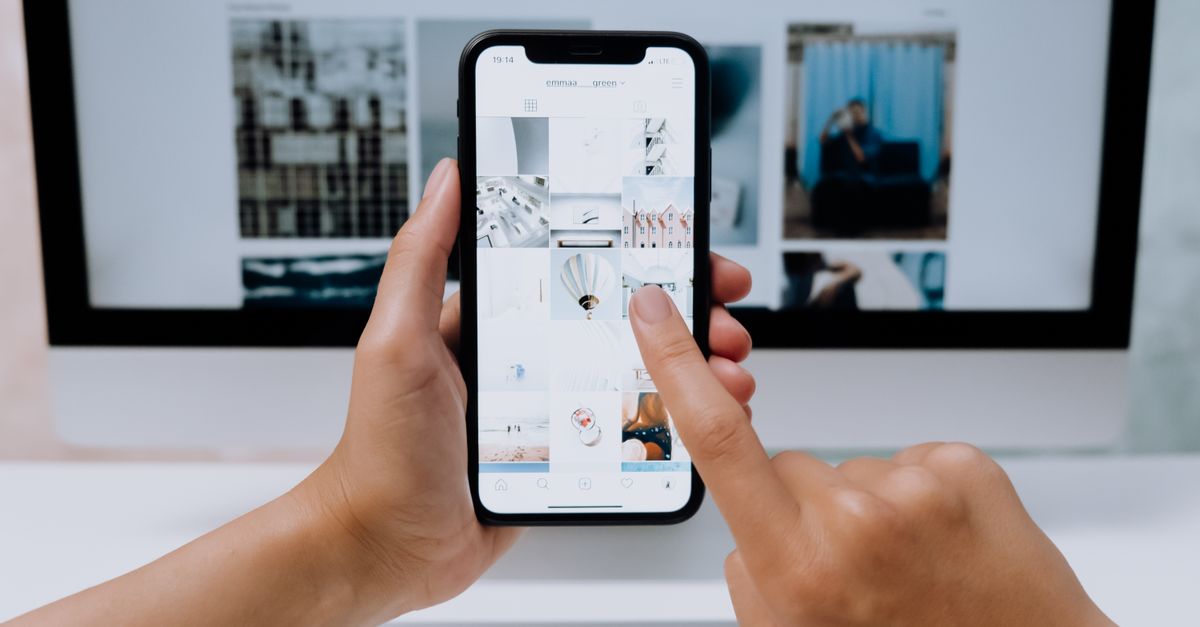
Cropping for Instagram works best when you use 1:1 for a square profile image, 4:5 for a portrait feed post, or 9:16 for a vertical Story or Reel. Start with the placement where the image will appear, then frame the crop around the subject so important details remain visible.
The browser-based Image Cropper lets you select the region to keep and download it as a lossless PNG. The image is processed on your device, nothing is uploaded, and no signup is required.
Choose a frame for profiles, feed posts, Stories, and Reels
A camera’s original proportions do not always match the space occupied by an Instagram post. A landscape photo may need a square crop for a profile, a taller crop for the feed, or a vertical frame for a full-screen Story. Choosing the target placement first prevents you from cutting away the main subject to fit an unsuitable frame.
| Instagram placement | Useful ratio | How to make it in the cropper |
|---|---|---|
| Profile picture | 1:1 | Choose the 1:1 preset and leave space around the subject for a circular avatar mask. |
| Square feed post | 1:1 | Use the 1:1 preset for a centered square composition. |
| Portrait feed post | 4:5 | Use a freeform selection because 4:5 is not one of the built-in ratio presets. |
| Vertical Story or Reel frame | 9:16 | Draw a vertical freeform crop, then check the dimensions readout while adjusting the box. |
| Landscape feed post or video thumbnail | 16:9 | Choose the 16:9 preset to lock the widescreen proportion. |
The cropper includes exact presets for 1:1, 4:3, 16:9, and 3:2. The 1:1 and 16:9 choices directly cover a square Instagram image and a widescreen frame. For the common 4:5 portrait and 9:16 vertical placements, use the Free or freeform selection and adjust the rectangle manually. The live pixel readout helps you monitor the output dimensions as you drag.
The 4:3 and 3:2 presets remain useful for photographic crops. A 4:3 frame suits many classic camera images, while 3:2 matches the native proportions of many DSLR and mirrorless photos. They are optional starting points, though, rather than substitutes for choosing the Instagram placement you actually need.
Instagram may present the same uploaded image differently across a profile grid, feed post, and full-screen Story. Pre-cropping gives you direct control over the original frame, but you should still inspect Instagram’s preview before publishing.
Crop the image for Instagram in six steps
- Open the Image Cropper and choose your image. Click Browse, select the photo from your device, and wait for it to load. The file stays on your device throughout the editing process.
- Choose the closest frame format. Select 1:1 for a profile picture or square post, and select 16:9 for a landscape frame. For a 4:5 portrait post or 9:16 Story or Reel frame, use the Free or freeform selection because those exact Instagram ratios are not built-in presets.
- Draw the selection box over the area you want to keep. Drag the box into position, then use the corner handles to resize it. When a ratio preset is active, the handles resize the box while preserving that proportion.
- Reposition and inspect the composition. Drag inside the selection to move it over the subject. Check all four edges for faces, hands, products, captions, or other details that should not be cut. The displayed dimensions update as you adjust the box.
- Crop and download the result. Click Crop image to extract the selected region. The tool copies that rectangle at its original pixel scale and provides the cropped image as a lossless PNG.
- Set any required final size, then check the Instagram preview. If the post needs exact pixel dimensions, use the Image Resizer on the downloaded crop before uploading. Open the final image in Instagram and confirm that the subject and framing look right in the actual post preview.
Frame the subject without losing key details
A technically correct ratio can still produce a weak crop if the subject is too close to an edge. Decide which visual element carries the image—a face, a product, a reaction, or text—and position that element within the region you intend to keep. Because cropping permanently removes everything outside the selected box, give important details some breathing room rather than placing them directly against an edge.
For a profile picture, keep the main subject inside the central square. Profile images may be displayed through a circular mask, so details positioned too close to a corner could disappear. A square 1:1 crop gives you control over that initial frame instead of relying on a later platform crop.
For feed images, consider how the picture will look both as a large post and as a small grid thumbnail. Faces and high-contrast subjects should remain easy to recognize, while background clutter can sit closer to the edge. When text is part of the image, keep every character inside the selection and check that no letter is split by the crop boundary.
For a carousel, use the same target ratio for every image so the set looks consistent. The cropper handles one image at a time, so repeat the workflow for each file. Choosing the previous selection again is not possible because loading a new file resets the selection.
Keep quality, privacy, and output under control
Cropping is a pixel-perfect cut rather than a re-render. The cropper maps the on-screen selection to the source image’s actual pixel coordinates and copies the chosen sub-rectangle at 1:1 scale. It does not scale, stretch, resample, or repaint the pixels inside the selection, so resolution and color remain unchanged within the area you keep. The crop simply removes the pixels outside the box.
This does not make a low-resolution photo sharper, correct focus, or add missing detail. It also does not perform a separate resizing operation. If your workflow requires a particular final width, height, or Instagram-compatible pixel size, crop first and then use an image resizing tool for that second step.
The downloaded crop is a lossless PNG, which is useful when you want the retained region without another lossy encoding step. PNG files are not always the smallest option, however. If you need a more photo-friendly file for uploading, convert the result with PNG to JPG and keep the original PNG as your lossless working copy.
Your image also stays private. The cropper reads the file locally, draws the selected region on a canvas, and creates the download without sending the original or cropped image to a server. This avoids an upload wait and means no copy of the photo is stored in someone else’s image library.
Finish with the right dimensions and file size
After downloading the PNG, run a final visual check at full size. Confirm that the frame matches the intended placement, the subject is not clipped, and the selected region contains everything required for the post. For a feed image, verify the crop in both the grid preview and the enlarged post view when Instagram provides those previews.
If the cropped PNG is too large for your upload workflow, you have two separate options. Compress the PNG to reduce its file size, or convert it to a smaller photo-friendly JPEG. If you also need a particular pixel size, crop first, resize second, and compress or convert only after those framing decisions are complete.
Before posting, use this final checklist:
- The frame matches the intended Instagram placement.
- The main subject is centered enough to remain recognizable.
- No face, product, caption, or logo is accidentally clipped.
- The final file has the required dimensions and practical upload size.
- The actual Instagram preview confirms that the crop still looks right.
For a square profile picture, select the 1:1 preset and position the subject centrally. For a portrait feed post, build a 4:5 frame with the freeform selection. For a vertical Story or Reel, use a 9:16 freeform crop. In every case, the cropper gives you a precise local cut without uploading the photo.
Related reading: SVG to PNG for Instagram: A Practical Upload Guide.
Related reading: Circle Crop Tips and Common Mistakes to Avoid.