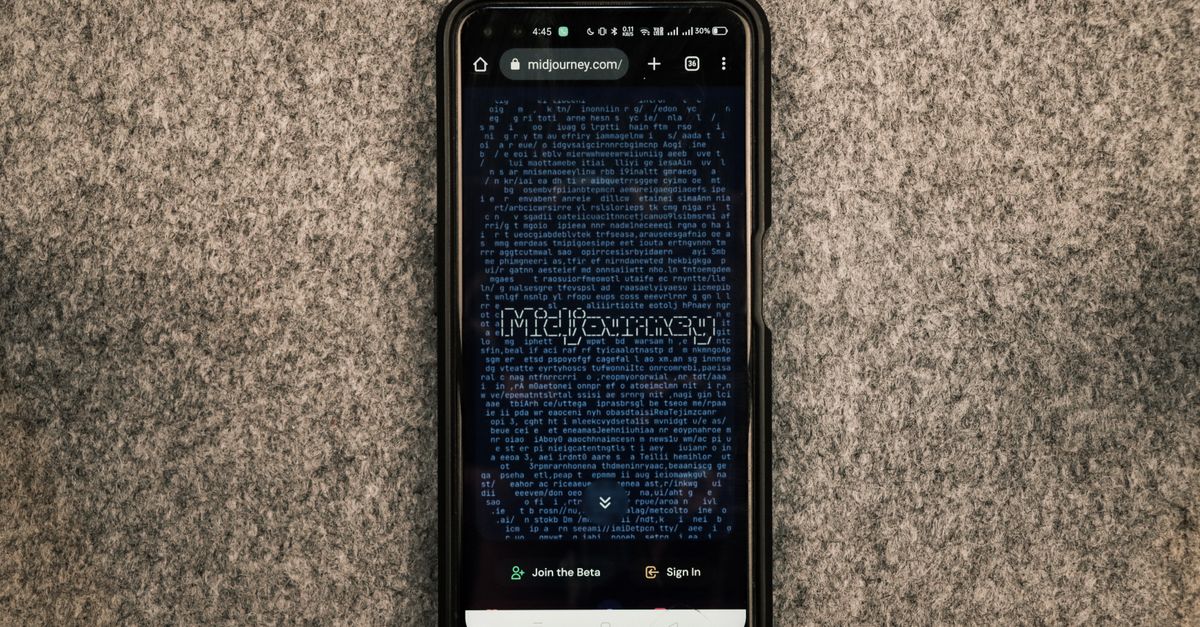
An ASCII art generator converts a JPG, PNG, or WebP picture into rows of monospace text characters whose density reflects the brightness of each sampled pixel, all without uploading the file to a server. The conversion reads each pixel, calculates its relative luminance, and maps that number to a glyph from a chosen character set: visually heavy characters like @ and # represent dark areas, while thin marks such as dots and spaces represent bright areas. Because every output glyph occupies a predictable character cell, the resulting block of text can be pasted into a code block, a terminal log, or any other monospace container without breaking alignment. Running entirely in the current browser tab, the Text to ASCII Art Generator decodes the source image locally, draws it to a small sampling canvas, and reads pixels with the standard getImageData API. No account, queue, or remote file copy is involved, which makes the workflow practical for private drafts and quick experiments alike.
How a Browser Turns Pixels Into Characters
ASCII conversion is an interpretation, not a lossless format, so the same handful of steps happens for every picture. The browser first rejects files that are not JPG, PNG, or WebP or that exceed 15 MB, then it reads the decoded dimensions before any canvas work begins. After that gate, the source is drawn to a natural-aspect sampling canvas whose width matches the requested output character count, so each cell of the result corresponds to exactly one sampled pixel.
Each sampled pixel is composited over white to neutralize transparency, then its sRGB channels are linearized using the threshold and transfer function described by WCAG 2.2. The three linear values are combined with the coefficients 0.2126 for red, 0.7152 for green, and 0.0722 for blue to produce a single relative luminance number between zero and one. That number is then mapped through a density sequence to choose a glyph.
Per WCAG 2.2, a pure red pixel with sRGB values (255, 0, 0) linearizes to (1.0, 0.0, 0.0) and produces a luminance of 0.2126 × 1.0 + 0.7152 × 0.0 + 0.0722 × 0.0 = 0.2126. A pure green pixel produces 0.7152 and a pure blue pixel produces 0.0722, which is why a green-dominant photograph reads as noticeably brighter than a blue-dominant one of equal pixel values, and why the resulting ASCII portrait can look uneven if the source color balance is skewed.
Choosing Width, Density, and Light-Dark Direction
The three controls that change how a picture reads as text are character width, density set, and the optional reverse toggle. Width is measured in monospace columns rather than source pixels, and acts as the most direct lever for trading detail against line length. A larger value preserves more small features but produces longer lines and a larger total character count, while a smaller value creates a compact result that is easier to paste into narrow layouts.
The following table compares the three available density sets so you can pick the right starting point for your subject.
| Density set | Tonal behavior | Best for |
|---|---|---|
| Standard | Balanced sequence across the luminance range | General portraits, logos, mixed subjects |
| Detailed | More tonal steps, finer gradations | Soft shading, subtle gradients, faces |
| Simple | Fewer symbols, higher contrast per glyph | Silhouettes, high-contrast icons, bold shapes |
The Reverse toggle swaps which end of the density sequence maps to bright and which maps to dark. Enable it when the final destination uses a dark background that preserves spaces, such as a terminal pane or a code block rendered on a dark theme. Disable it for light-themed destinations like README files, Markdown comments, or chat messages that will sit on a white background. A good first pass is to start near 80 columns with the Standard set, then raise or lower width based on whether the most important edges and recognizable features are clear after the first generation.
Convert an Image Into ASCII Art Text
Follow these steps to turn a local picture into copyable ASCII text.
- Open the Text to ASCII Art Generator and click the file picker to choose a JPG, PNG, or WebP image. The browser displays the source dimensions as soon as decoding finishes, and files over 15 MB or in unsupported formats are rejected before any pixel work begins.
- Choose a character width in monospace columns. Start near 80 for a balanced preview, then raise or lower it after the first result based on how recognizable the subject is and how long the lines become.
- Pick a density set. Standard works for most pictures, Detailed adds more tonal steps for soft gradients, and Simple uses fewer symbols for a bolder, higher-contrast result.
- Enable Reverse only if the destination uses a dark background and preserves spaces; otherwise leave it off so dark areas still map to heavy glyphs.
- Click Generate and inspect the monospace preview. Check the most important edges and recognizable features rather than the average block, because a single sharp silhouette often matters more than smooth midtones.
- Use Copy to put the exact text on the clipboard, or Download TXT to save a UTF-8 plain-text file named after the source image so the result can be reopened in any text editor.
Output Limits, Transparent Pixels, and Aspect Correction
The generator enforces a few interacting limits that change whether a given picture will produce a usable result. The 15 MB cap and the JPG, PNG, and WebP type check happen before the browser decodes the file, so an oversized or unsupported source fails immediately without consuming canvas memory. A separate 40-megapixel rule is checked after the dimensions are read, which limits how large a sampling canvas the browser is willing to build. Closing memory-heavy tabs or using a smaller source helps on constrained devices, especially when the source is a highly compressed but dimensionally large file.
Once the sampling canvas exists, the generator calculates the row count from the source aspect ratio and applies a height correction because monospace characters are usually taller than they are wide. Without that correction, a square picture would appear vertically stretched after conversion. If the corrected grid would produce more than 800 rows or 100,000 characters, the tool asks for a smaller width or a cropped source instead of creating an impractical block of text.
Transparent pixels are treated as if they appeared over a white background. That step prevents the invisible black color values that some authoring tools leave inside a transparent PNG from becoming dark marks once they are composited and read. As a result, a transparent PNG with no visible content produces blank output, and a transparent PNG with a logo reads against white just as it would on a typical web page.
Copy, Download, and Paste the Result
Copy places the exact character grid on the system clipboard, including the newline characters that join each row. Download TXT produces a UTF-8 plain-text file named after the source image, containing only the generated rows so the file can be opened in any text editor or piped into another local workflow. Neither output preserves the original pixel data; the only artifact is the character grid itself.
Where the text is pasted matters as much as the conversion itself. A proportional font breaks the visual grid, and some platforms collapse repeated spaces unless the text is placed in a preformatted block. Paste into a triple-backtick code fence, a <pre> element, or any other container that uses a monospace font and preserves spaces to keep the alignment intact. The same rule applies to terminal panes, source-code comments, and Markdown previews, where collapsed whitespace would otherwise turn a clean portrait into a jagged silhouette.
What ASCII Conversion Cannot Preserve
ASCII conversion is always lossy because the output represents each cell with a single character chosen from a finite density sequence. Fine texture, exact colors, readable small text, transparency effects, and photographic detail cannot survive the trip, and the result also depends on the font, line height, and available width at the destination. A preview that looks sharp on one device can look stretched on another, and a proportional font will silently destroy the cell-based alignment that the generator relies on.
For reliable results, keep the original image, test several output widths, and preview the pasted result on its intended destination before relying on its appearance. Increase the width or switch to Detailed when the subject lacks definition, and switch to Simple or a narrower width when the output is too noisy. The pixel-reading step uses the standard getImageData call from the Canvas API to read the sampled pixels from the canvas.
Related reading: Add Text to an Animated GIF.
Related reading: Convert Text Into ASCII Art From Any Image.