Cities: Skylines 2 image overlays display a transparent reference map — such as a real-world city plan or satellite image — directly above the in-game map canvas, letting you trace highways, rivers, and districts against real geography. The fastest way to prepare one is to combine your base reference image with a transparency or watermark layer in your browser using the Image Overlay tool, then export a PNG that keeps the base's exact pixel dimensions. Because the tool never resizes the base image, the resulting PNG drops straight into a map mod folder without manual re-export. The tool accepts JPEG, PNG, and WebP inputs up to 25 MiB each, supports overlay scaling from 10% through 200%, and 0% through 100% opacity, so the same workflow covers subtle planning watermarks and full-strength tracing references. Both source files stay on your device throughout the workflow, and no account is required, which matters because reference imagery often contains GPS coordinates or licensed map tiles you do not want uploaded anywhere.
CS2 modding pages describe community overlay mods as a way to display a transparent image on the in-game map, switch between several images quickly, and adjust size, position, and transparency in-game. Your job on the image side is to ship a single PNG that loads cleanly: the right pixel size, the right transparency, and the right visible area for the part of the city you are modelling.
Why Cities: Skylines 2 Players Use Image Overlays
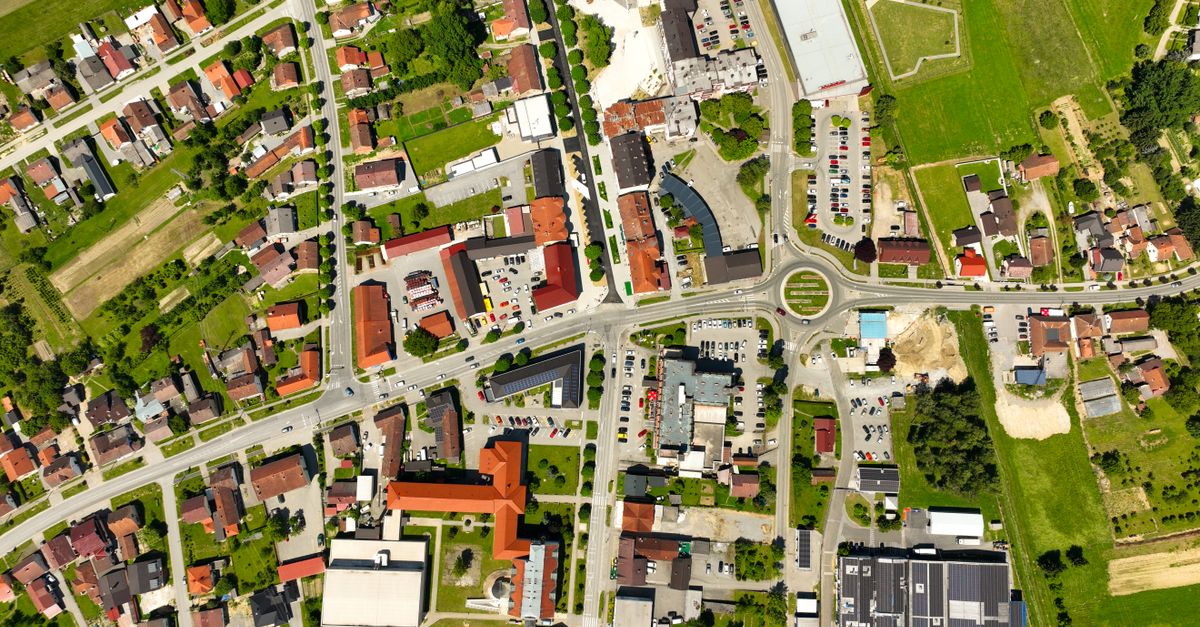
An image overlay is a second image that sits on top of the main canvas. In Cities: Skylines 2 that means dropping a reference map, satellite image, or zoning sketch over the in-game terrain and fading it until you can see both at once. The original Cities: Skylines community used the technique to recreate real cities block by block, and CS2 picked up the same workflow through community overlay mods.
The reference image does not replace the CS2 terrain; it just shows you where streets, rivers, parks, and outside connections should go. In the Editor especially, an overlay makes it easy to align outside connections to the correct locations because you can see the real road grid through the in-game canvas. Once your city matches the overlay well enough, you lower the opacity, save, and continue building.
Players also use overlays for tasks that have nothing to do with real geography: a district sketch drawn in a paint program, a heightmap exported from a terrain tool, or a tile grid overlay that helps you align 81-tile megaprojects. The same preparation steps apply in every case because the overlay mod reads the file you give it without caring what is on it.
Choosing the Right Base and Overlay Files
Before opening any tool, decide which image is the base and which is the overlay. In CS2 terms the base is the layer you want the mod to keep at full strength — usually the reference map or satellite image — and the overlay is the smaller, more transparent layer that adds information such as zoning labels, contour lines, or a north arrow.
Three rules keep the workflow painless:
- Match the base to the CS2 canvas. The exported PNG keeps the base image's exact natural width and height, so if the mod expects a 1920×1080 reference map, prepare a 1920×1080 base. Tools such as the Image Resizer can resize the reference to the right pixel size before you start.
- Keep each file under 25 MiB. The Image Overlay tool accepts JPEG, PNG, and WebP up to 25 MiB per file. After decoding each image is also independently limited to 40,000,000 total pixels and 20,000 pixels on either side, so a small compressed file can still fail if it expands to a very large buffer.
- Use PNG for the overlay if it has transparency. JPEG cannot store transparency, so any overlay that needs to fade smoothly into the base should be a PNG or WebP with an alpha channel. The final export is always PNG regardless of which input formats you used.
Privacy matters here as well. Real-world reference imagery frequently contains GPS coordinates in EXIF metadata, watermarks, or licensed map tiles that you should not redistribute. The Image Overlay tool decodes and combines both files locally, then revokes the temporary ObjectURLs when you replace a file or close the tab. The downloaded PNG does not promise to preserve EXIF, animation, or original compression from either input, so the output is essentially a clean composite.
Create the Overlay PNG Step by Step
This walkthrough uses the Image Overlay tool to produce a single PNG that you can drop straight into a CS2 overlay mod folder. Each step maps to a control in the interface.
- Open the Image Overlay tool in your browser and click the base image slot. Choose the reference map or satellite image you want to keep at full size. The tool validates the file as JPEG, PNG, or WebP under 25 MiB and decodes it.
- Click the overlay image slot and choose the second image — usually the labels, sketch, or watermark layer. Files are validated independently, so loading the overlay does not invalidate an in-progress base decode and vice versa.
- Pick a position: top-left, top-right, bottom-left, bottom-right, or center. The five positions use fixed coordinate math that is documented in the next section, so you can predict exactly where the overlay will land.
- Set the overlay scale. A value of 100% draws the overlay at its own natural width and height; 50% halves both dimensions; 200% doubles them. The scale slider runs from 10% to 200% and applies only to the overlay.
- Set the overlay opacity from 0% to 100%. Zero makes the overlay fully transparent while still producing a full-size PNG; 100 uses the overlay's own alpha unchanged; intermediate values multiply the overlay contribution by the chosen percentage.
- Click the create or download control. The renderer clears the canvas, draws the base at full size with alpha 1, saves the drawing state, applies the selected overlay alpha, draws the scaled overlay at the planned coordinates, restores the state, and exports the canvas as image/png.
- Inspect the on-page preview, then download the resulting PNG. Editing position, scale, or opacity immediately revokes the old result and clears the preview so you can iterate without confusion.
How Position, Scale, and Opacity Are Calculated
The Image Overlay tool does not guess where to put the second image. Every choice produces deterministic pixel coordinates, and the same inputs always produce the same result, which is what you want when the CS2 mod needs the file in a specific spot. The base image's natural width (W) and height (H) define the output canvas, and the overlay's natural width (Ow) and height (Oh) are multiplied by the selected scale percentage.
The table below shows the exact coordinate math for a base of 1920×1080 and an overlay of 800×600 at 50% scale. The scaled overlay therefore measures 400×300, and each position produces a known top-left corner for the overlay.
| Position | X formula | Y formula | Result for this example |
|---|---|---|---|
| Top left | 0 | 0 | (0, 0) |
| Top right | W − scaled width | 0 | 1920 − 400 = 1520, 0 |
| Bottom left | 0 | H − scaled height | 0, 1080 − 300 = 780 |
| Bottom right | W − scaled width | H − scaled height | 1520, 780 |
| Center | (W − scaled width) / 2 | (H − scaled height) / 2 | 760, 390 |
Two consequences matter for CS2 work. First, the base is never resized, even when the page preview looks smaller than the actual output — the CSS preview dimensions are purely cosmetic and do not change the export. Second, if a scaled overlay is larger than the base, its position can produce negative coordinates and any portion outside the base canvas is clipped. That is intentional, disclosed behavior rather than a hidden resize, so a CS2 reference frame stays exactly the size you selected.
Opacity behaves on a simple 0–100% scale. Zero produces a base-only PNG with no visible overlay, which is useful as a sanity check. One hundred uses the overlay's own alpha channel unchanged, which preserves any soft edges already baked into a PNG or WebP. Values in between multiply the overlay contribution by the chosen global alpha, and transparent pixels that already exist in the source PNG or WebP stay transparent.
Fixing Overlay Alignment Problems
Most overlay problems come down to scale, position, or base size. Three checks resolve the majority of cases.
The overlay is too big and disappears off the edge. This happens when the overlay's natural dimensions, multiplied by the scale percentage, exceed the base width or height. The tool clips the overflow rather than resizing the base, which preserves the CS2 canvas size. Lower the scale slider, or resize the overlay source with an image resizer before re-importing it. A quick rule: if you want the overlay to occupy 40% of the base width and the base is 1920 pixels wide, the overlay's natural width should be no more than 1920 × 0.40 / scale.
The overlay is in the wrong corner. The five position presets are deterministic, so the only way to land in a custom spot is to start from a source image that already contains the right composition, then pick the preset that puts the overlay's top-left corner where you want it. The tool does not support free dragging, so any custom positioning happens in a paint program before you load the overlay.
The center position looks slightly off. The center preset uses (W − scaled width) / 2 and (H − scaled height) / 2. When the difference is an odd number of pixels, the result is a half-pixel coordinate. The renderer keeps the overlay mathematically centered rather than favoring one side, so you may see a faint softness at 100% scale due to browser interpolation. If you need a pixel-perfect corner anchor, switch to one of the corner presets instead of center.
Transparency is gone in the export. The output is always PNG, but if the base was JPEG it has no alpha channel. The exporter still produces a PNG, yet a transparent base remains transparent wherever neither source contributes color, so any region that should be transparent should start from a PNG or WebP base. You can also verify the rendered globalAlpha matches what you set in the interface before importing.
Verifying the Overlay Before Importing
Before you move the PNG into the CS2 mods folder, open it in any image viewer and check three things: the pixel dimensions match the base you intended, the overlay sits where the position math predicts, and the transparency is preserved. Because the tool does not promise to preserve EXIF metadata, animation, or original compression, treat the export as a clean composite rather than a faithful copy of either source.
For precision design work, keep both originals alongside the export. If you need the overlay to finish at a specific pixel width, calculate that width from the overlay's natural width and the selected percentage before exporting — an 800-pixel overlay at 25% scale finishes at 200 pixels wide, regardless of base size. With those checks done, the PNG can be loaded by the CS2 overlay mod and used to trace real geography, align outside connections, or sketch a megaproject tile by tile.
If you're weighing options, How to Convert PNG to JPG Without Losing Quality covers this in detail.
If you're weighing options, Convert SVG to PNG With a Transparent Background covers this in detail.